
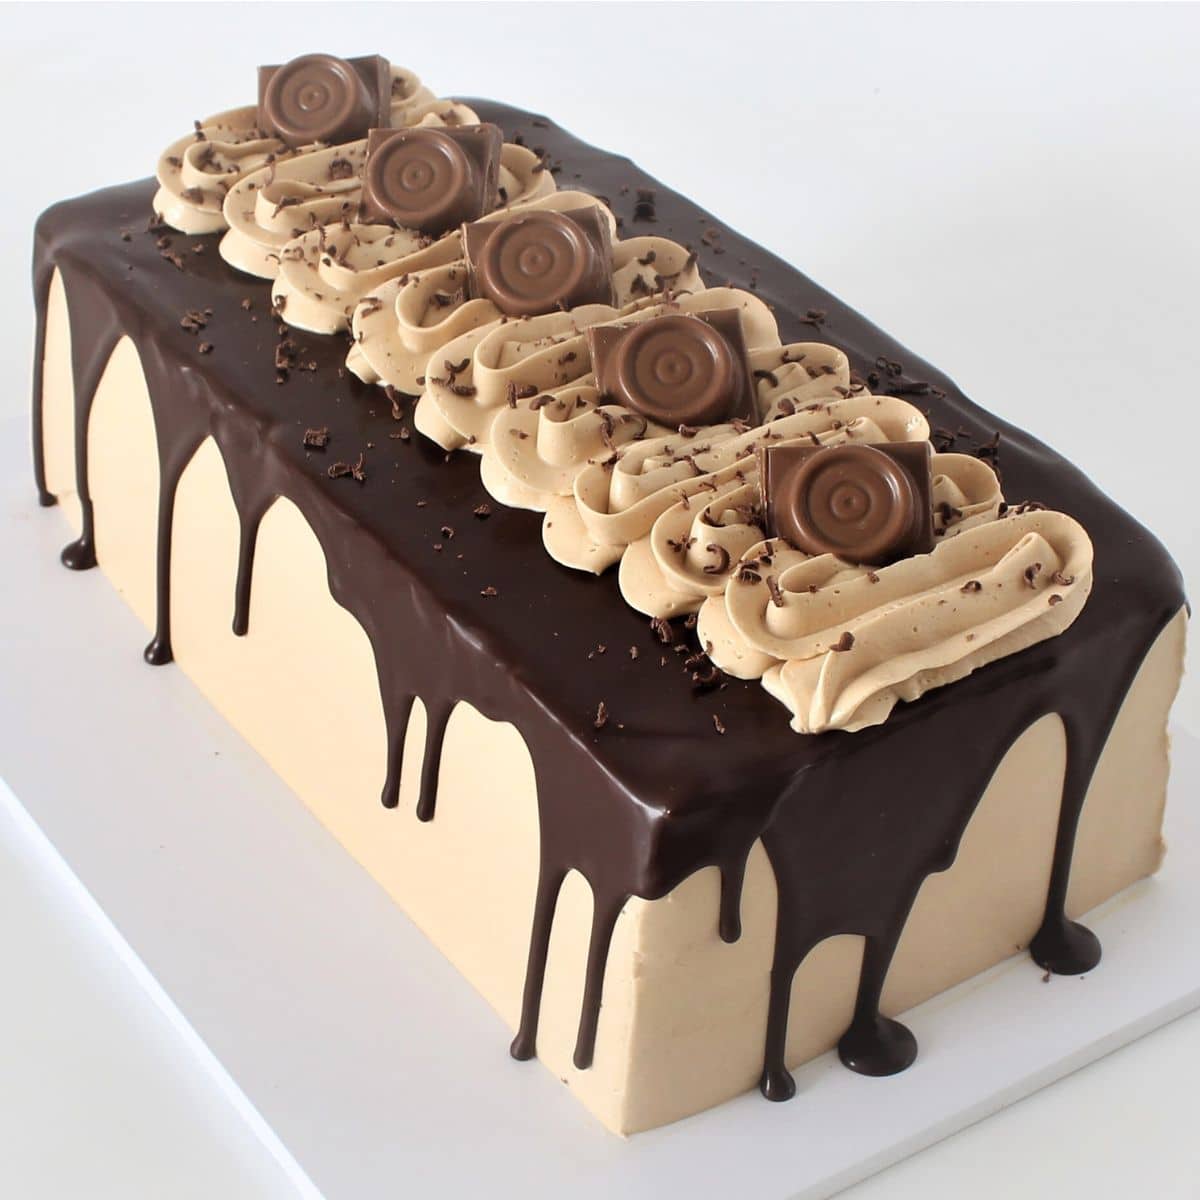
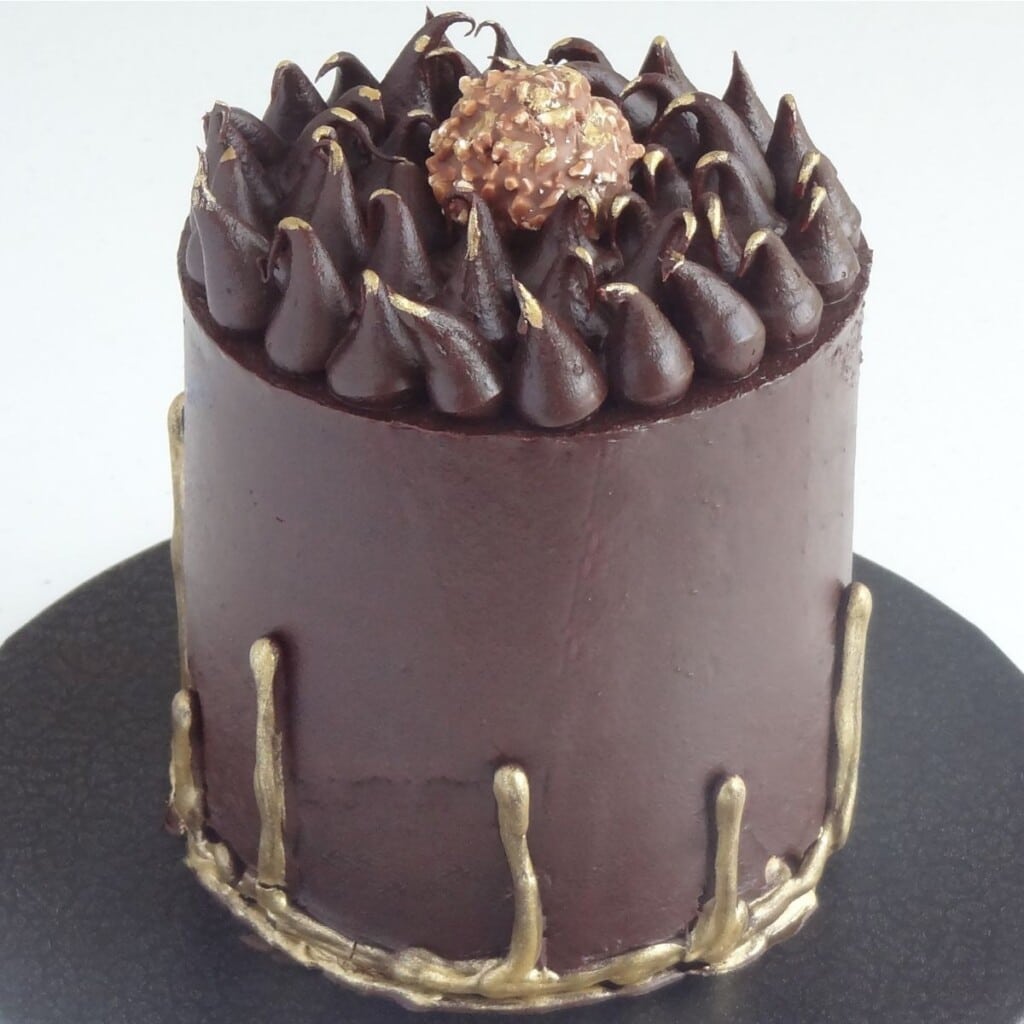
Rolo Chocolate Drip Cake, need I say more? Featuring rich layers of moist chocolate cake, velvety vanilla pudding filling, and luscious ROLO condensed milk buttercream. Topped with a silky chocolate drip and garnished with grated ROLO chocolate and ROLO candies, it's the ultimate treat for chocolate lovers!
But what really takes this cake over the top is the luscious ROLO condensed milk buttercream. It's thick, it's creamy, and it carries the iconic caramel-infused taste of ROLO, a beloved classic. This is your moment to shine as a baker, turning simple components into an impressive dessert that's sure to wow everyone.
Why You'll Love My Rolo Chocolate Drip Cake
Decorating this cake is where you can really add your personal touch. It's up to you how much chocolate, grated ROLO, and candies you want to put on top. You can make patterns or just sprinkle them on – it's totally your call. This part of the recipe is great because it lets you be creative and have some fun making the cake look just the way you like.

Ingredients In My Chocolate Drip Cake
For the Chocolate Cake:
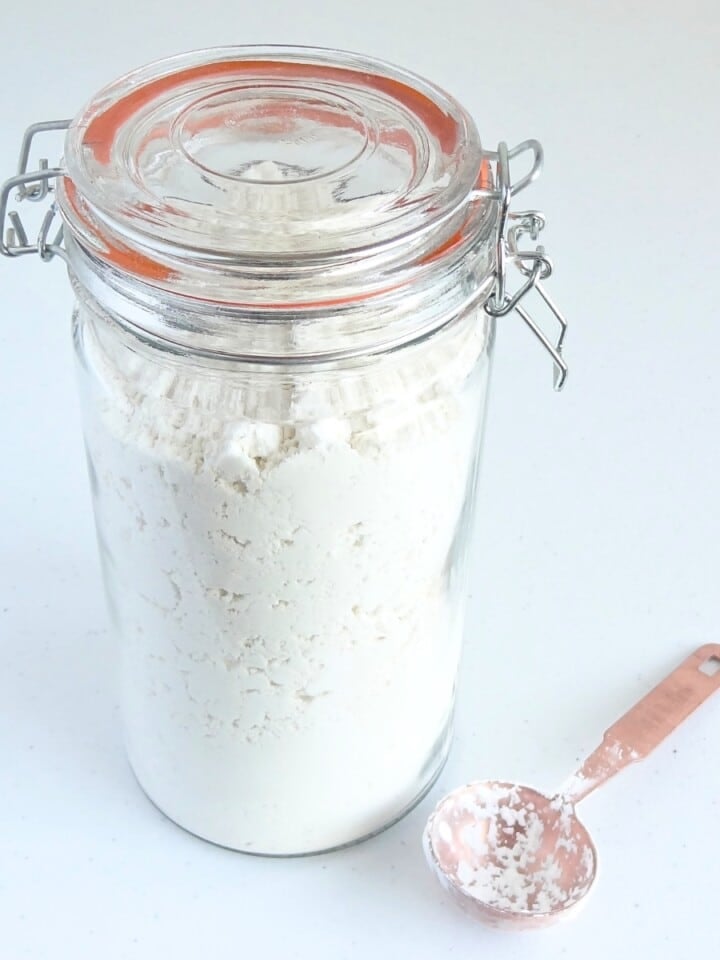
- All-Purpose Flour: Serves as the foundational structure of your cake, giving it shape and support.
- White Sugar & Brown Sugar: These sweeten your cake. The white sugar adds sweetness, while the brown sugar contributes not only sweetness but also moisture and a hint of molasses flavor, enriching the cake's overall taste.
- Cocoa Powder: Provides the rich, intense chocolate flavor that's crucial for any chocolate cake. It's what makes the cake deeply chocolatey.
- Instant Coffee Granules: A secret weapon in chocolate cakes; it doesn't make the cake taste like coffee but rather deepens and intensifies the chocolate flavor, making it more pronounced and rich.
- Baking Soda & Baking Powder: These are leavening agents that create bubbles in the batter when mixed and heated, causing your cake to rise and become fluffy.
- Salt: A small but mighty ingredient, it contrasts the sweetness and brings out the full spectrum of flavors in the cake.
- Milk: Adds moisture to the cake, ensuring it's not dry. It also helps dissolve the sugar and cocoa, evenly distributing them throughout the batter.
- Vegetable Oil: Provides moisture and creates a tender texture in the cake. Cakes made with oil tend to stay moist longer than those made with butter.
- Vanilla Extract: Adds a layer of flavor that complements the chocolate and enhances the cake's overall taste profile.
- Eggs: Act as a binding agent, holding all the ingredients together. They also contribute to the cake's structure and help it rise.
- Hot Water: Ensures the cocoa powder is fully "bloomed" or dissolved, bringing out its full flavor. It also contributes to the cake's moist texture.
For the Vanilla Pudding Filling:
- Heavy Cream: Provides a rich and creamy base, making the filling luxuriously smooth.
- Milk: Works with the heavy cream to achieve the right consistency while maintaining the filling's creamy texture.
- Instant Vanilla Pudding Powder: Acts as a thickener and flavor enhancer, offering a quick and easy way to create a delicious vanilla-flavored filling.
Rolo Condensed Milk Buttercream:
An explanation of the ingredients in Rolo Condensed Milk Buttercream deliciousness can be found in my detailed post on how to make the buttercream.
For the Chocolate Drip:
- Dark Chocolate: The star of the drip, providing a robust chocolate flavor. Choosing a chocolate you enjoy ensures the drip will taste delightful.
- Vegetable Oil or Coconut Oil: Helps thin the chocolate, giving it a smooth, pourable consistency that creates the perfect drip effect on the cake.
For the Garnish:
- Grated Dark Chocolate: Adds a visually appealing texture to the cake and a bit of a crunch, complementing the smooth textures elsewhere.
- ROLO Candies: Serve as a decorative and flavorful topping, offering bursts of chocolate and caramel, and echoing the flavors in the buttercream.

How To Make My Rolo Chocolate Drip Cake Recipe
Baking the Chocolate Cake:
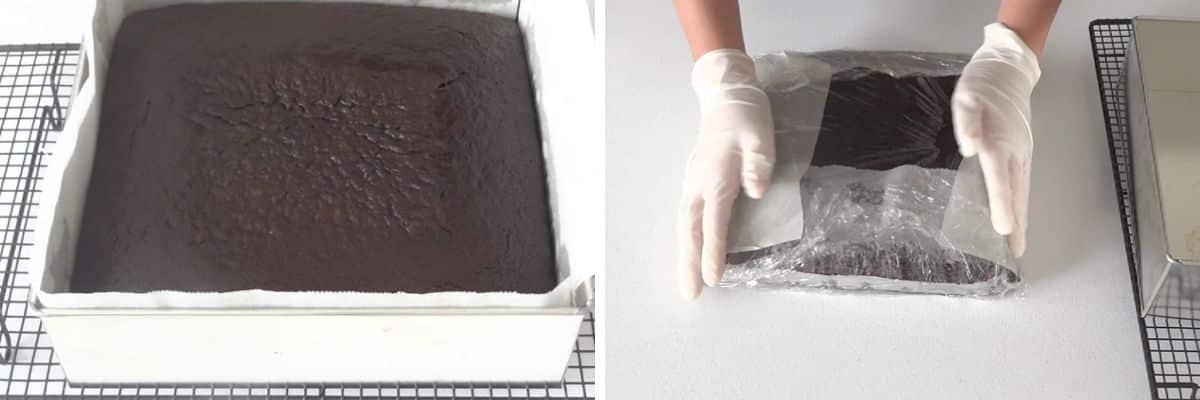
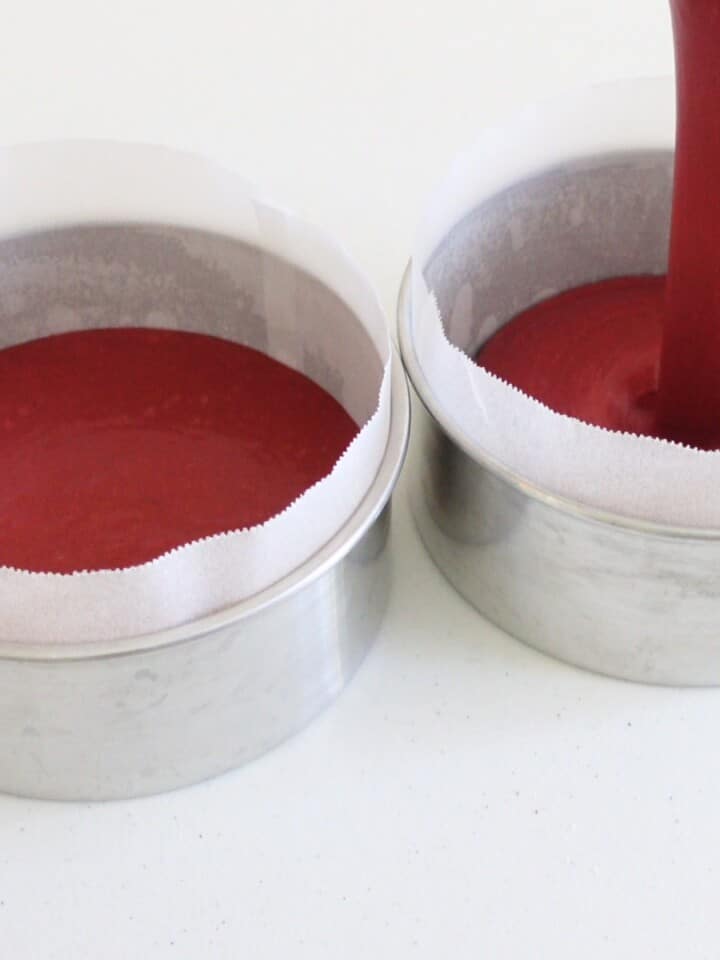
Preheat your oven to 175°C (350°F) and prepare your 10-inch square pan by greasing it and lining it with parchment paper. The overhang of paper will help you remove the cake easily later.
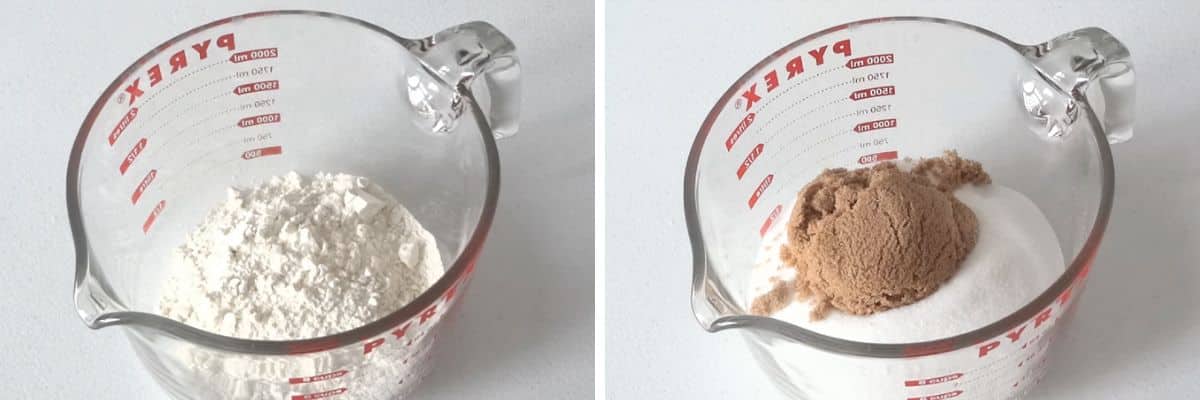
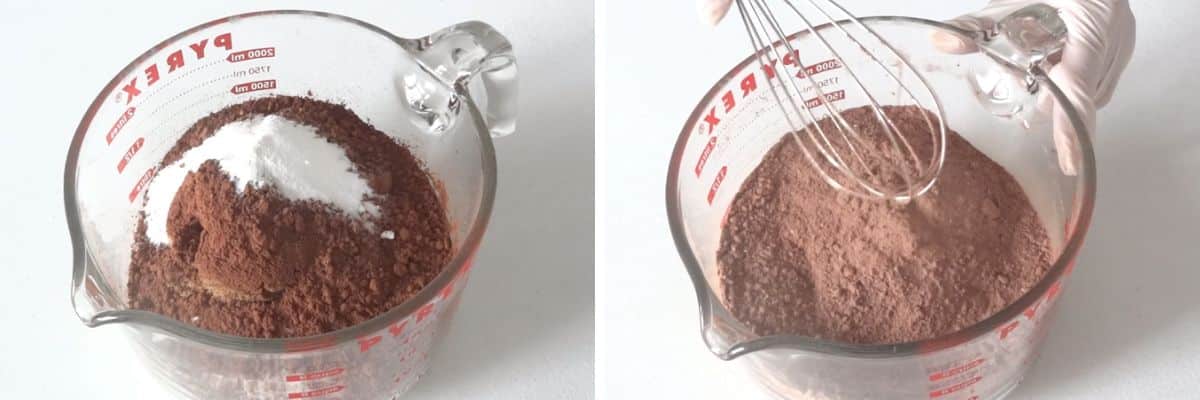
Mix the dry ingredients (all-purpose flour, white sugar, brown sugar, cocoa powder, instant coffee granules, baking soda, baking powder, and salt) in a large bowl. Whisk them together until they're well combined.
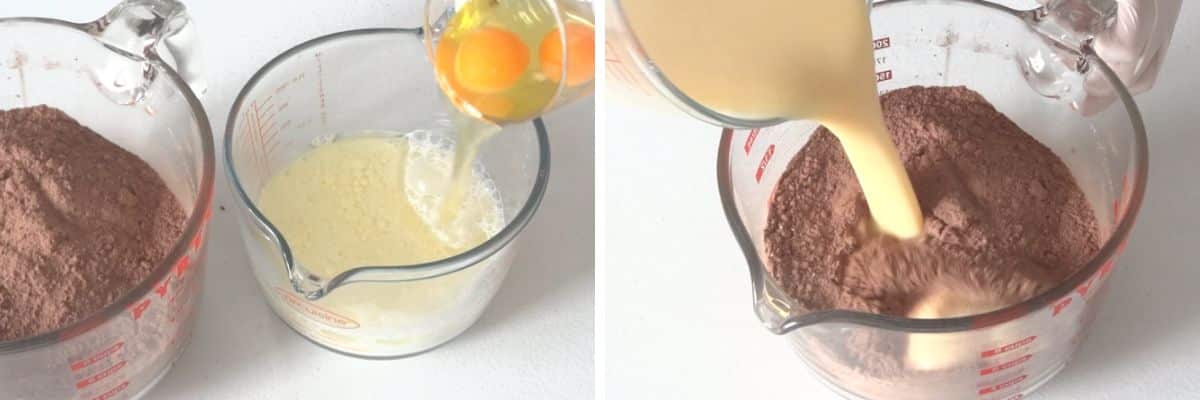
Combine the wet ingredients (milk, vegetable oil, eggs, and vanilla extract) in a separate bowl, mixing until they're well integrated.
Combine the wet and dry mixtures, pouring the wet ingredients into the dry. Stir them together until just combined, then gently add the hot water. This will make your batter thin and smooth.
Pour the batter into your prepared pan and bake for about 40-45 minutes. You'll know it's done when a toothpick inserted into the center comes out clean.

Cool the cake in the pan for 20 minutes before transferring it to a wire rack to cool completely. Optionally, for a moister cake, you can wrap and refrigerate it overnight.
Preparing the Vanilla Pudding Filling:
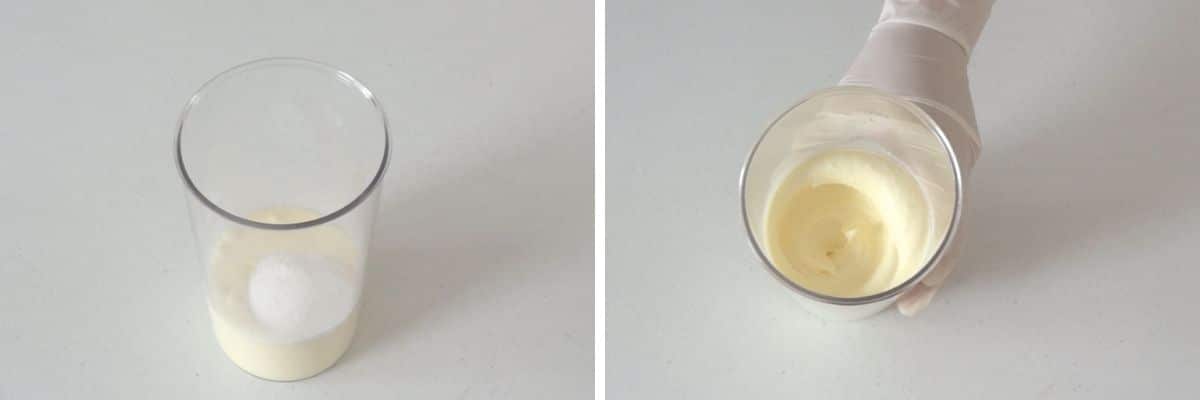
In a mixing bowl, whip together the heavy cream, milk, and instant vanilla pudding powder. You're aiming for a stiff peak consistency, which will hold up well between the cake layers.
Assembling the Cake:
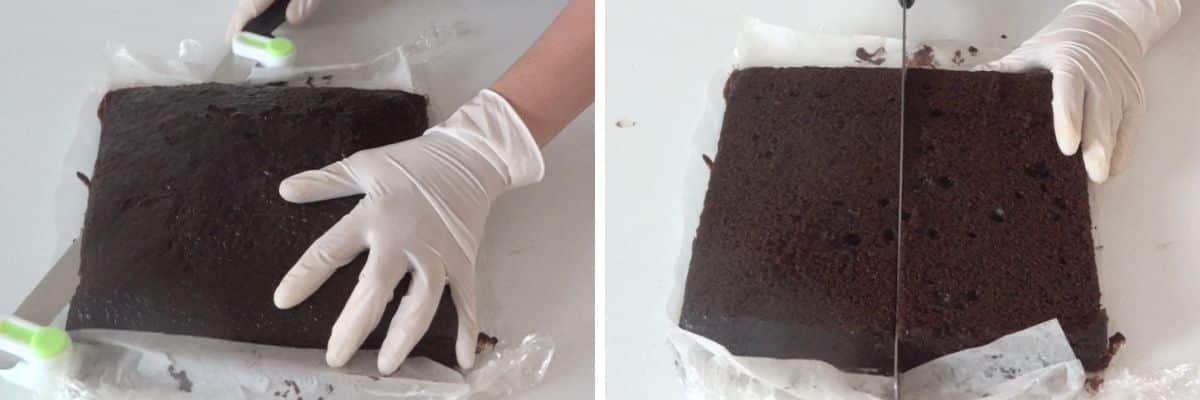
Level the cake by trimming off the dome with a cake slicer or cake leveler. If you wish, save the scraps for snacking or other recipes. Then, cut the cake into two equal rectangles (10" x 5").
Begin the layering by placing the first layer on a cake board, using a dab of buttercream to help it stick.
Pipe a buttercream dam around the top edge of this layer. This will contain your vanilla pudding filling. Then, spread the pudding within this dam.
Add the second layer of cake on top, pressing gently to secure it.


Apply a crumb coat of buttercream around the entire cake. This is a thin layer that catches any loose crumbs. Smooth it out with a spatula or bench scraper and then refrigerate the cake for about 15 minutes to set this coat.
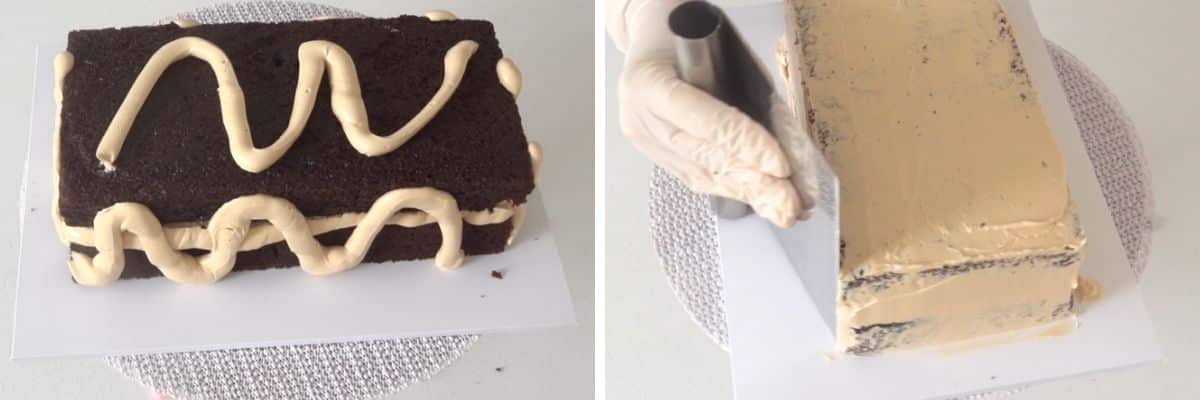
Add the final layer of buttercream, spreading it thicker this time and smoothing it out nicely with a bench scraper. Refrigerate the cake for at least an hour to ensure the buttercream sets well.

Making the Chocolate Drip:
Melt the chocolate in a microwave-safe bowl, using 30-second intervals and stirring in between until it's completely smooth.
Mix in the oil, which thins the chocolate slightly, giving your drip a beautifully smooth consistency.
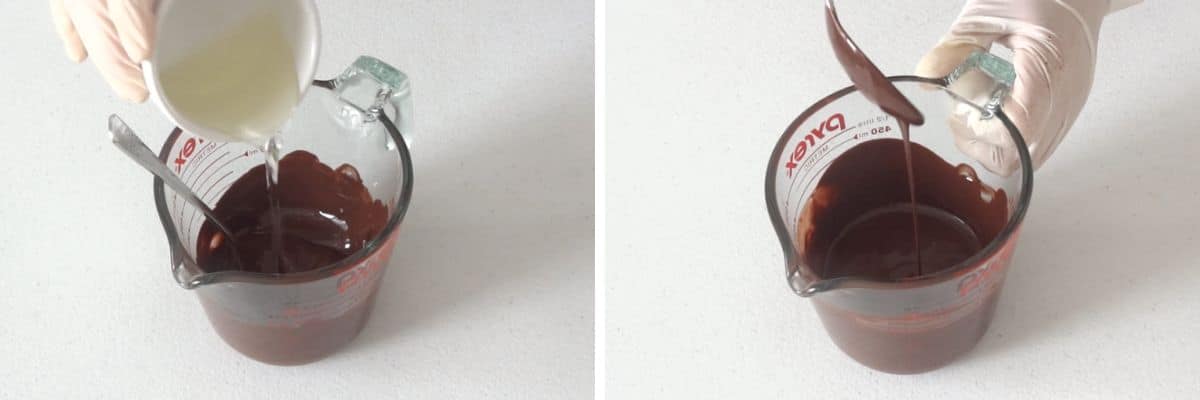
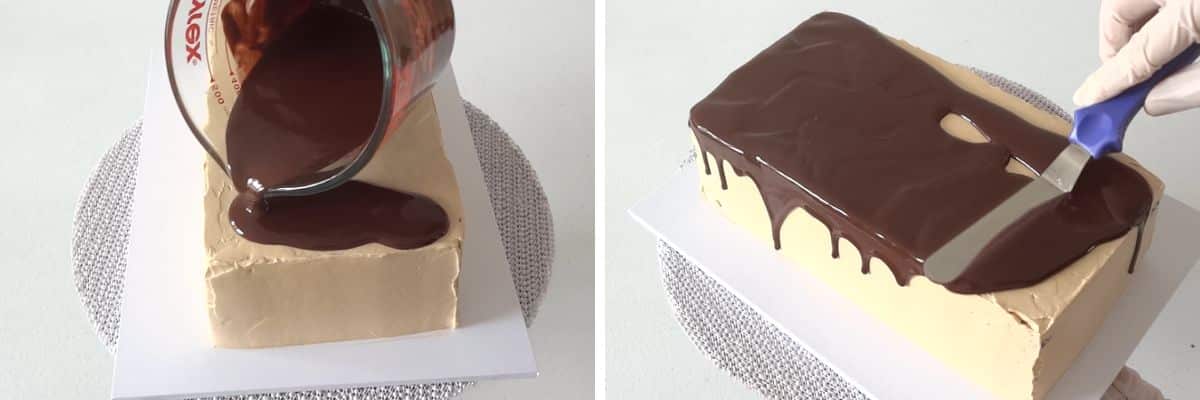
Apply the chocolate drip to the chilled cake, starting at the top and nudging it gently over the edges with a spoon or spatula. The chill from the cake will help set the drip quickly.
Final Touches:
Decorate the top Using a 14-inch piping bag fitted with a 1M piping tip, pipe a zig-zag pattern on top of the cake. To do this, gently squeeze the piping bag and move it back and forth in a zig-zag motion, covering the top of the cake. This doesn't have to be perfect, as the rustic look adds to the homemade charm of the cake.
Garnish with grated dark chocolate and ROLO candies to add texture and reinforce the caramel-chocolate theme.

Serving the Drip Cake:
Once decorated, keep the cake refrigerated until you're ready to serve. Take it out about 20 minutes beforehand, allowing the buttercream to soften slightly for the perfect texture.

My Top Tip
The most important tip for this Rolo Chocolate Drip Cake recipe is to ensure that the cake is properly chilled before adding the chocolate drip. Chilling the cake serves a dual purpose:
Stabilizes the Buttercream: The buttercream needs to be firm to support the weight of the chocolate drip. If the cake isn't chilled enough, the warm chocolate might melt the buttercream, causing it to lose its shape and the chocolate to run off too quickly, spoiling the desired drip effect.
Sets the Chocolate Drip Quickly: Chilled buttercream and cake will help set the chocolate as soon as it touches the cake surface. This quick setting is crucial for achieving those perfect, elegant drips that don't run too far down the sides of the cake.
So, after you've applied the final layer of buttercream, make sure to refrigerate the cake for at least an hour, or until the buttercream is firm to the touch. This step ensures your chocolate drip will be beautifully smooth and well-defined, making your Rolo Chocolate Drip Cake a true showstopper!
Variations
This Rolo Chocolate Drip Cake is versatile, and you can easily tweak it to suit your taste or to add an element of surprise. Here are some suggestions for variations:
Flavor Twists in the Buttercream:
Peanut Butter ROLO Buttercream: Mix in some creamy peanut butter to your ROLO buttercream for a peanut butter twist.
Salted Caramel Buttercream: Add a pinch of sea salt to the ROLO buttercream to enhance the caramel flavor and add a trendy salted caramel twist.
Different Filling Options:
Raspberry or Cherry Compote: Add a layer of raspberry or cherry compote over the vanilla pudding layer for a fruity contrast that pairs beautifully with chocolate.
Cookie Crumble Layer: Sprinkle a layer of crushed cookies (like Oreos) over the vanilla pudding for an added crunchy texture.
Cake Variations:
Coffee-Infused Cake: Enhance the chocolate flavor by adding more instant coffee granules to the cake batter for a mocha effect.
Red Velvet Rolo Cake: Switch the chocolate cake layers to red velvet for a visually stunning contrast with the fillings and toppings.
Drip Variations:
White Chocolate Drip: Use white chocolate instead of dark chocolate for the drip for a sweeter, creamier taste and a striking visual contrast.
Caramel Drip: Make a caramel sauce and use it as a drip for an ultra-caramel, indulgent treat.
Decorative Variations:
Nutty Topping: Sprinkle chopped, toasted nuts (like hazelnuts, almonds, or pecans) on top for added crunch and nutty flavor.
Edible Gold or Silver Leaf: Apply bits of edible gold or silver leaf on the chocolate drip for a luxurious, festive touch, perfect for special occasions.
More Cake Recipes
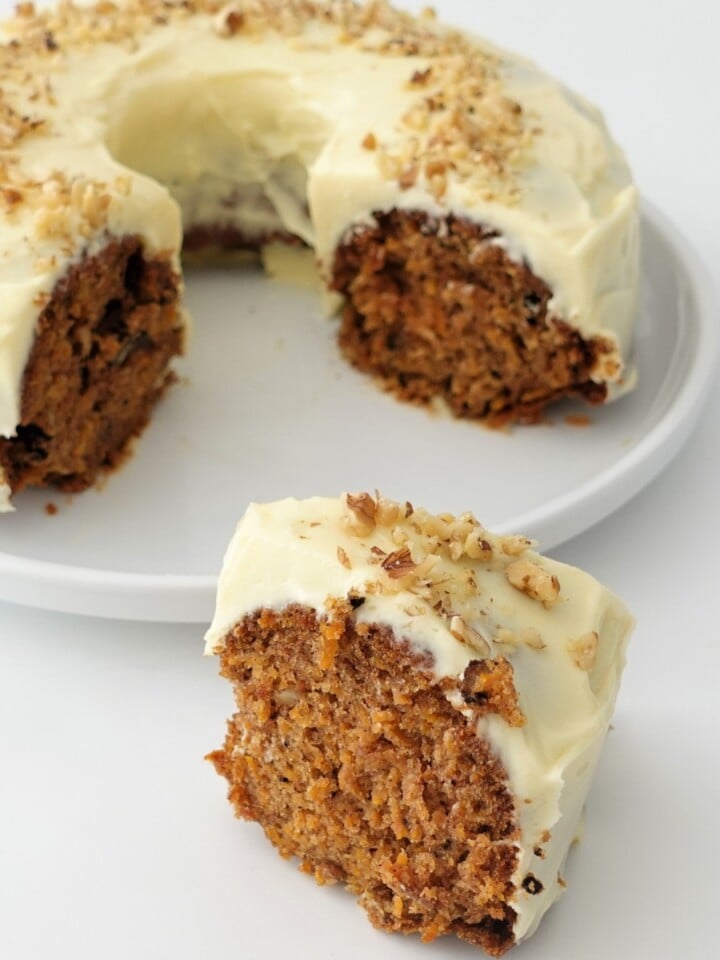
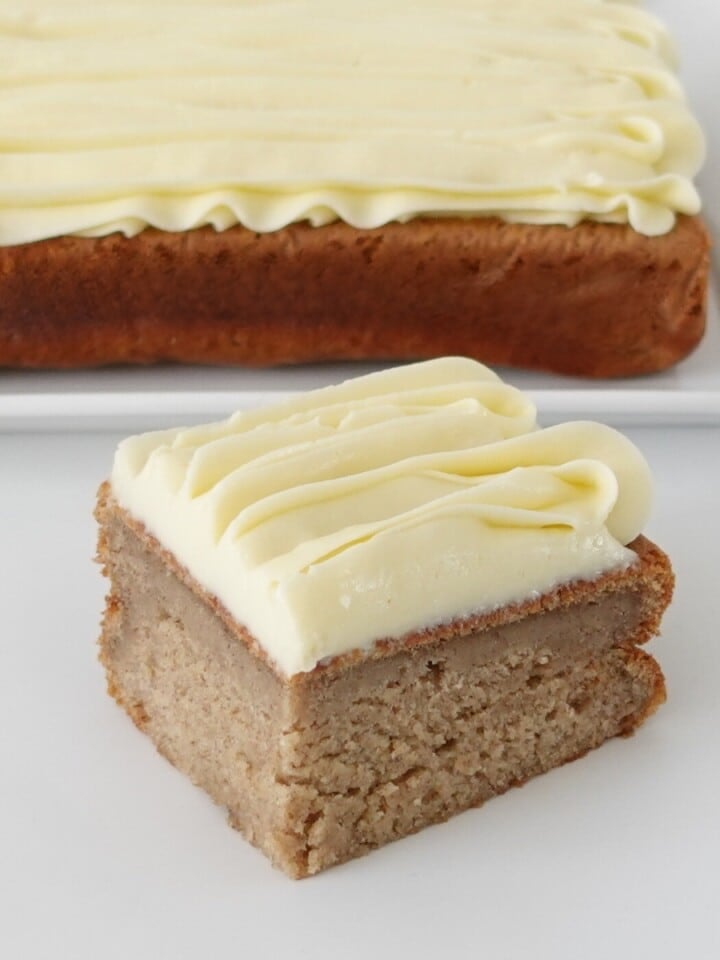
- Moist Carrot Cake with Cream Cheese Frosting
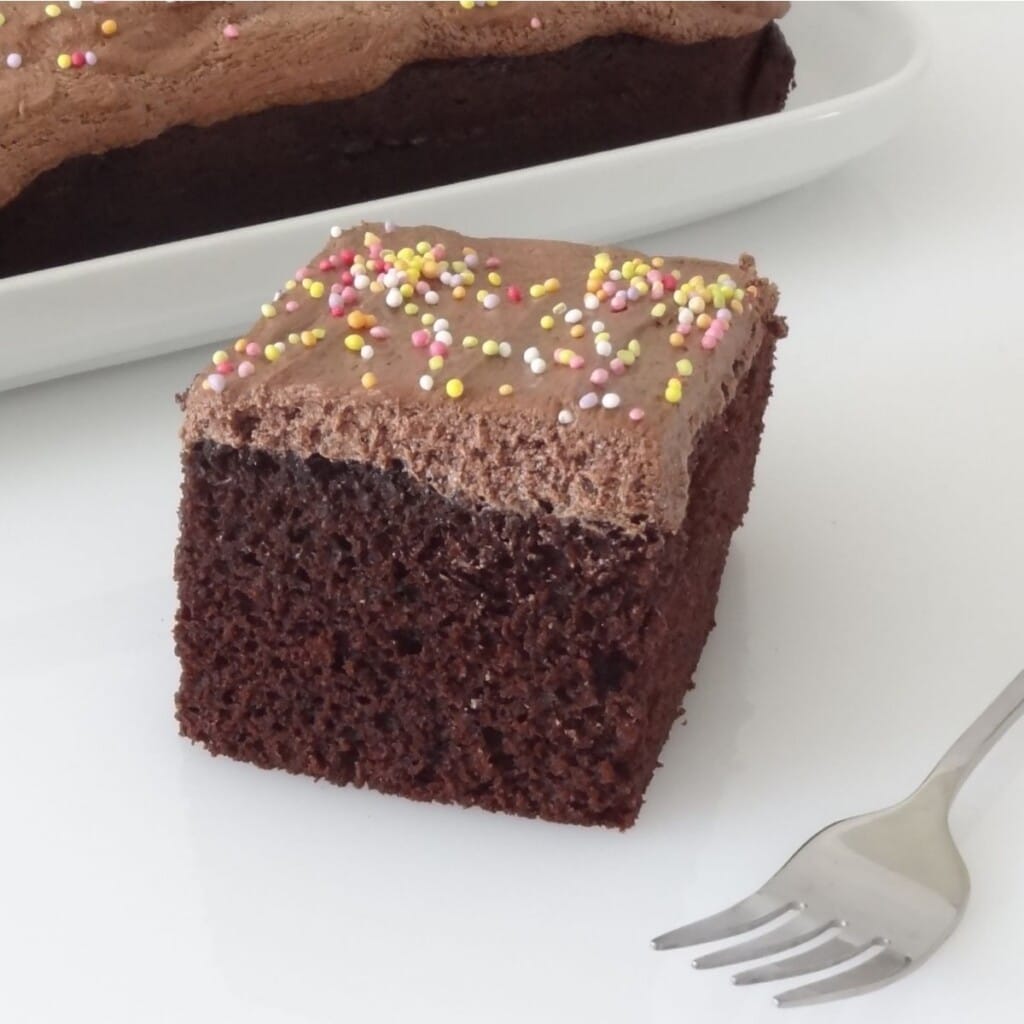
- Dairy Free Chocolate Cake
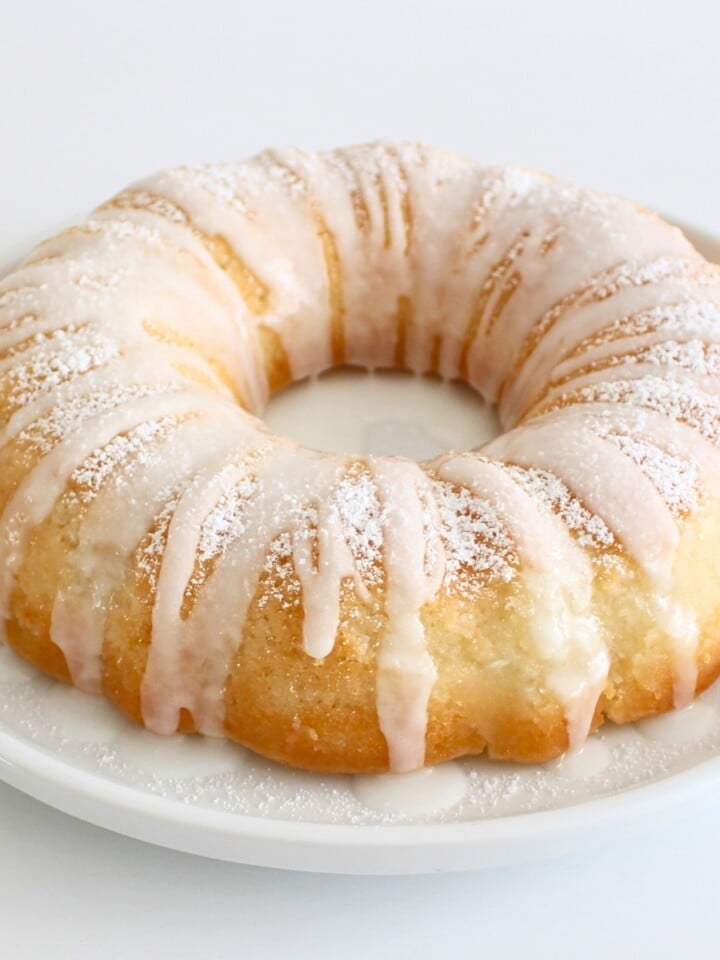
- Vegan Lemon Cake
- Eggless Chocolate Lava Cake

Common Questions
Yes, you can bake the cake layers in advance. Once cooled, wrap them tightly in plastic wrap and refrigerate for up to 3 days or freeze for up to a month. Just ensure they're completely thawed before you start assembling.
If the chocolate drip is too thick, gently warm it for a few more seconds in the microwave, or add a bit more oil to thin it out. If it's too thin, allow it to cool and thicken slightly at room temperature before using.
Store leftover cake in an airtight container in the refrigerator. It should last for up to 3-4 days. For the best texture, let it sit at room temperature for about 20 minutes before serving.
Absolutely! Feel free to use your favorite type of chocolate. Milk chocolate will be sweeter, and dark chocolate will give a richer, more intense flavor.
If your buttercream is too soft, chill it in the refrigerator for about 15-20 minutes, then mix it again. If it's still too soft, you can add more powdered sugar to thicken it.

Rolo Chocolate Drip Cake Recipe
INGREDIENTS
Chocolate Cake
- 1¾ cups (1 ¾ cups) all-purpose flour
- 1½ cups (1 ½ cups) white sugar
- ½ cup (½ cup) brown sugar
- ¾ cup (¾ cup) cocoa powder
- 1 teaspoon (1 teaspoon) instant coffee granules
- 2¼ teaspoon (2 ¼ teaspoon) baking soda
- ½ teaspoon (½ teaspoon) baking powder
- ½ teaspoon (½ teaspoon) salt
- 1 cup (1 cup) milk
- ½ cup (½ cup) vegetable oil
- 2 teaspoon (2 teaspoon) vanilla extract
- 2 (2) eggs large
- 1 cup (1 cup) water hot
Vanilla Pudding Filling
- 300 ml (1 ¼ cups) heavy cream
- 2 tablespoon (2 tablespoon) milk
- 2 tablespoon (2 tablespoon) instant pudding vanilla
Chocolate Drip
- 1 cup (1 cup) dark chocolate
- 2 tablespoon (2 tablespoon) vegetable oil
Garnish
- 6 (6) ROLO candy
Buttercream
- 2 cups (2 cups) buttercream ROLO Buttercream
INSTRUCTIONS
Chocolate Cake
- Preheat the oven to 175°C (350°F). Grease a 10-inch square pan and line it with parchment paper, allowing the paper to overhang for easy removal later.
- In a large mixing bowl, whisk together all-purpose flour, white sugar, brown sugar, cocoa powder, instant coffee granules, baking soda, baking powder, and salt.
- In another bowl, mix together milk, vegetable oil, eggs, and vanilla extract until well combined.
- Pour the wet ingredients into the dry ingredients and mix until just combined. Then, gently stir in the hot water until the batter is smooth and well mixed. The batter will be thin.
- Pour the batter into the prepared pan and bake for 40-45 minutes or until a toothpick inserted into the center comes out clean. Start checking at 35 minutes.
- Allow to cool in the pan for 20 minutes, then transfer to a wire rack to cool completely. Optionally, wrap and refrigerate overnight for a denser, moist cake.
Vanilla Pudding Filling
- In a mixing bowl, combine heavy cream, milk, and vanilla pudding powder. Whip using a hand mixer or a stick blender with the whisk attachment until stiff peaks form.
Assembly
- Level the top of the cake by trimming any dome off with a cake slicer or cake leveller. Cut the cake in half to create two 10" x 5" rectangles.
- Place a small amount of buttercream on a cake board to act as glue, and place the first layer of cake on top.
- Pipe a buttercream dam around the top edge of the first layer and fill the center with vanilla pudding filling. Smooth the top so it's even with the buttercream dam.
- Place the second cake layer on top and gently press down.
- Apply a thin layer of buttercream all around the cake to create a crumb coat. Smooth with an angled spatula and bench scraper.
- Chill in the refrigerator for 15 minutes.
- Apply a thicker final layer of buttercream, smoothing it out with a bench scraper. Refrigerate for at least an hour.
Chocolate Drip
- Melt the chocolate in a microwave-safe bowl in 30-second intervals, stirring between each interval, until smooth.
- Stir in the oil to thin the chocolate slightly. This ensures a smooth drip.
- Pour the chocolate over the chilled cake, teasing it over the edges with an angled spatula for the dripping effect. Smooth the top. You may not need all the chocolate.
Final Touches
- Pipe decorative buttercream patterns on top of the cake.
- Garnish with grated dark chocolate and ROLO candies.
- Refrigerate until ready to serve. Remove from the refrigerator 20 minutes before serving to allow the buttercream to soften slightly.
NOTES
NUTRITION
Video Tutorial You Might Like


Leave a Reply