
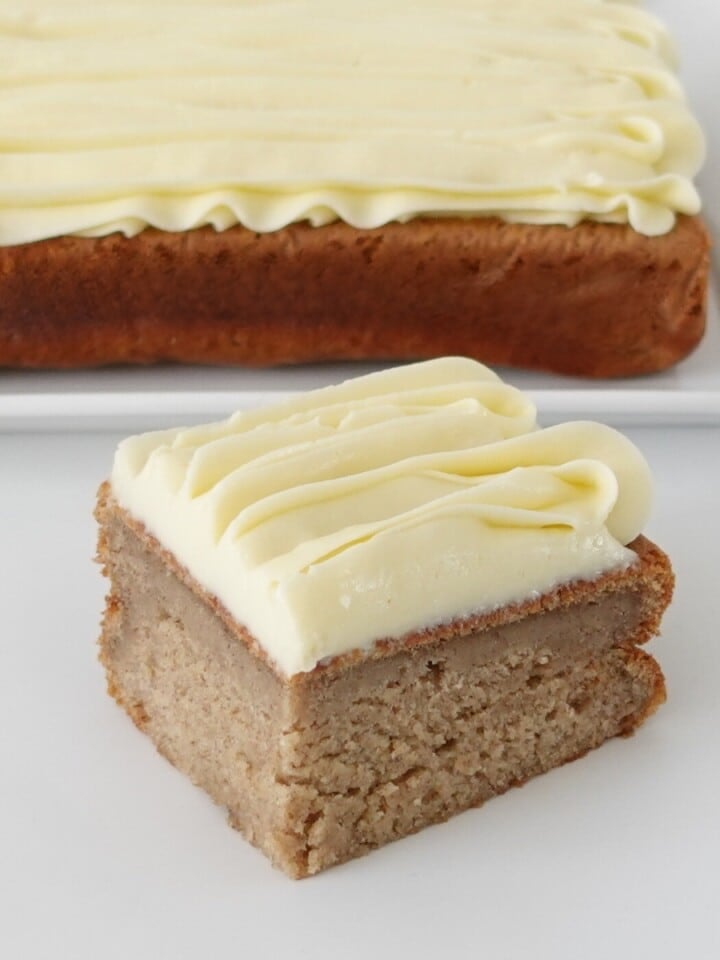
This Red Velvet Cake features a rich red color and a velvety texture with a soft, tender crumb. It's perfect for layering with cream cheese frosting. The combination of cocoa and vanilla creates a unique and delicious flavor.
SUMMARISE AND SAVE THIS RECIPE
Can Red Velvet Cake be made without Buttermilk?
Yes, you can make Red Velvet Cake without buttermilk. Use water and vegetable oil for moisture instead. The cake will still have its rich red color, velvety texture, and soft, tender crumb.
This works because the key qualities of Red Velvet Cake-moisture, texture, and flavor-can be achieved with other ingredients. Buttermilk usually adds acidity and moisture, but water and oil can do the same. The unique texture, flavor and color come from cocoa powder, vanilla, and red food coloring, which stay the same without buttermilk. Baking powder ensures the cake rises well, keeping its soft and tender crumb.
Is this Red Velvet Cake Vegan?
Yes, this Red Velvet Cake recipe is vegan. It uses water and vegetable oil instead of dairy milk or butter, and there are no eggs in the recipe. Just make sure to use vegan-friendly red gel food coloring, as some food colorings may contain animal-derived ingredients. Please note that the recommended cream cheese frosting or buttercream in this Blog Post is not vegan.
Ingredients in my Red Velvet Cake
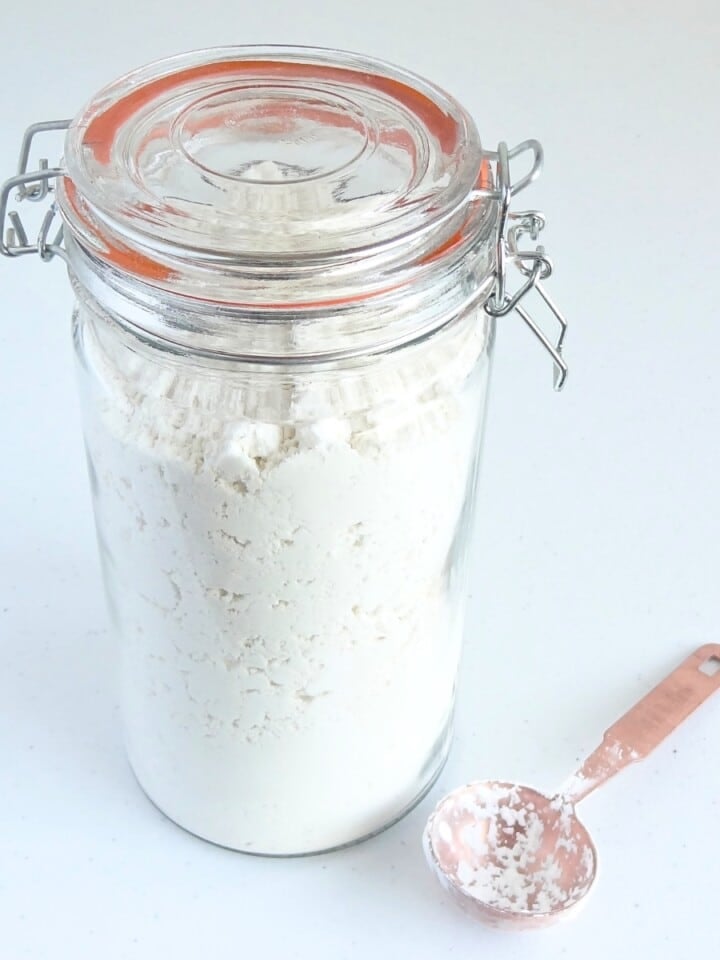
- Plain Flour (3 cups / 360g): Provides structure to the cake. It forms the base of the batter, helping it hold together and rise properly during baking.
- Cocoa Powder (1 ½ tablespoons / 15g): Adds a subtle chocolate flavor, which is essential for the classic Red Velvet taste. It also contributes to the rich color of the cake when combined with the red food coloring.
- Baking Powder (2 tablespoons / 28g): Acts as a leavening agent, helping the cake rise and become fluffy. It ensures the cake has a light and airy texture.
- Salt (Pinch): Enhances the overall flavor of the cake by balancing the sweetness. It also helps to strengthen the gluten structure in the flour.
- Sugar (1 ½ cups / 300g): Sweetens the cake and adds moisture. Sugar also helps with browning during baking, giving the cake a nice crust.
- Water (1 cup / 240ml): Adds moisture to the cake batter, ensuring the cake remains soft and tender.
- Vegetable Oil (1 cup / 240ml): Keeps the cake moist and tender. Unlike butter, oil remains liquid at room temperature, which helps maintain the cake's moisture even after cooling.
- Vanilla Extract (3 teaspoons / 15ml): Adds a rich and aromatic flavor to the cake. It enhances the overall taste and complements the chocolate notes from the cocoa powder.
- Red Gel Food Color (1 teaspoon / 5ml): Gives the red velvet cake its signature red color. Gel food coloring is preferred over liquid because it provides a more intense color without adding extra liquid to the batter.
Tips for Ingredients
- Plain Flour: Sift the flour to prevent lumps and ensure a smooth batter.
- Cocoa Powder: Use unsweetened cocoa powder for the best flavor. Sift it with the flour to evenly distribute.
- Baking Powder: Ensure it's fresh for maximum rising power for your red velvet cake.
- Sugar: Granulated sugar works best. It helps achieve a tender crumb.
- Water and Oil: Use room temperature water and a neutral-flavored oil like canola or vegetable. If you prefer, a light flavored olive oil can be used.
- Vanilla Extract: Pure vanilla extract provides the best flavor compared to imitation vanilla.
- Red Gel Food Color: Start with less and add more as needed to achieve the desired color. Gel colors are potent, so a little goes a long way.
How To Make My Red Velvet Cake
Preheat and Prepare
Preheat your oven to 180°C (350°F) to ensure it's ready when you're done preparing the batter. Grease two 7-inch cake pans with butter or non-stick spray, and line with parchment paper to prevent sticking. Properly prepared pans make removing the cakes easier after baking.
Mix Dry Ingredients
Place a mesh strainer over a large mixing bowl and sift in the plain flour, cocoa powder, baking powder, and a pinch of salt. Sifting breaks up any lumps and aerates the flour, creating a lighter cake. Add the sugar to the sifted ingredients and mix well with a hand whisk to ensure even distribution, which is crucial for a consistent batter.

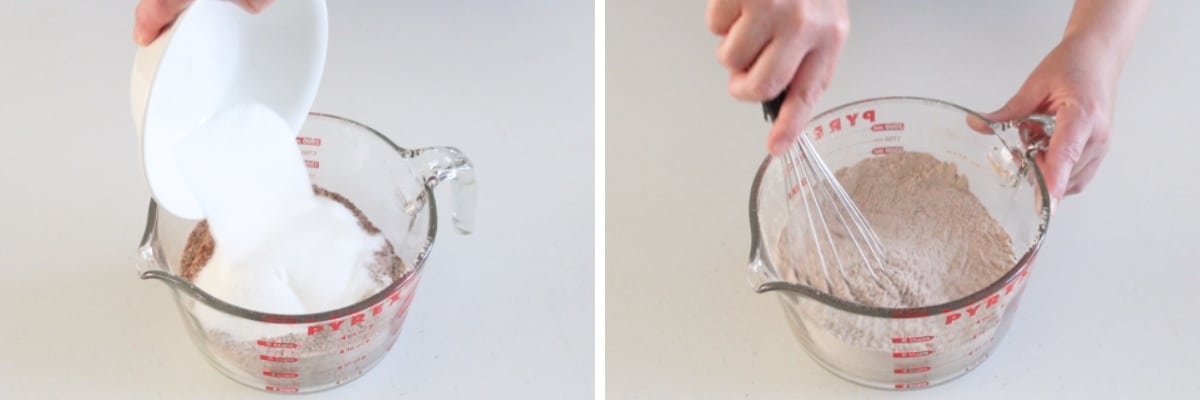
Add Wet Ingredients
Pour the water, vegetable oil, vanilla extract, and red gel food color into the bowl with the dry ingredients. Using a hand whisk or a stand mixer on low speed, mix the ingredients just until no more flour is visible. Be careful not to overmix, as this can cause the cake to be dense and tough. The batter should be smooth and evenly colored.

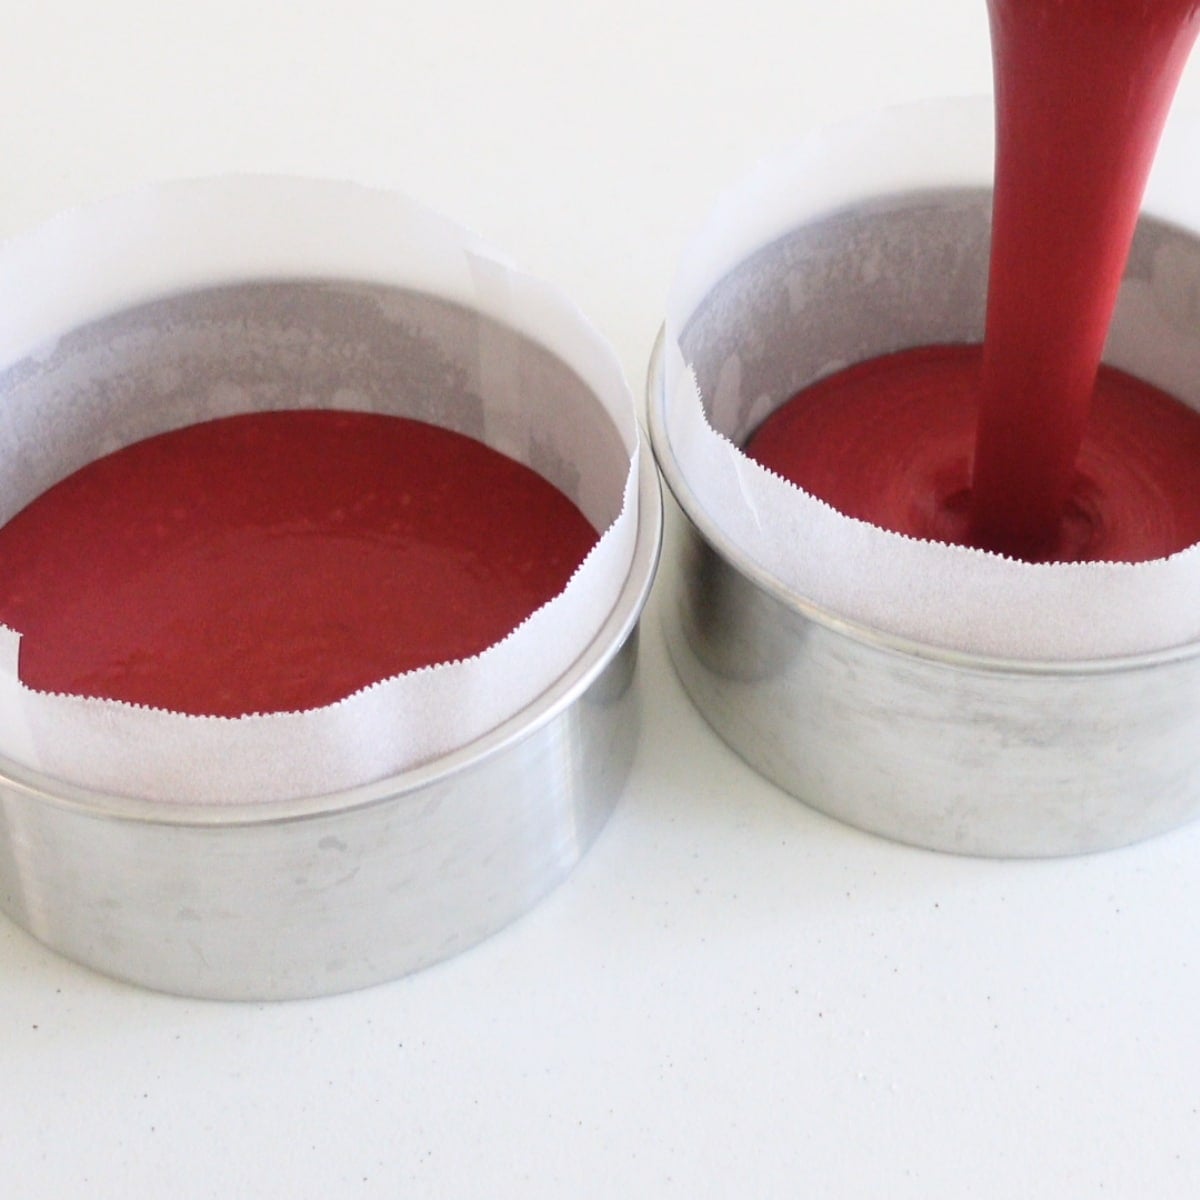
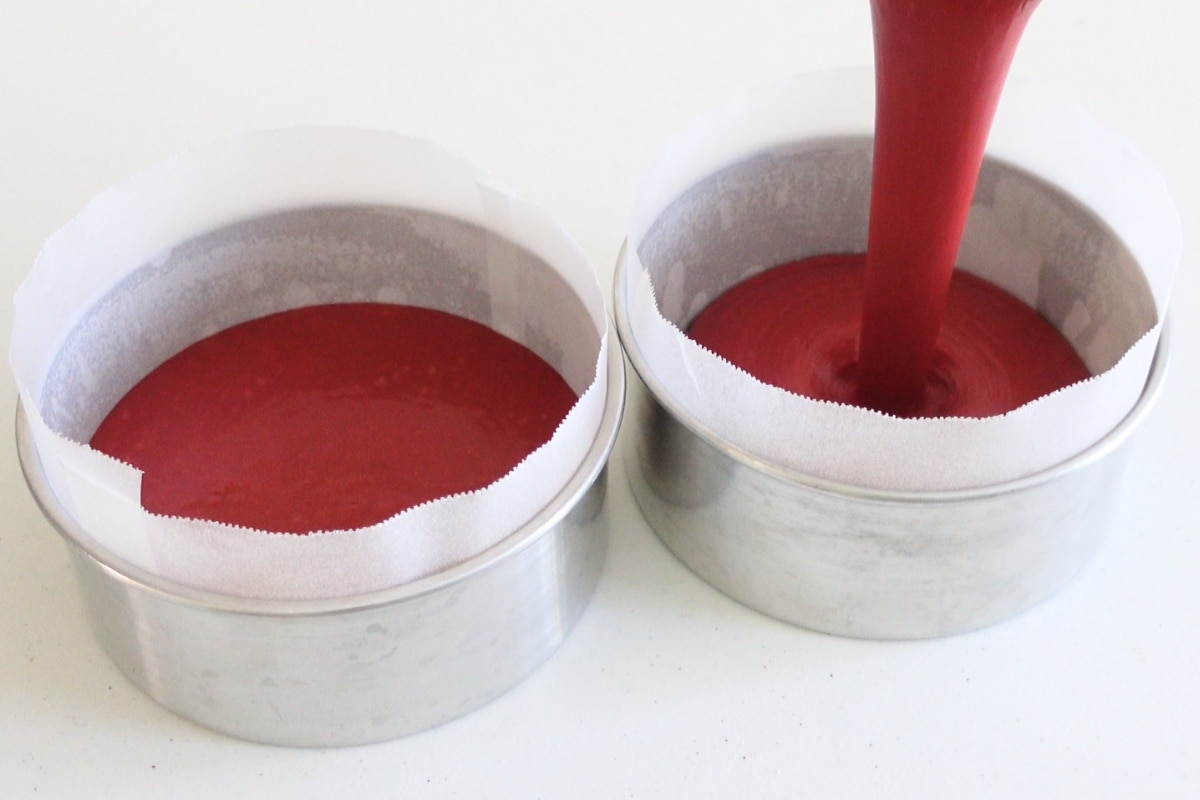
Divide and Bake
Evenly divide the batter between the two prepared cake pans, using a spatula to scrape all the batter from the bowl. Place the pans in the preheated oven and bake for 35-40 minutes, or until a toothpick inserted into the center of the cakes comes out clean. Avoid opening the oven door frequently, as this can cause the cakes to sink.

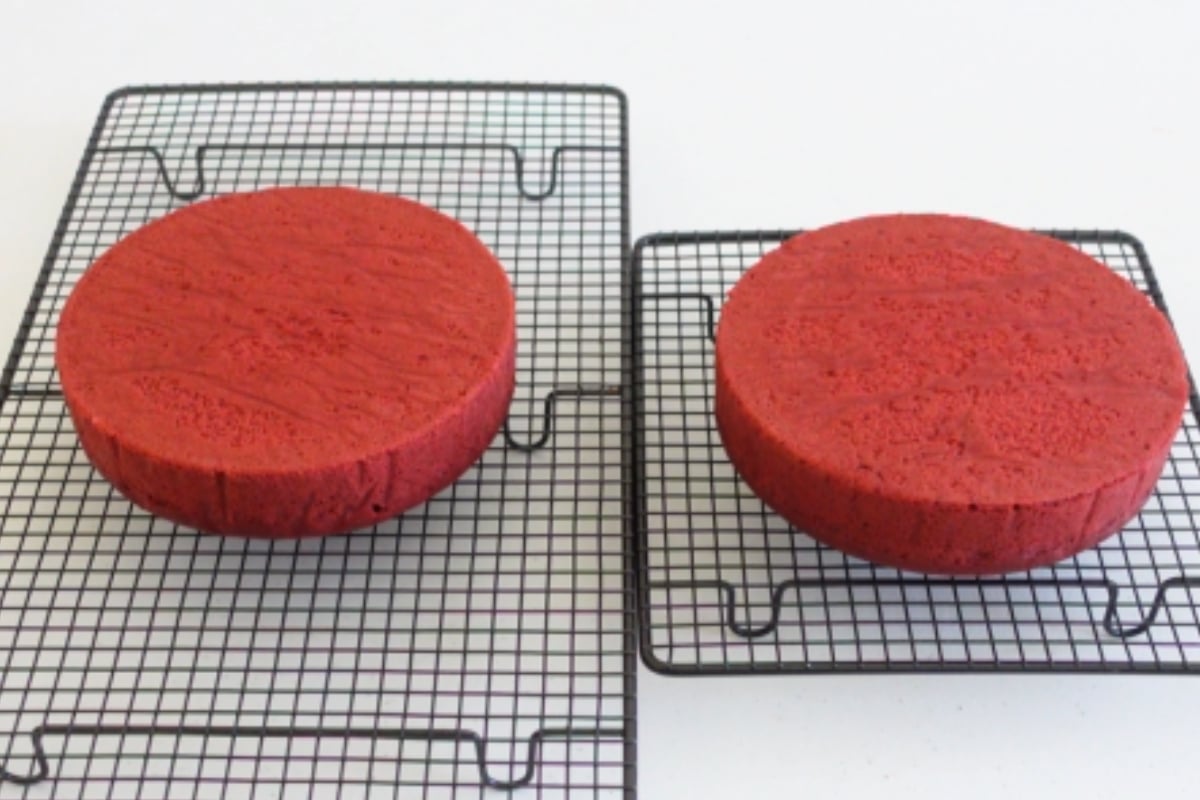
Cool
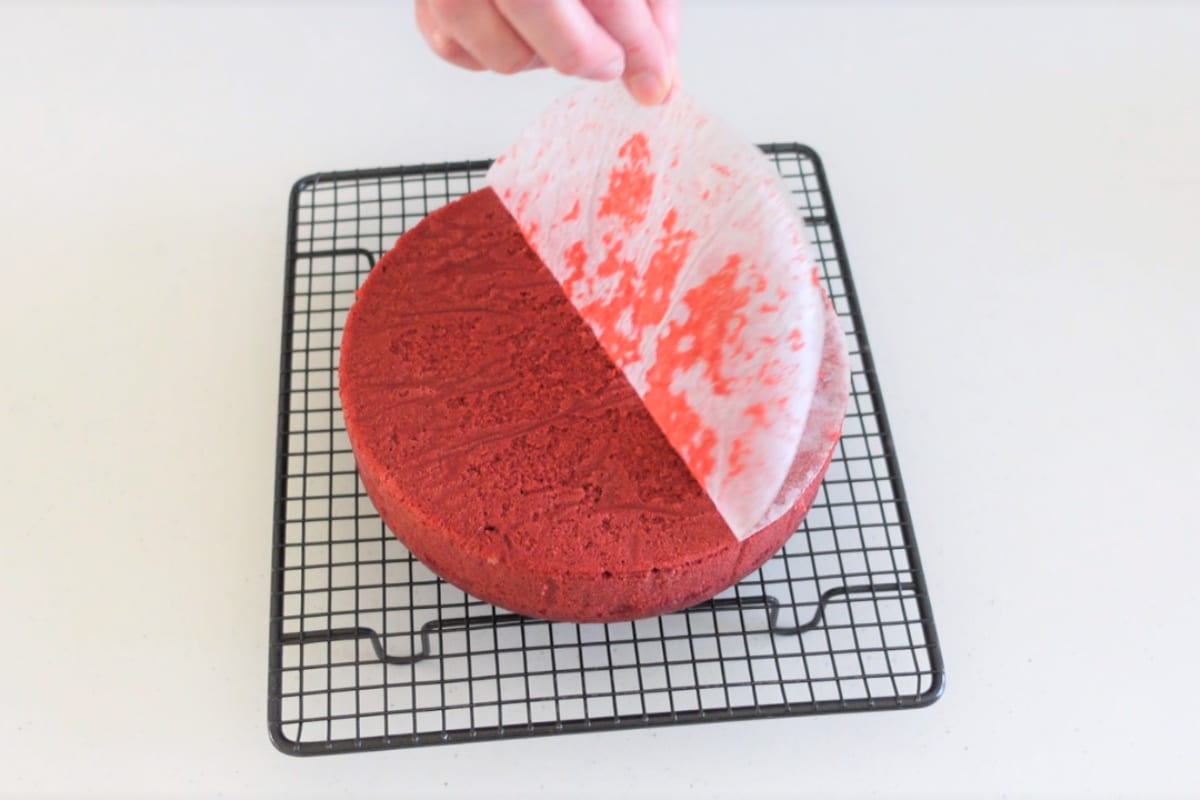
Remove the red velvet cakes from the oven and place them on a wire cooling rack. Allow them to cool in the pans for about 10 minutes to firm up slightly, making them easier to handle. After 10 minutes, run a knife around the edges to loosen the cakes from the pans, turn them out onto the wire rack, and remove the parchment paper. Let them cool completely before frosting.

Finish
If making a two-layer red velvet cake, trim any domes from the tops of the cakes to create flat surfaces. This makes stacking easier and ensures a stable cake. Once the cakes are completely cool, spread a layer of cream cheese frosting on top of one cake. Place the second cake on top and frost the top and sides as desired.
Fay's Top Tip
One important tip is to avoid overmixing the batter. After you add the wet ingredients to the dry ingredients, mix just until you no longer see any flour. Overmixing can cause the cake to become dense and tough, as it develops the gluten in the flour too much. Keeping the mixing brief helps maintain a light and tender texture in the cake.
Serving Suggestions
- Cream Cheese Frosting: Top the cake with a thick layer of cream cheese frosting/buttercream for a traditional and delicious combination. The tangy frosting complements the rich, velvety cake perfectly. My No-Grit Cream Cheese Buttercream or White Chocolate and Cream Cheese Ganache are fabulous options!
- Fresh Berries: Serve slices of Red Velvet Cake with a handful of fresh berries like strawberries, raspberries, or blueberries. The berries add a fresh, fruity contrast to the cake's sweetness.
- Whipped Cream: Add a dollop of lightly sweetened whipped cream on the side of each slice. This light and airy topping pairs well with the cake's dense texture.
- Chocolate Drizzle: Drizzle melted dark or white chocolate over the top of the cake or each slice for an extra touch of indulgence. It adds a rich, sweet layer that enhances the cocoa flavor.
- Ice Cream: Serve with a scoop of vanilla ice cream or chocolate ice cream. The cold, creamy texture of the ice cream pairs beautifully with the moist, tender cake.
- Coffee or Tea: Pair your slice of Red Velvet Cake with a cup of hot coffee or tea. The warm beverage complements the cake's flavor and makes for a comforting treat.
Other Cakes You Might Like
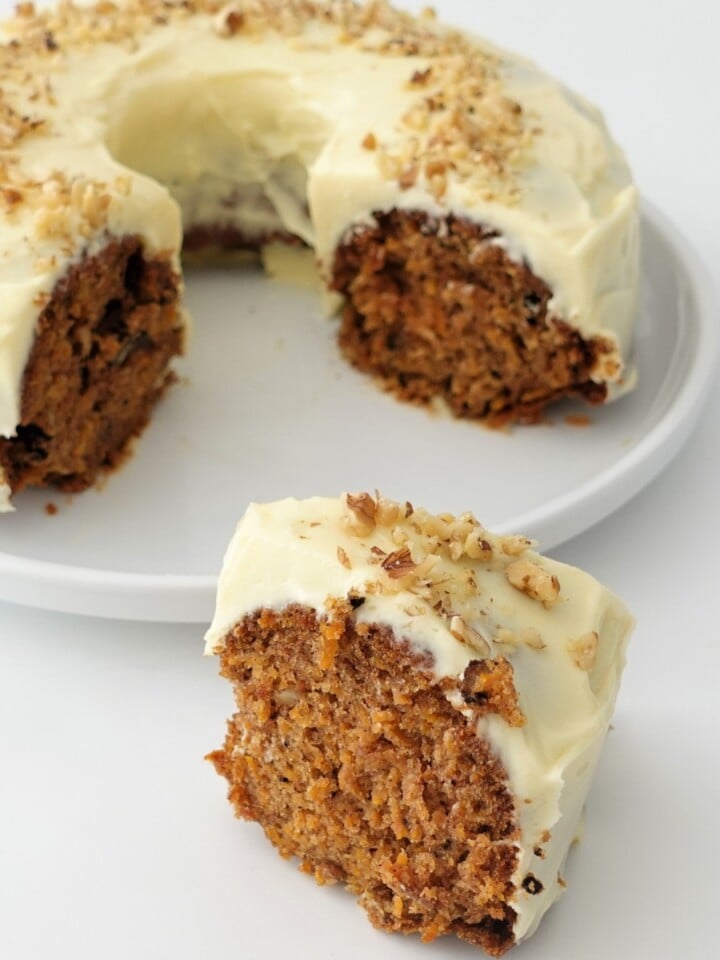
- Moist Carrot Cake with Cream Cheese Frosting
- Dairy Free Chocolate Cake
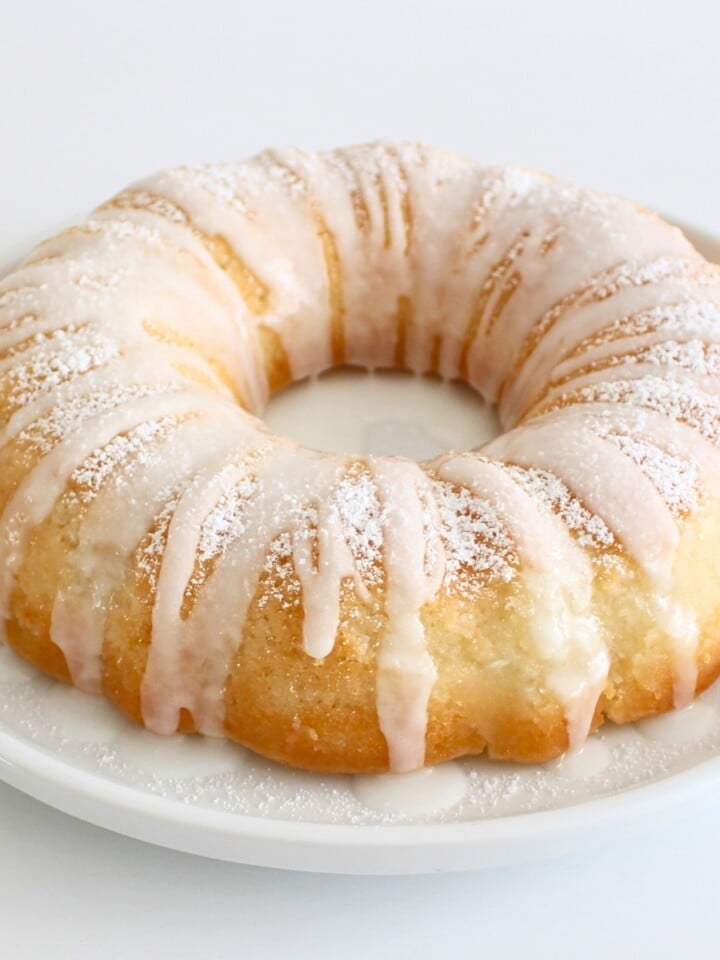
- Vegan Lemon Cake
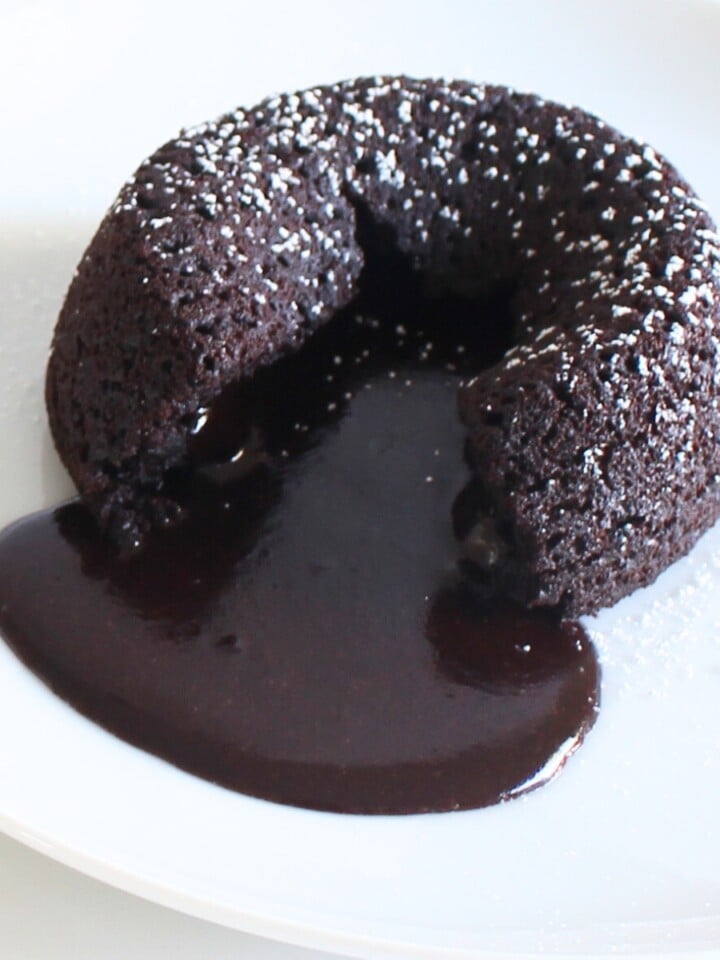
- Eggless Chocolate Lava Cake

Common Questions
Yes, you can use liquid food coloring, but you might need more to achieve the same vibrant red color. Gel food coloring is more concentrated and provides a stronger color without adding extra liquid to the batter.
Once frosted, store the cake in an airtight container in the refrigerator for up to a week. Let it sit at room temperature before serving for the best texture.
Yes, you can bake the cake layers ahead of time and freeze them. Wrap each layer tightly in cling wrap, then freeze for up to 3 months. Thaw the cakes in the refrigerator overnight before frosting and serving.
The cake is done when a toothpick inserted into the center comes out clean or with just a few moist crumbs. The edges of the cake should also start to pull away slightly from the sides of the pan.
Overmixing the batter can cause a dense cake. Mix just until the ingredients are combined. Also, make sure your baking powder is fresh, as old baking powder can affect the cake's rise.
Yes, you can use this batter to make cupcakes. Fill the cupcake liners about two-thirds full and bake at the same temperature for about 18-22 minutes, or until a toothpick comes out clean.
Red Velvet Cake Recipe
INGREDIENTS
- 360 g (3 cups) all purpose flour
- 15 g (1½ tablespoon) cocoa powder
- 28 g (2 tablespoon) baking powder
- ¼ teaspoon (¼ teaspoon) salt
- 300 g (1½ cup) sugar
- 240 ml (1 cup) vegetable oil
- 240 ml (1 cup) water
- 3 teaspoon (3 teaspoon) vanilla
- 1 teaspoon (1 teaspoon) red gel food color more or less
INSTRUCTIONS
- Preheat and Prepare: Preheat your oven to 180°C (350°F). Grease and line two 7-inch cake pans.
- Mix Dry Ingredients: Place a mesh strainer over a mixing bowl and add the flour, cocoa powder, baking powder, and salt. Sift into the bowl.
- Combine Dry Ingredients: Add the sugar to the sifted dry ingredients and mix well with a hand whisk.
- Add Wet Ingredients: Add the water, vegetable oil, vanilla extract, and red gel food color to the dry ingredients. Mix briefly on low speed until no more flour is visible. Be careful not to overmix.
- Divide and Bake: Divide the batter evenly between the two prepared cake pans.
- Bake: Bake in the preheated oven for 35-40 minutes, or until a toothpick inserted into the center comes out clean.
- Cool: Place the cakes onto a wire cooling rack and cool in the pans for 10 minutes. Then, turn out onto the cooling rack to cool completely.
- Finish: These cakes are perfect for stacking to make a two-layer cake. Trim the domes if stacking. Top with cream cheese frosting when completely cool. There are a couple of links in the blog post to Cream Cheese frostings!


Monika says
I have tried hundreds of different recipes. I'm so happy to find yours!!! It's the best ever ! Moist,soft,just perfect. Thank you
Fay says
How Fabulous Monika! I'm thrilled you like it! Thank you for posting.
Uzma Khan says
Hi...can I make cupcakes using the same measurements
Fay says
You sure can!
Cheryl Burrows says
I’ve never seen parchment paper used to line the sides of the cake pan? What is the purpose?
Fay says
I'm, not a fan of running my spatula around the sides to release the cake so I use parchment. Totally optional 🙂