
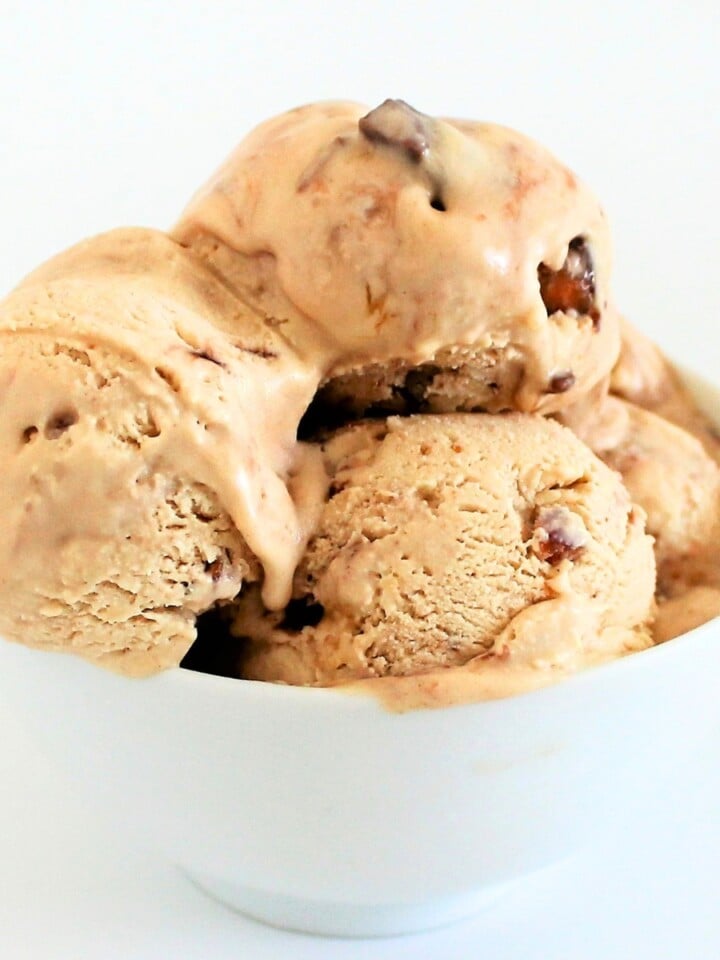
EASY 3 Ingredient easy Vanilla Ice Cream. Say goodbye to the ice cream maker and get excited about making your own vanilla ice cream with the aid of a simple blender. Yep, that’s right! NO ice cream maker needed! With minimal effort and a touch of patience, your reward is a bowl full of creamy bliss, tailor-made to suit your taste.

If you enjoy using a blender in creative ways, you'll love my Blender Banana Cake! It’s a quick and easy recipe that’s sure to impress.
Ingredients For 3 Ingredient Easy Vanilla Ice Cream
Heavy Cream: Heavy cream, also known as whipping cream, is a rich dairy product with a high fat content, typically around 36-40%. It is a key ingredient in ice cream because its fat content contributes to the creaminess and smooth texture of the final product. When whipped, it traps air and gives the ice cream a light and fluffy texture.
Sweetened Condensed Milk: Sweetened condensed milk is a thick, sweet, and highly concentrated form of milk. It is made by removing most of the water content from regular milk and then adding sugar. In this ice cream recipe, it serves as both a sweetener and a binder. It provides sweetness to the ice cream without the need for additional sugar and helps keep the ice cream smooth and creamy when frozen.
Vanilla Extract: Vanilla extract is a flavorful liquid derived from vanilla beans. It is used to add the classic vanilla flavor to the ice cream. In this recipe, pure vanilla extract is added to enhance the taste and aroma of this easy vanilla ice cream. Be sure to use pure vanilla extract or Vanilla Bean Paste for the best flavor, as artificial extracts may not provide the same quality.
How To Make Easy Vanilla Ice Cream With A Blender
Combine Ingredients: Add chilled heavy cream, sweetened condensed milk, and vanilla extract or vanilla bean paste to a blender..
Blend: Blend on medium speed for 30-40 seconds. Be careful not to over-blend, as excessive blending can lead to the mixture turning into vanilla butter!

Check Consistency: After blending, stop the blender and check the consistency. It should be smooth and well combined.
Transfer and Freeze: Pour the ice cream mixture into a lidded container. Smooth the top, cover with a lid, and place it in the freezer.
Freeze: Allow the ice cream to freeze for at least 6 hours or until it reaches your desired ice cream consistency. Longer freezing times will result in firmer ice cream.

A Word Of Caution!
The key here is a brief blend – 30 to 40 seconds is the sweet spot. Overmixing is the mortal enemy, threatening to turn your dreamy easy vanilla ice cream into an unexpected vanilla butter. So, tread lightly on that blender button.
What happens if you overmix? Fear not, as even mistakes in the kitchen can lead to delicious discoveries. Embrace the vanilla buttery twist and enjoy slathering it over your next batch of pancakes!

A Few Flavor Variations
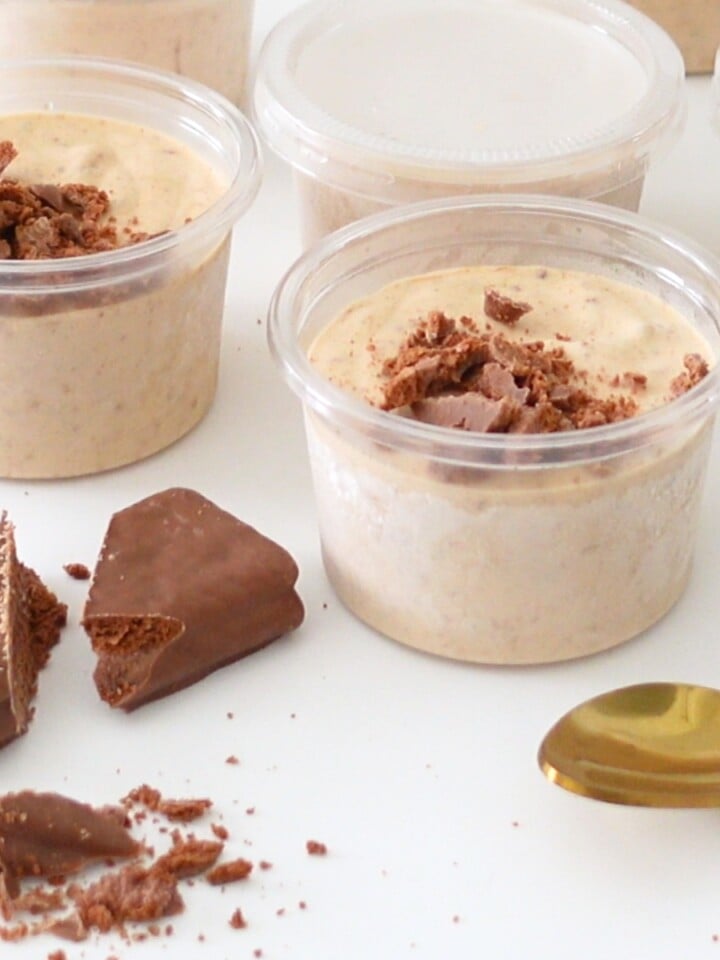
Chocolate Chips: Fold through some chocolate chips or chunks of dark, milk, or white chocolate before freezing this delicious easy vanilla ice cream.
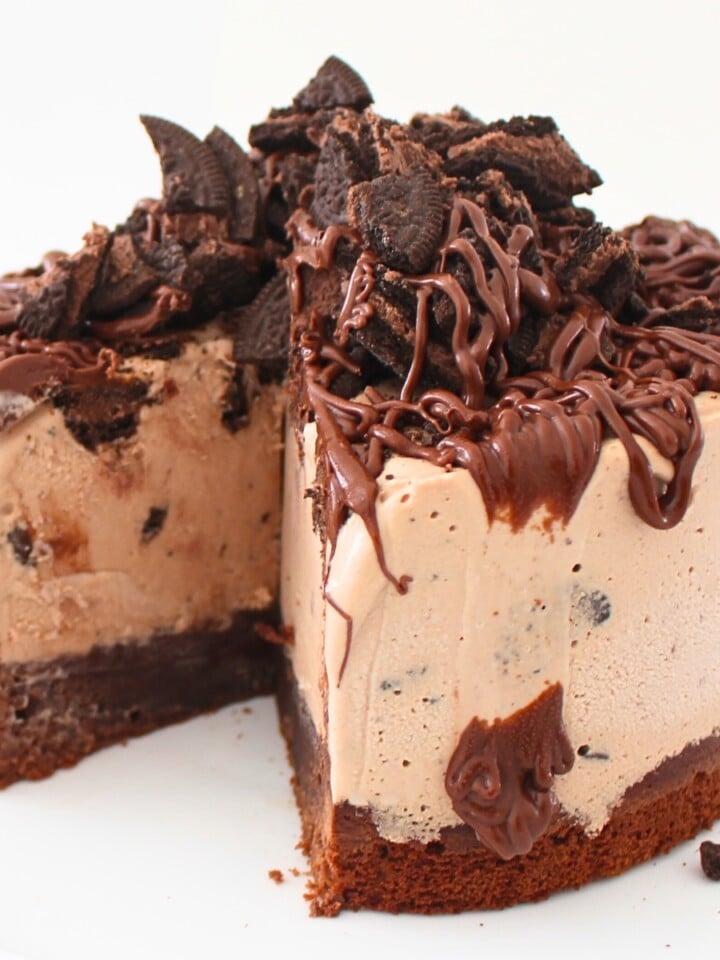
Crushed Cookies: Add texture and flavor by folding in your favorite cookies, whether it’s Oreos, chocolate chip, or gingersnaps.
Fruit Swirls: Swirl in fruit preserves or mixed berry compote for a burst of fruity goodness. Raspberry, strawberry, or mango can be delicious choices.
Caramel Ribbon: Drizzle in swirls of caramel sauce for a sweet and gooey surprise in every scoop.
Toasted Nuts: Pecans, almonds, or walnuts bring a satisfying crunch to complement the creaminess.
More Easy Ice Cream Recipes To Try

Common Questions
While half-and-half can be used, it will result in a lighter and less creamy ice cream. Heavy cream provides the richness and creaminess that make homemade ice cream so delicious.
Vanilla extract offers a richer and more intense flavor compared to vanilla essence. While you can use vanilla essence as a substitute, the flavor may not be as robust. For the best results, stick to pure vanilla extract if possible.
It's recommended to freeze the ice cream for at least 4-6 hours to achieve a firm consistency. However, freezing overnight will yield the best results. The exact time may vary depending on your freezer temperature and the size of the container.
Absolutely! This basic vanilla ice cream recipe serves as a versatile base. Feel free to experiment with additional flavors like chocolate chips, fruit purees, nuts, or cookie crumbles. Add them into the mixture before freezing for a personalized touch.
Yes, you can still make this recipe without a blender or mixer, but it may require more effort. Whisk the heavy cream vigorously by hand until stiff peaks form, then gently fold in the sweetened condensed milk and vanilla extract until well combined.

Easy Vanilla Ice Cream
INGREDIENTS
- 600 ml (2.54 cups) heavy cream
- 395 g (13.93 oz) sweetened condensed milk
- 3 teaspoon (3 teaspoon) vanilla bean paste
INSTRUCTIONS
- Ensure the whipping cream is chilled.
- Add the chilled cream, sweetened condense milk and vanilla to a blender.
- Place the lid on the blender securely.
- Blend the ingredients on a medium setting for 30 to 40 seconds only. Be cautious not to overmix, as this can lead to the development of an undesirable texture resembling butter.
- Stop blending and check the consistency of the mixture. It should be smooth and well combined. If more blending is needed, do it in 5-second increments!
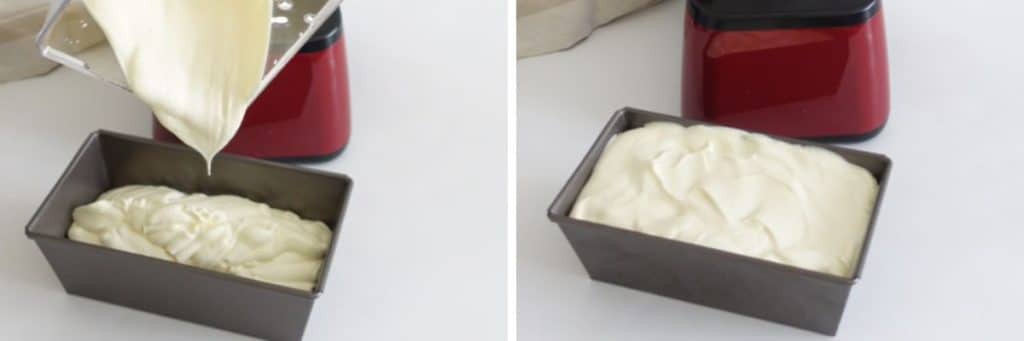
- Pour the ice cream mixture into a freezer-safe container and smooth the top with a spatula. I used a metal loaf pan.
- Place the container in the freezer and let the ice cream set for at least 6 hours or overnight.
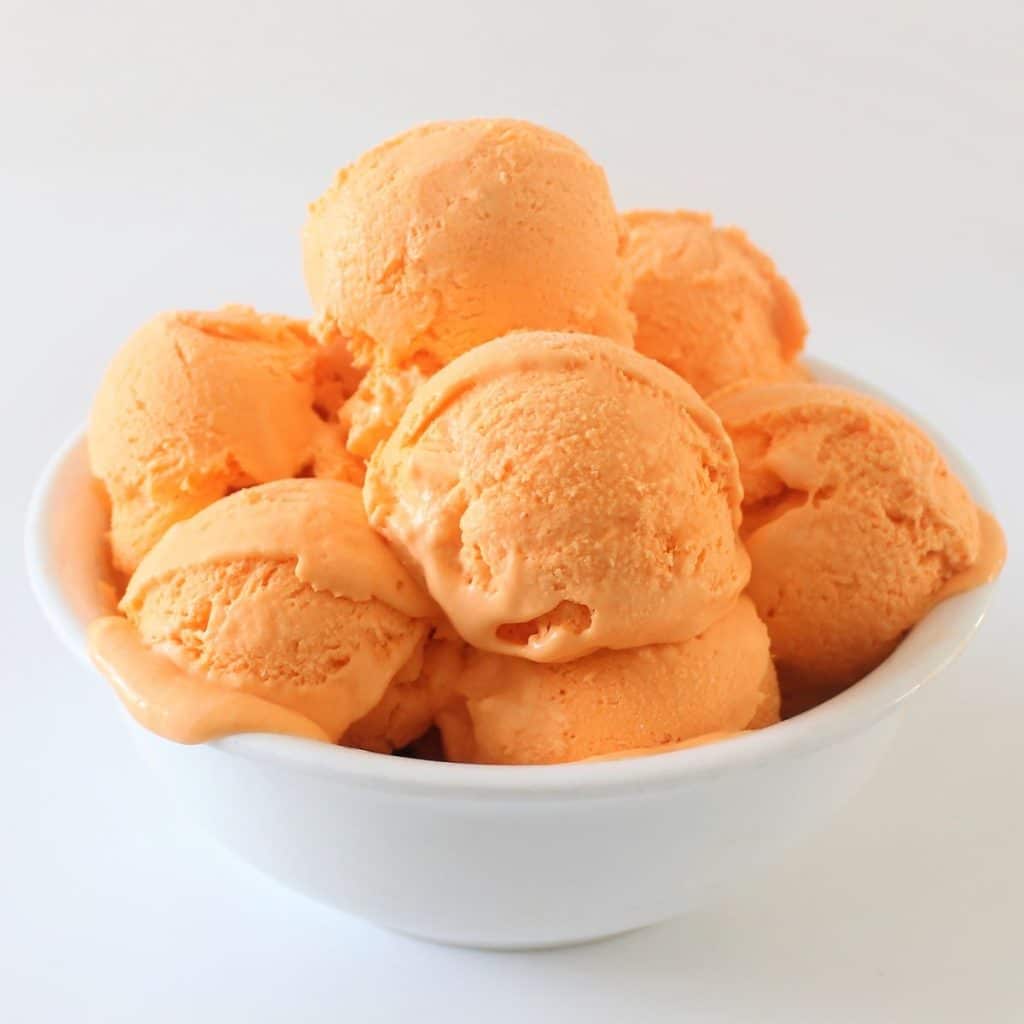
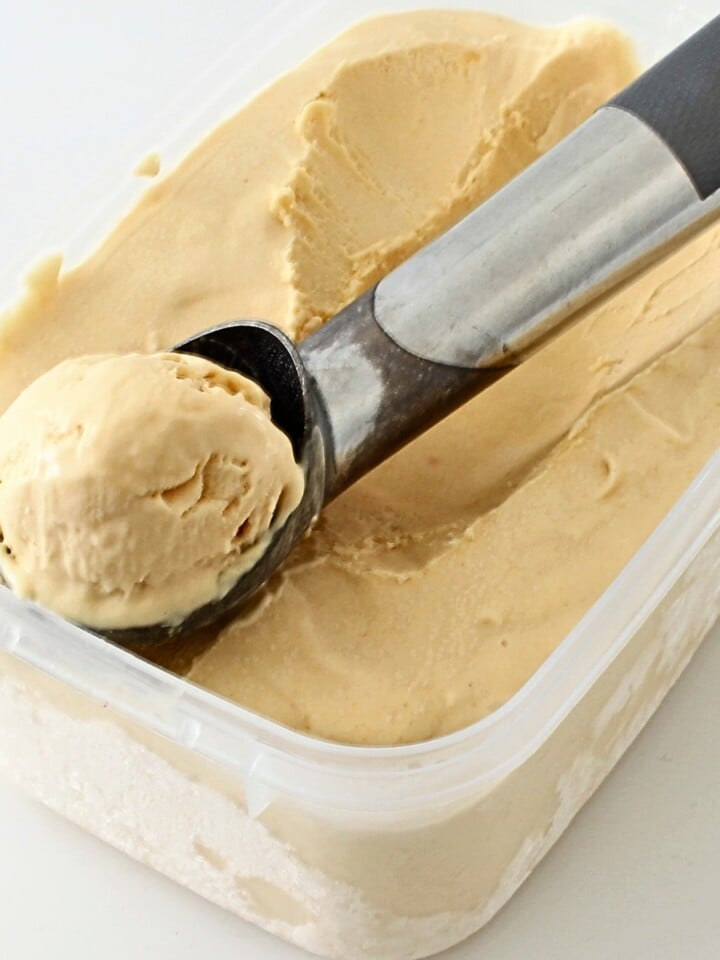
- Once the ice cream is fully set, scoop it into bowls or cones and ENJOY! Optionally, garnish with toppings like chocolate chips, nuts, or a drizzle of caramel.
NOTES
NUTRITION
Video Tutorials You Might Like


Janine Proudlock says
Hi Fay, I don't have a blender what else can I use to make this delicious ice cream.
Fay says
Hi Janine! The good news is you don't need a blender to make it! You can use a Hand Mixer or Stand Mixer with a whisk attachment. You'll get great results! All you need to do is mix until the volume increases by about one-third and the mixture thickens and you're good to go! Good Luck.
Marit says
Looks like a great recipe, do you have a suggestion of how much vanilla extract to use? I don't have paste.
Fay says
I'm glad you like the look of it! I would suggest starting with at least 2 teaspoons and taking it from there to see if you would like to try more.
Marit says
Thank you so much, I'll try this!