
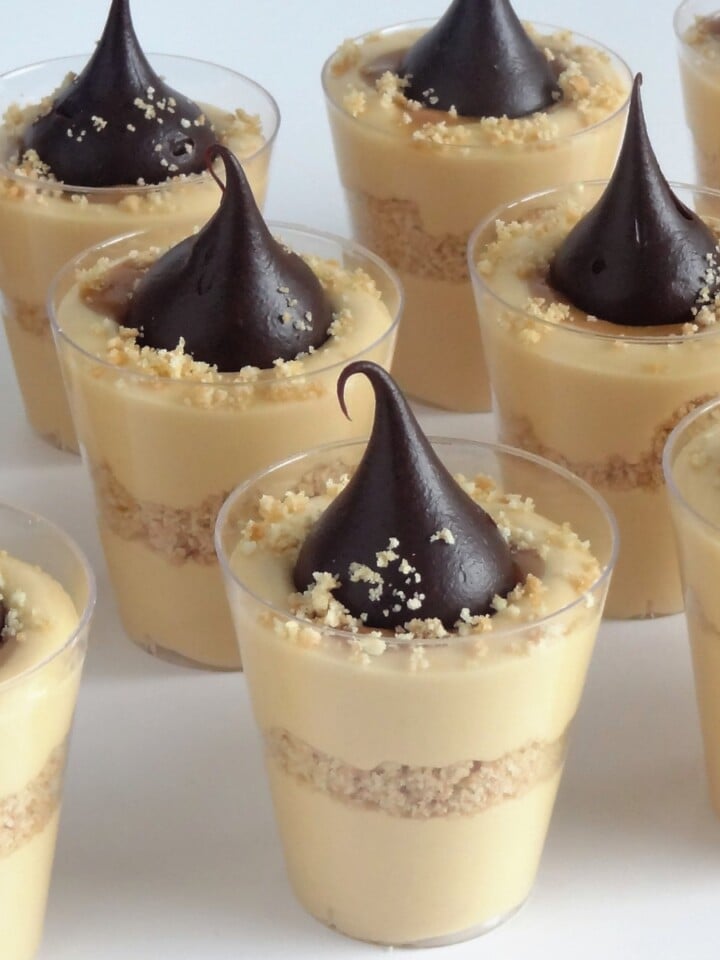
These Kinder Bueno Mini Cheesecakes are a luxurious treat, combining a crisp, buttery base with a velvety mix of cream cheese and Kinder Bueno. Set perfectly in individual portions, they're topped with a soft, chocolate-flavored whipped cream, and garnished with chocolate sprinkles and a piece of Kinder Bueno. This mini cheesecake recipe is where it's at!

SUMMARISE AND SAVE THIS RECIPE
What You'll Love About These Mini Cheesecakes
You're going to absolutely love this Kinder Bueno Mini Cheesecakes recipe for a bunch of reasons! First off, it's a perfect blend of nostalgia and indulgence. If you grew up loving Kinder Bueno bars, this recipe is like a trip down memory lane, but with a sophisticated twist. The creamy filling, combined with the crunchy base, creates a texture that's just heavenly.
Plus, these mini cheesecakes are so convenient. They're the ideal size for a quick treat without the guilt of eating a whole slice of cheesecake. Hosting a party? These are perfect for that too! They're easy to serve and are sure to impress your guests with their adorable size and delicious flavor. And let's not forget the fun of customizing them - you can add your own twist with different toppings or mix-ins.
If the Kinder Bueno flavor isn't you thing but you like the concept of Mini Cheesecakes, you might like my Tiramisu Mini Cheesecakes with their subtle coffee tones or if you prefer a refreshing and light fruity recipe then my Mini Mango Cheesecakes are for you!
Ingredients In My Mini Cheesecake Recipe
Base Ingredients:
Plain Cookies: These are crushed to create the base of the cheesecake. The choice of cookie can influence the flavor and texture of the base - typically, a simple, subtly sweet variety is preferred for a balanced taste and a firm yet crumbly texture.
Unsalted Butter: This acts as the binding element for the cookie crumbs, helping them hold together. The butter not only contributes to the structure but also adds a rich, buttery flavor to the base.
Filling Ingredients:
Cream Cheese: The main component of the cheesecake filling. It provides the classic creamy texture and a mild tangy flavor that's essential to any cheesecake.
Sugar: Sweetens the filling, counteracting the slight tartness of the cream cheese. It's crucial for the right balance of flavors in the cheesecake.
Kinder Bueno Bars: These add a unique twist to the recipe. They bring in a combination of chocolate and hazelnut flavors, adding depth and a hint of luxury to the cheesecake.
Warm Milk: Helps in smoothly blending the Kinder Bueno bars. It ensures that the chocolate and hazelnut flavors are evenly incorporated into the filling.
Gelatine: Used as a setting agent, it helps the cheesecake maintain its shape, especially important for mini cheesecakes that are served as individual portions.
Hot Water: Used to dissolve the gelatine, ensuring it mixes seamlessly into the filling without clumping.
Heavy Cream: Adds an extra layer of richness and contributes to a lighter, airier texture in the filling.
Topping Ingredients:
Heavy Cream: When whipped, it forms a light, fluffy topping that contrasts beautifully with the denser cheesecake filling.
Powdered Sugar: Adds a subtle sweetness to the whipped cream, complementing the overall dessert without overpowering it.
Vanilla Extract: Imparts a warm, aromatic flavor to the whipped cream, enhancing the overall taste profile of the cheesecake.
Chocolate Sauce: Brings in a rich, chocolatey element to the topping, pairing wonderfully with the Kinder Bueno flavor in the filling.
Garnish:
Chocolate Sprinkles: Provide a delightful finishing touch, adding a bit of texture and enhancing the visual appeal of the mini cheesecakes, along with an extra chocolatey note.
How To Make My Kinder Bueno Mini Cheesecakes
Base Preparation:
Crushing the Cookies: Begin by turning your choice of plain cookies into fine crumbs. You can use a food processor or a stick blender for this task. The goal is to achieve a consistent, sandy texture.

Combining with Butter: Mix these crumbs thoroughly with melted unsalted butter. The butter acts as a binder, holding the crumbs together to form a solid base.

Forming the Base: Press this mixture evenly into the bottom of your chosen moulds. Silicone moulds are great as they make it easier to remove the cheesecakes later. Use the back of a spoon or a small glass to compact the mixture firmly.

Chilling the Base: Place these bases in the refrigerator while you prepare the filling. An alternative to silicone moulds is a cupcake tray lined with baking cups.
Filling Preparation:
Cream Cheese and Sugar Mix: In a large bowl, blend cream cheese with sugar until you have a smooth and creamy mixture. Ensure the sugar is completely dissolved.

Blending Kinder Bueno: Chop the Kinder Bueno bars and blend them with warm milk until the mixture is smooth. This step infuses the filling with the chocolate and hazelnut flavors of the Kinder Bueno.

Combining Mixtures: Add the blended Kinder Bueno to the cream cheese mix, continuing to beat until the texture is uniform.

Preparing Gelatine: Dissolve gelatine in hot water in a separate bowl. This step is crucial as it helps the cheesecake set and maintain its shape.

Incorporating Gelatine: Gradually pour the gelatine mixture into the cream cheese mixture, ensuring even distribution.

Adding Heavy Cream: Mix in heavy cream, which adds richness and creates a lighter texture in the filling.

Filling the Moulds: Spoon the filling over the bases in the moulds, filling them to the top. Tap the tray to release air bubbles and smooth the tops.

Freezing: Freeze the cheesecakes for several hours, preferably overnight, to ensure they are well set.
Topping Preparation:
Whipping Cream: Whip heavy cream along with powdered sugar, vanilla extract, and chocolate sauce until stiff peaks form. This creates a luxurious topping that complements the cheesecake.

Assembly and Finishing Touches:
Unmoulding: Carefully remove the cheesecakes from their moulds. Silicone moulds can be gently pushed from the bottom for easy release.
Decorating: Use a piping bag with a 2D tip to add generous swirls of the whipped cream onto each cheesecake.
Garnishing: Sprinkle chocolate sprinkles over the whipped cream and top each cheesecake with a piece of Kinder Bueno for an extra touch of indulgence.

Thawing: Before serving, refrigerate the cheesecakes to thaw them to a creamy and enjoyable texture.

My Top Tip For These Mini Cheesecakes
When you're making these Mini Kinder Bueno Cheesecakes, the most important thing for you to focus on is the gelatine. It's the key to getting your cheesecakes just right - firm enough to hold their shape but still creamy and delicious. Here's what you need to keep in mind:
Dissolve the Gelatine Thoroughly: Make sure you dissolve the gelatine completely in hot water before mixing it into your cream cheese. If it's not fully dissolved, you might end up with lumpy cheesecakes.
Mix It in Gradually: When you're adding the gelatine to the cream cheese mixture, do it slowly and keep mixing. This way, you avoid any clumps and get a smooth, even texture throughout your cheesecakes.
Watch the Temperature: If there's a big temperature difference between your gelatine mixture and the cream cheese, the gelatine can set too quickly and create lumps.
Give It Time to Set: Be patient and let your cheesecakes freeze long enough. If you try to unmold them too soon, they might not hold their shape.
By paying attention to these gelatine tips, you're going to have mini cheesecakes that are not only tasty but also look great on your dessert table. Happy baking!
Serving Suggestions and Variation Ideas
When it comes to serving and adding variations to your Mini Kinder Bueno Cheesecakes, you have a lot of creative options to explore:
Serving Suggestions:
Temperature: Serve them slightly chilled for the best texture. If they're too frozen, let them sit in the refrigerator for a while before serving.
Presentation: Arrange them on a platter with some fresh berries or mint leaves for a pop of color and a fresh contrast in flavor.
Pairing with Beverages: These cheesecakes pair wonderfully with coffee or a dessert wine, enhancing the overall dessert experience.
Mini Cheesecake Recipe Variations:
Different Chocolates: If Kinder Bueno isn't your thing or you want to try something new, substitute with other chocolate bars. Think about incorporating Snickers for a nutty flavor, or Twix for a caramel twist.
Crust Variations: Experiment with different types of cookies for the base, like chocolate cookies, graham crackers, or even ginger snaps for a spiced flavor.
Flavored Whipped Cream: Infuse your whipped cream with different flavors like almond extract, orange zest, or even a splash of liqueur for an adult version.
Mini Cheesecake Bites: For even smaller servings, make bite-sized cheesecakes in a mini muffin tin. They're perfect for parties where guests can just grab a bite.
Drizzle Sauces: Drizzle caramel or chocolate sauce over the top before serving for added decadence.
Remember, the beauty of this recipe lies in its versatility. Feel free to get creative and tailor it to your taste preferences or to suit the occasion. Enjoy experimenting!
More Cheesecake Recipes
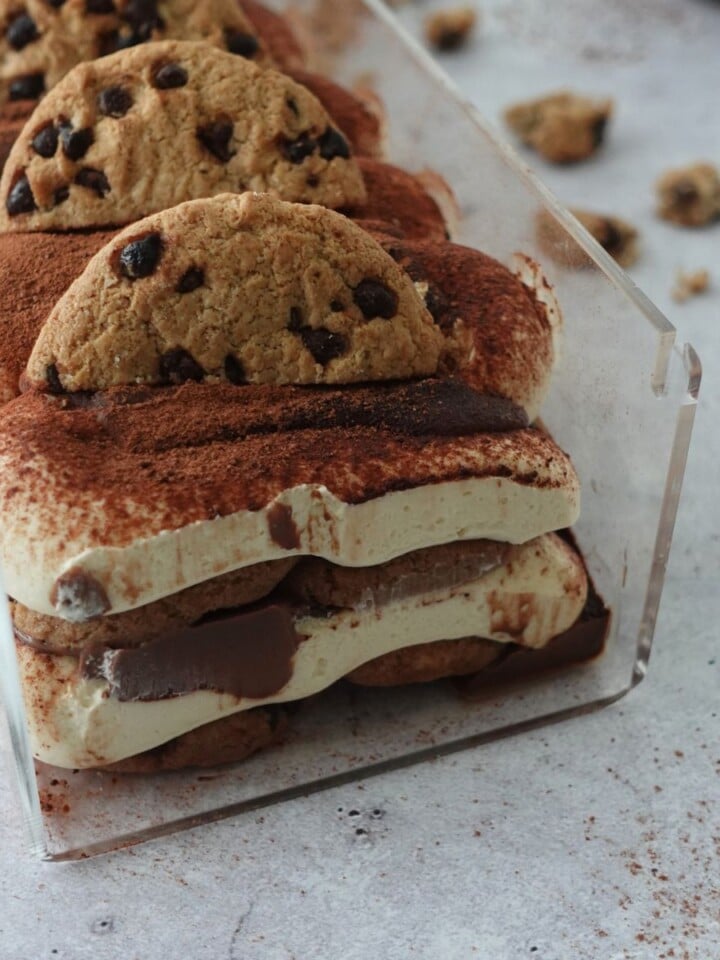
- No-Bake Chocolate Chip Tiramisu Cheesecake
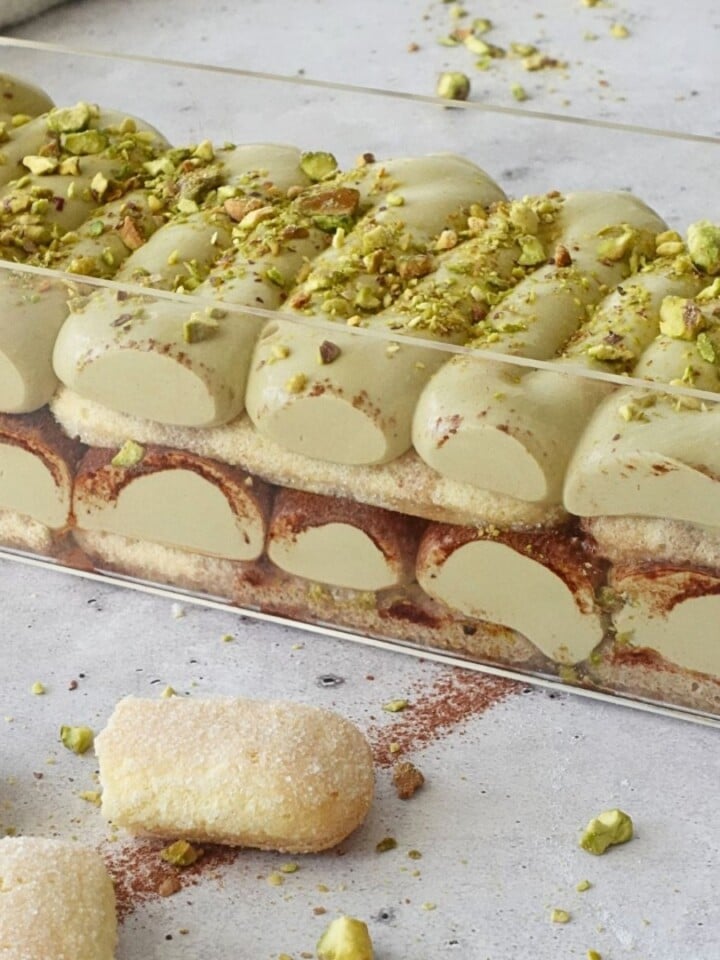
- No-Bake Pistachio Tiramisu Cheesecake Recipe
- Pumpkin Cheesecake
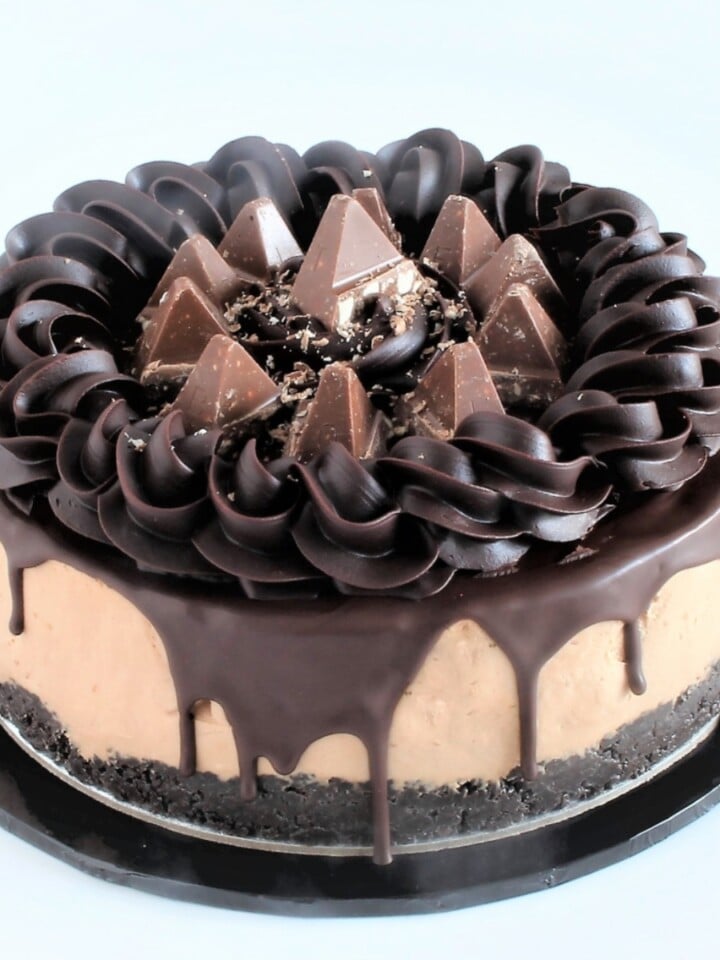
- No Bake Tiramisu Cheesecake (Alcohol Free)


Common Questions
Yes, you can! While plain cookies are suggested, feel free to experiment with graham crackers, chocolate cookies, or even ginger snaps for a different flavor profile.
No, silicone moulds are not mandatory. They make unmoulding easier, but you can also use a cupcake tray lined with baking cups as an alternative.
It's best to freeze them for at least 6 hours, or ideally overnight. This ensures they are firm enough to hold their shape when unmoulded.
Absolutely. While homemade whipped cream is recommended for flavor and texture, you can use store-bought whipped cream for convenience.
Store any leftovers in the refrigerator, covered, for up to 3-4 days. Make sure they're well-covered or in an airtight container to maintain freshness.
Yes, they are a great make-ahead dessert. You can prepare them a day or two in advance and keep them frozen until a few hours before serving.
Yes, to make them gluten-free, use gluten-free cookies for the base. Ensure all other ingredients are gluten-free as well.
Mini Kinder Bueno Cheesecakes Recipe
INGREDIENTS
Base
- 135 g (4 ¾ oz) cookies plain
- 80 g (⅓ cups) butter unsalted
Filling
- 250 g (1 cups) cream cheese
- ½ cup (½ cup) sugar
- 4 (4) Kinder Bueno chocolate bars
- ¼ cup (¼ cup) milk warmed
- 2 teaspoon (2 teaspoon) gelatine powder
- 2 tablespoon (2 tablespoon) water hot
- 400 ml (1 ⅔ cups) heavy cream
Topping
- 1 cup (1 cup) heavy cream cold
- 1 tablespoon (1 tablespoon) powdered sugar
- 1 teaspoon (1 teaspoon) vanilla extract
- 1 tablespoon chocolate sauce
Garnish
- 1 tablespoon (1 tablespoon) chocolate sprinkles
- 3 (3) Kinder Bueno chocolate bars
INSTRUCTIONS
Base
- Place the plain cookies in the bowl of a food processor or use a stick blender and pulse until you achieve fine, even crumbs.
- In a mixing bowl, combine the cookie crumbs with the melted butter, stirring until the mixture resembles wet sand.
- Press this mixture evenly into the bottom of 12 round silicone moulds, using the back of a spoon or a small glass to compact it firmly. This forms your cheesecake base.
- Refrigerate these bases while you prepare the filling. If you don't have silicone moulds, line a cupcake tray with baking cups for an alternative approach.
Filling
- In a large bowl, combine the softened cream cheese with granulated sugar. Using a hand mixer, beat the mixture until it's smooth and creamy, ensuring the sugar is fully dissolved.
- Roughly chop the Kinder Bueno bars into smaller pieces. Place them in a blender along with the warm milk and blend until smooth.
- Add this Kinder Bueno mixture into the cream cheese base, and continue to beat until thoroughly combined and the mixture is uniform in texture.
- In a small bowl, sprinkle the gelatine powder over the hot water. Stir until the gelatine is fully dissolved and the mixture is clear.
- Gradually pour the gelatine liquid into the cream cheese mixture, mixing continuously. This ensures even distribution of the gelatine.
- Finally, pour in the cold heavy cream and continue to mix until the filling thickens slightly, resembling a mousse-like consistency.
- Spoon the filling into the prepared bases in the moulds, filling them to the top. Gently tap the tray on the counter to release any trapped air bubbles, and use an angled spatula to create a smooth surface.
- Freeze the cheesecakes for at least 6 hours, or ideally overnight.
Topping
- In a mixing bowl, whip the cold heavy cream with the powdered sugar, vanilla extract and chocolate sauce until stiff peaks form.
Assembly
- Carefully unmould the frozen cheesecakes. If using silicone moulds, gently push from the bottom to release them.
- Fit a 14" piping bag with a 2D piping tip and fill it with the whipped cream. Pipe generous swirls of whipped chocolate cream onto each mini cheesecake.
- Garnish each cheesecake with a sprinkle of chocolate sprinkles and a piece of Kinder Bueno.
- Refrigerate the assembled cheesecakes for about two hours to thaw them to a creamy texture before serving.
NOTES
NUTRITION
Video Tutorials You Might Like


Leave a Reply