
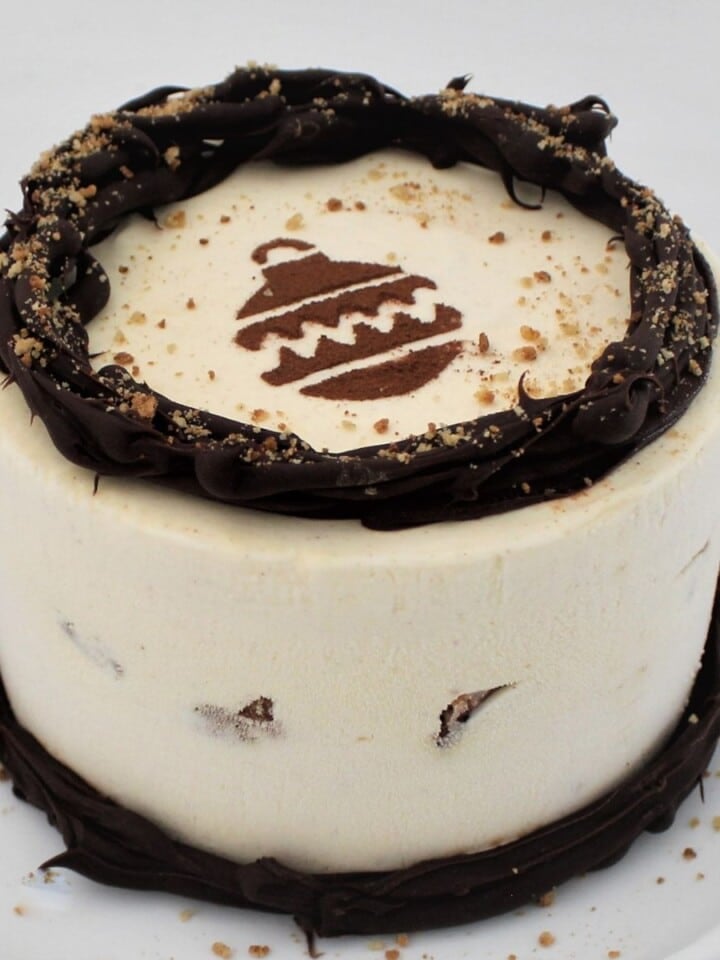
This Chocolate Ice Cream recipe is super easy and tastes amazing. If you love chocolate, you're going to love this! It's simple to make your own ice cream at home without needing any fancy equipment. All you need are three everyday ingredients that you probably already have.
SUMMARISE AND SAVE THIS RECIPE
Why You'll Love My Chocolate Ice Cream Recipe
Easy to Make: It's incredibly simple, using just three basic ingredients. This means you can easily whip it up, even if you're new to making desserts.
No Fancy Equipment Required: You don't need an ice cream maker or any special kitchen gadgets to make this ice cream, making it a convenient option for you.
Rich Chocolate Flavor: As a chocolate lover, you'll appreciate the deep, satisfying chocolate taste this recipe delivers. It's perfect when you're craving a chocolatey treat.
Customizable: The recipe is straightforward but leaves room for you to get creative. Add your favorite toppings or mix-ins like nuts, chocolate chips, or marshmallows to make it your own.
Creamy and Smooth: You'll be amazed at how creamy and smooth this no-churn ice cream turns out, rivaling what you might buy at the store
Homemade: There's something special about enjoying food that you've made yourself. This recipe gives you the satisfaction of creating a delicious treat from scratch to share with your loved ones.
If that doesn't convince you to try this recipe, or if you prefer vanilla over chocolate, then I am pretty sure you will love my 3-ingredient Vanilla Ice Cream recipe.
Ingredients In My Chocolate Ice Cream Recipe
Heavy Whipping Cream
Role: It's the foundation of the ice cream's structure. When whipped, heavy whipping cream increases in volume, creating air pockets that contribute to a light and fluffy texture.
Importance: The high-fat content (usually around 36-40%) in heavy whipping cream is crucial for achieving a smooth, creamy consistency. This fat also helps in reducing ice crystal formation during freezing, ensuring your ice cream is not icy but rather luxuriously smooth.
Sweetened Condensed Milk
Role: It adds sweetness and a rich, creamy texture. Unlike regular milk, condensed milk is concentrated and has less water content, which aids in the creamy texture of the ice cream.
Importance: It acts as an easy, no-cook alternative to the traditional custard base found in classic ice cream recipes. The sugar in sweetened condensed milk lowers the freezing point, helping to keep the ice cream soft and scoopable even after freezing.
Chocolate Sauce/Syrup
Role: This is the primary flavoring agent, providing the chocolate taste. It's easier to incorporate into the mixture compared to solid chocolate, which would need to be melted.
Importance: The sauce/syrup form of chocolate blends seamlessly with the creamy base, ensuring even distribution of chocolate flavor throughout the ice cream. You can adjust the quantity based on how intense or mild you want the chocolate flavor to be.
How To Make My Chocolate Ice Cream Recipe
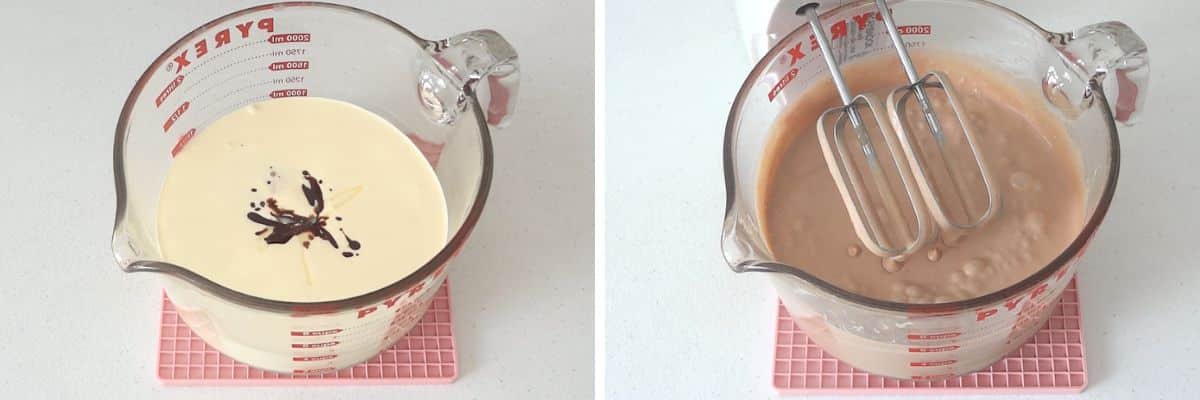
Mixing the Base:
Start by combining the heavy whipping cream, sweetened condensed milk, and chocolate sauce in a large mixing bowl.
You'll want to measure out 2 ½ cups of heavy whipping cream, one can of sweetened condensed milk, and between ½ to 1 cup of chocolate sauce, depending on how chocolatey you like your ice cream.
The goal here is to create a homogenous mixture where all the ingredients are well integrated.
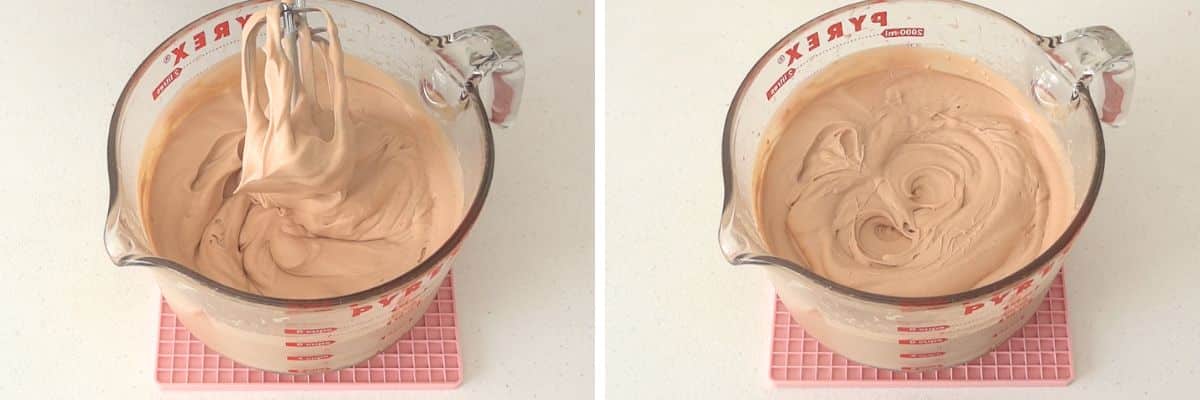
Whipping the Mixture:
Use a hand mixer or a stand mixer to whip the mixture you just combined.
The aim is to incorporate air into the cream, which increases its volume and creates a light, fluffy texture.
You'll know it's done when the mixture becomes thick and holds soft peaks. This process typically takes 5 to 10 minutes.
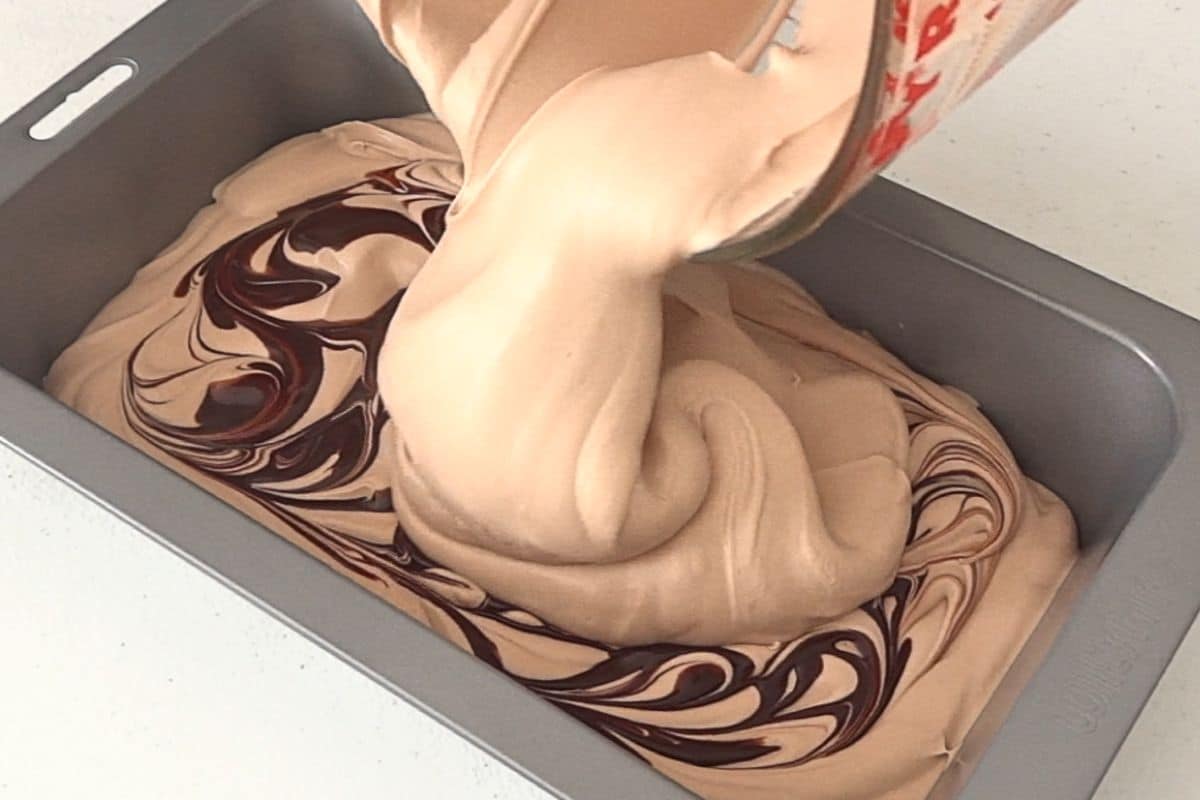
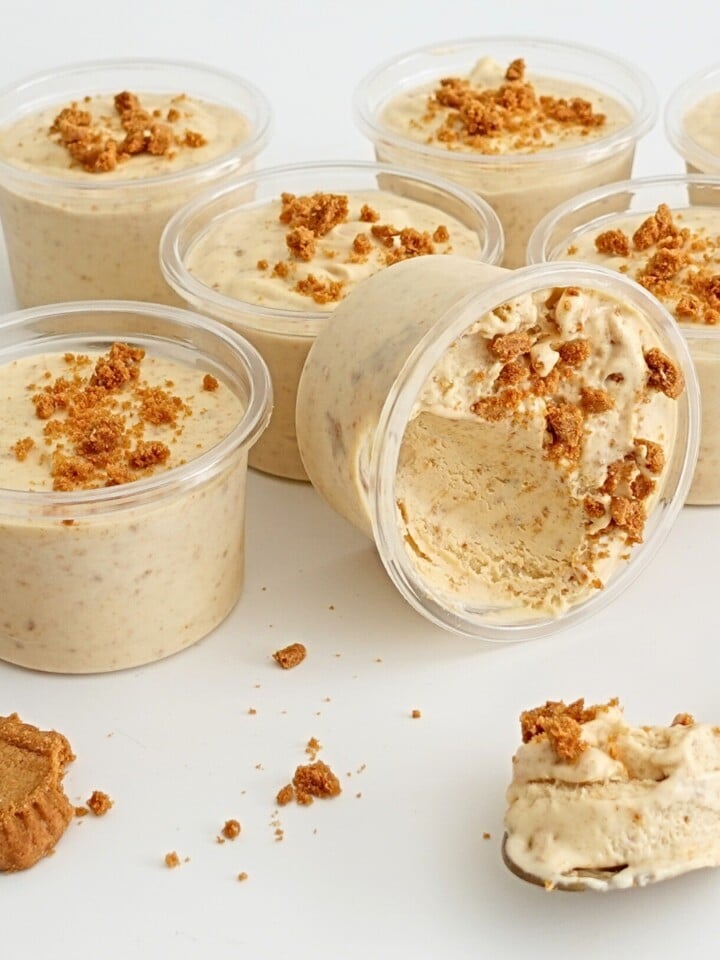
Layering the Ice Cream:
Choose a freezer-safe container for storing your ice cream. Begin by pouring a layer of the whipped mixture into the container. Then, add a drizzle of chocolate sauce over this layer. You can use a knife or skewer to gently swirl the chocolate sauce into the cream, creating a marbled effect.
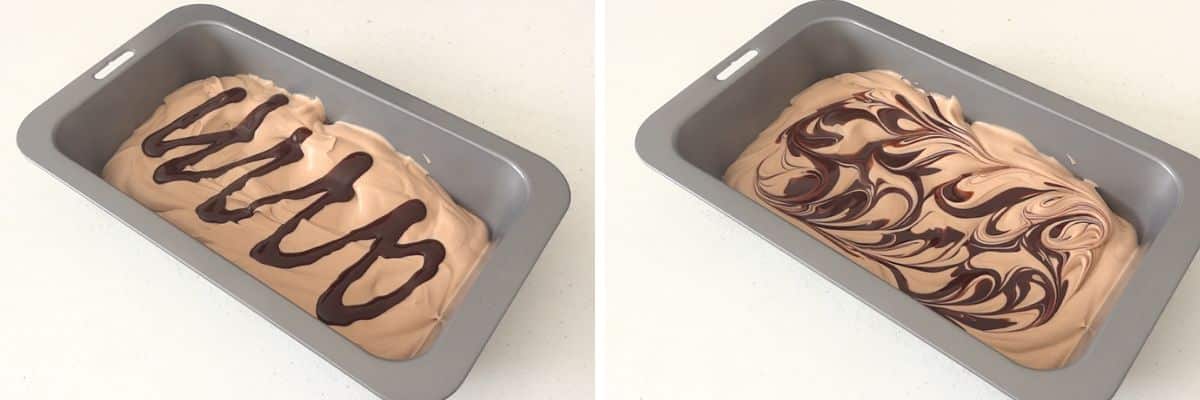
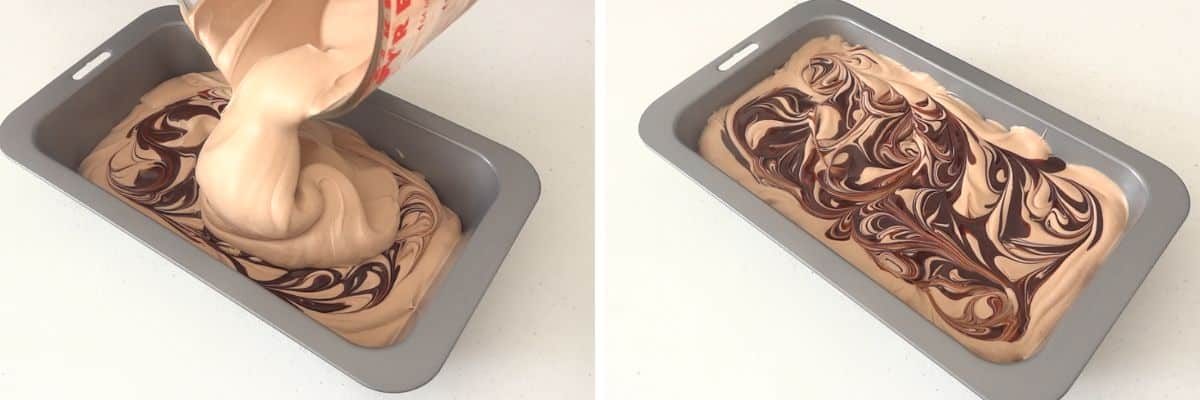
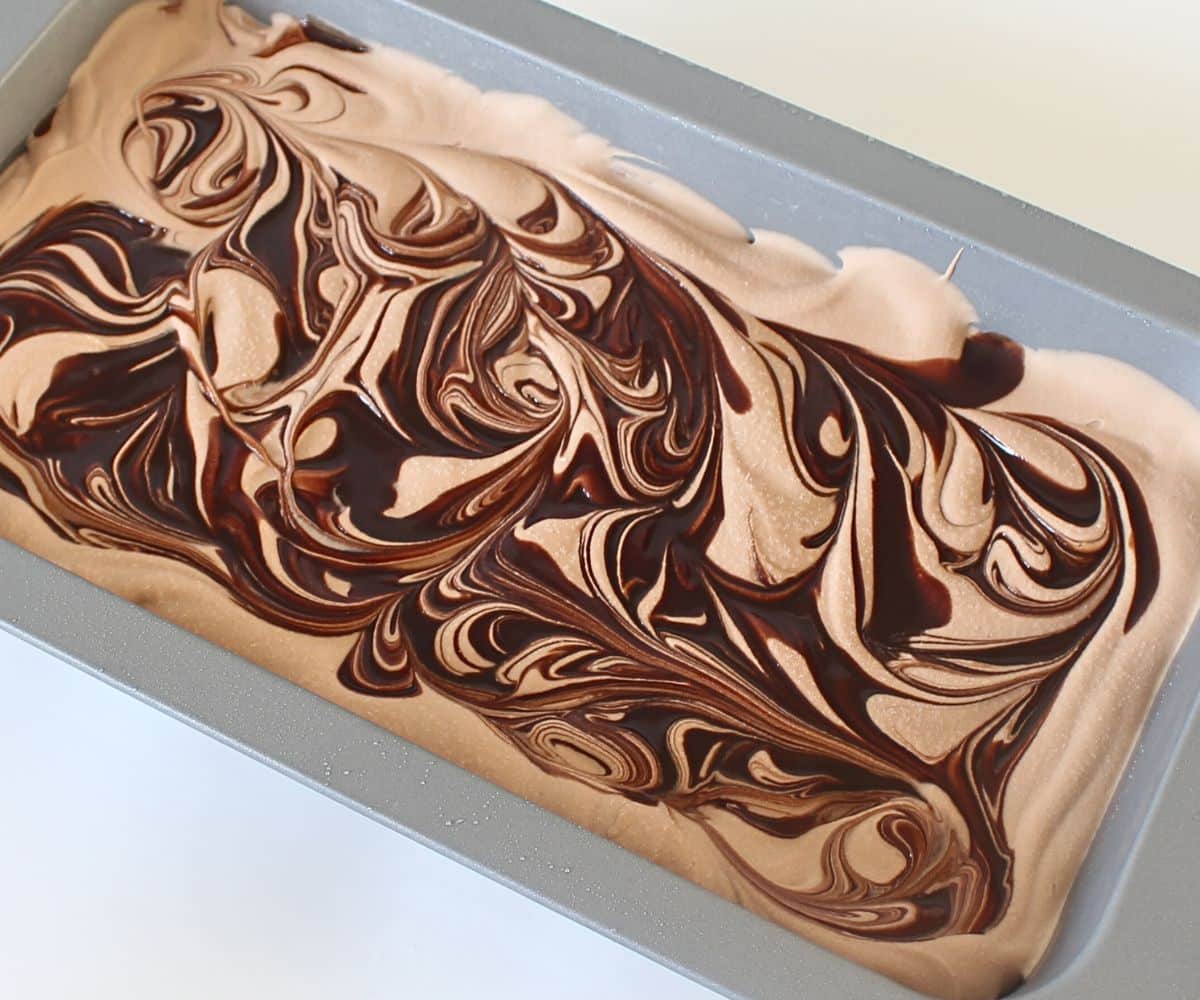
Continue this process, adding layers of the cream mixture and chocolate sauce, and swirling each layer. Finish with a final drizzle of chocolate sauce on the top.
Freezing:
Place the container in the freezer and let the ice cream freeze until it's solid. Cover with a lid or cling wrap after the first hour to prevent ice crystal formation..
Depending on the strength of your freezer, you ice cream will be ready in about 4-6 hours, but leaving it overnight is often recommended for the best texture.
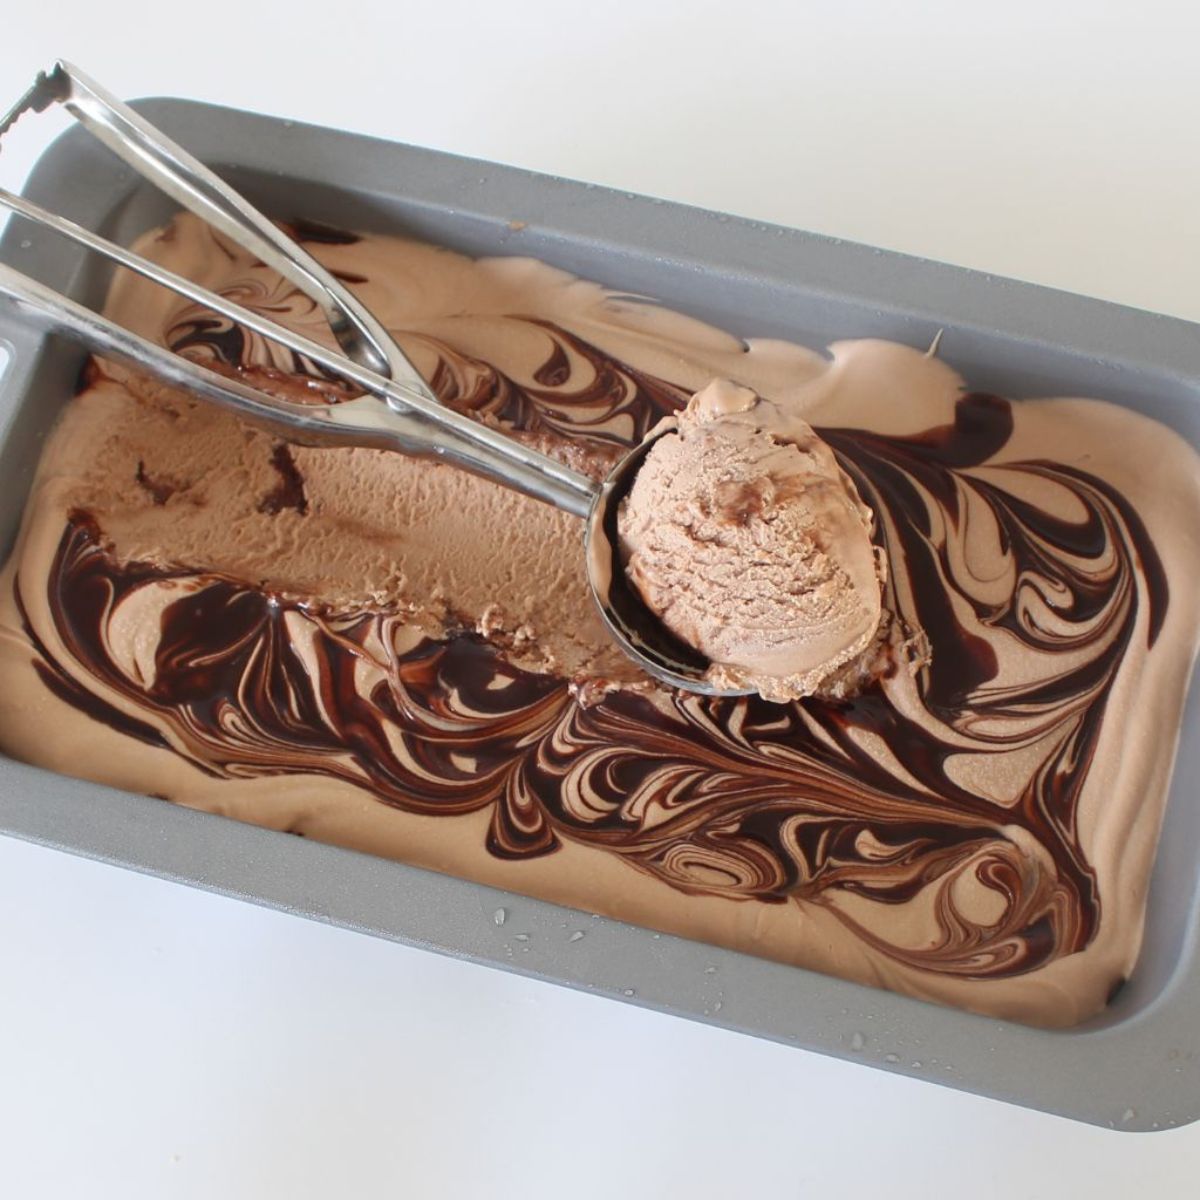
Serving:
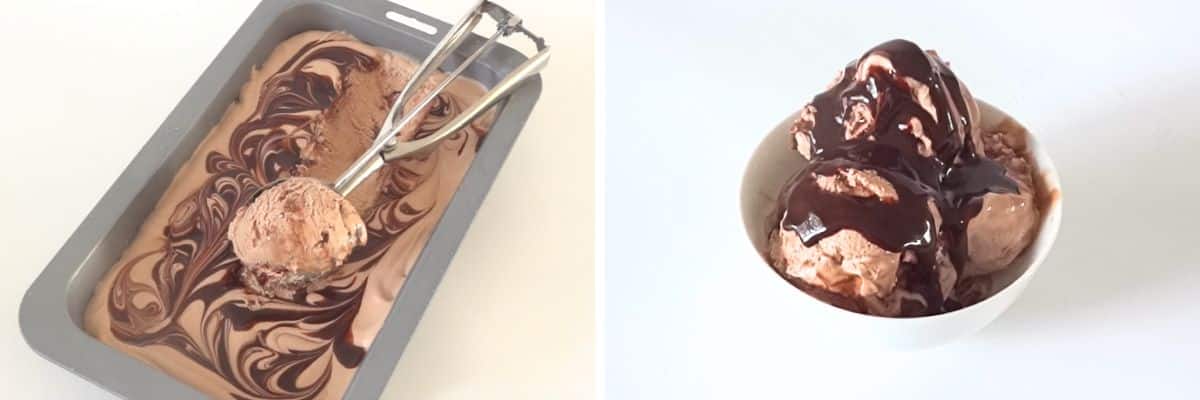
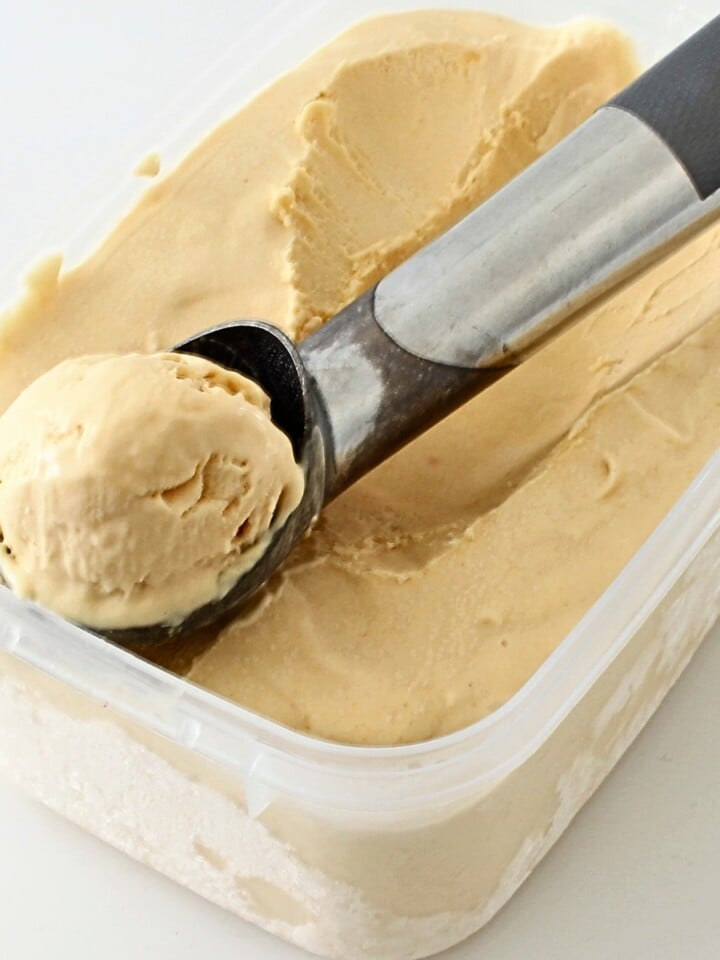
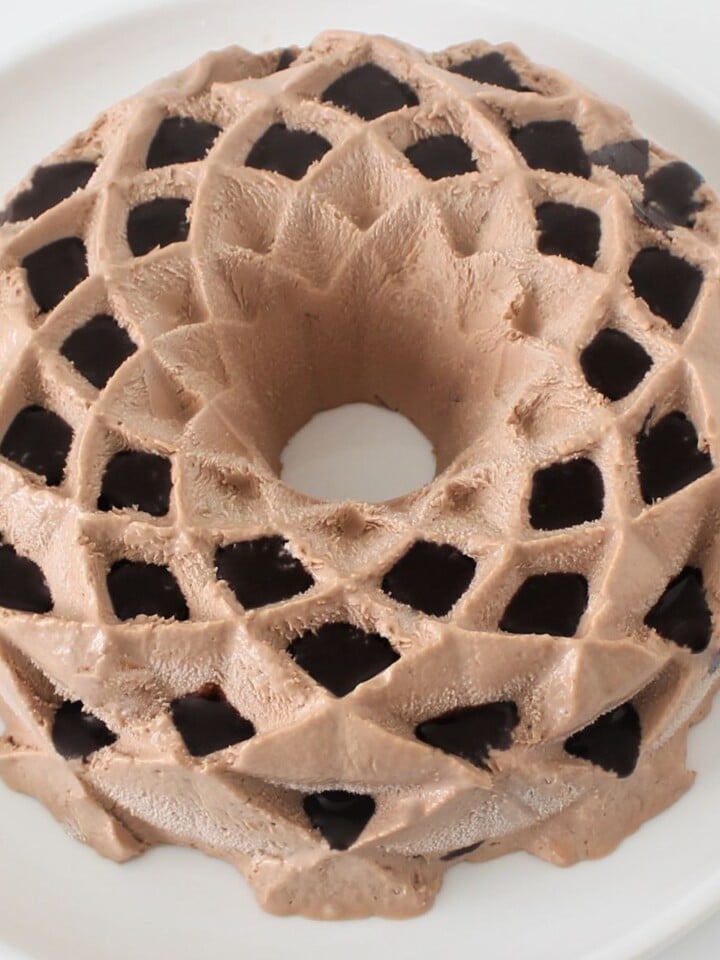
Once the ice cream is fully frozen, remove it from the freezer. Let it sit at room temperature for a few minutes to soften slightly, which makes scooping easier. Use an ice cream scoop to serve the ice cream. You'll notice the beautiful swirls of chocolate you created in each scoop.
Optional Additions:
If you decided to use optional ingredients like mini chocolate chips, chopped nuts, or marshmallows, you can sprinkle these on top of each layer as you build the ice cream or use them as toppings when serving.
My Top Tip
The one important tip for this Chocolate Ice Cream recipe is to make sure that the heavy whipping cream is very cold before you start whipping it. The temperature of the cream is really important for achieving the right texture. Cold cream whips up better and faster, creating the light, fluffy consistency that's needed for a creamy, smooth ice cream.
If the cream isn't cold enough, it might not whip to the desired volume, affecting the texture of your finished ice cream. So, for the best results, keep your heavy whipping cream in the refrigerator right up until you're ready to use it.
Variations And Serving Suggestions For Chocolate Ice Cream
Variations:
Mint Chocolate Chip: Add a teaspoon of mint extract to the cream mixture and fold in mini chocolate chips for a refreshing twist.
Mocha Delight: Mix in a tablespoon of instant coffee or espresso powder to add a coffee kick to your chocolate ice cream.
Peanut Butter Swirl: Gently swirl in some warmed peanut butter into the layers for a nutty, rich flavor.
Raspberry or Strawberry: Add a layer of raspberry sauce or strawberry sauce in your ice cream layers for a fruity contrast.
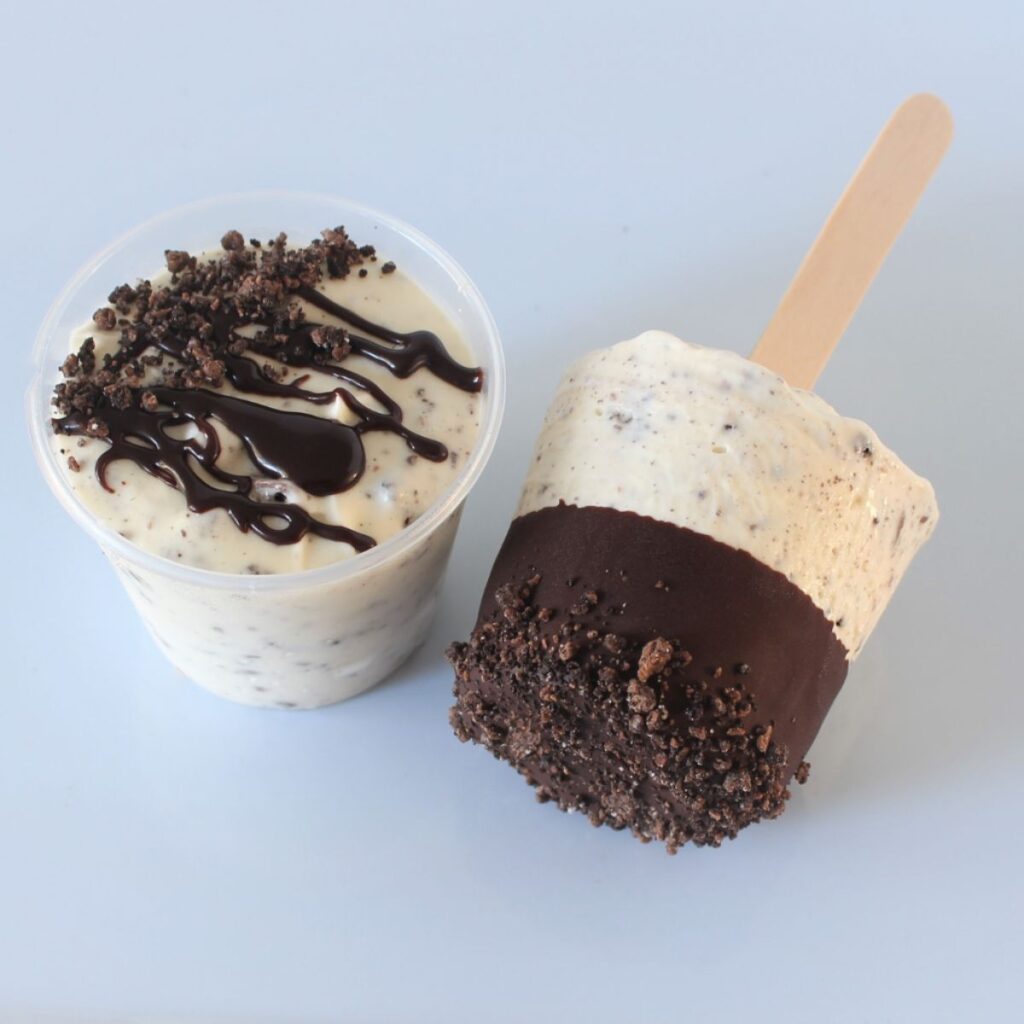
Oreo Blast: Crush Oreo cookies and sprinkle them between layers for a cookies and cream version.
Banana Chocolate: Blend in some mashed banana into your base mixture for a banana-chocolate flavor.
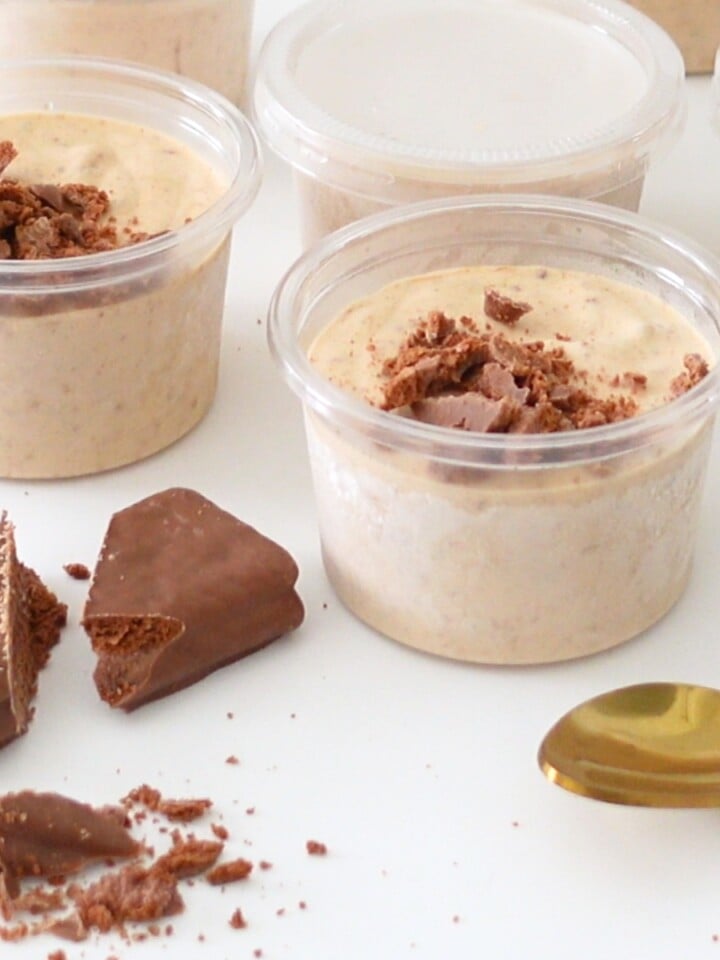
Caramel Crunch: Add a drizzle of caramel sauce and crushed toffee bits for a sweet and crunchy experience.
Serving Suggestions:
Sundae Style: Serve scoops of this ice cream in a bowl, topped with whipped cream, a drizzle of chocolate hot fudge sauce or caramel sauce, and a cherry on top for a classic sundae experience.
Ice Cream Sandwich: Sandwich a scoop between two cookies or brownies for an indulgent ice cream sandwich.
Affogato: Pour a shot of hot espresso over a scoop of this chocolate ice cream for a simple yet elegant dessert, known as an Affogato.
Ice Cream Float: Add a scoop to a glass of cold root beer or cola to create a delicious ice cream float.
More Ice Cream Recipes

Common Questions
It's best to use heavy whipping cream because of its high fat content, which is crucial for the texture and richness of the ice cream. Low-fat cream may not whip as well or give the same creamy consistency.
Ideally, freeze the ice cream for at least 4-6 hours. However, for the best texture, freezing it overnight is recommended.
Yes, you can. Without chocolate sauce, you'll have a sweet and creamy vanilla-flavored ice cream. You can also substitute the chocolate sauce with other flavorings like fruit purees, caramel, or different syrups.
Yes, you can add a small amount of alcohol like rum, bourbon, or liqueur for flavor. Keep in mind that alcohol can affect the freezing point, so use it sparingly to avoid overly soft ice cream.
Make sure to cover the ice cream surface directly with plastic wrap before sealing it with a lid. This helps minimize air exposure and ice crystal formation.
If the ice cream is too hard, it may have been frozen for too long or the freezer temperature is too low. Let it sit at room temperature for a few minutes before serving to soften slightly.
Yes, you can use coconut cream in place of heavy whipping cream and a dairy-free condensed milk alternative. The texture and taste will be slightly different but still delicious.
Homemade ice cream is best consumed within two weeks. Keep it stored in a tightly sealed container in the freezer to maintain its quality and flavor.
Absolutely! Just ensure you have a large enough mixing bowl and enough space in your freezer for the extra volume.
No-Churn Chocolate Ice Cream 3-Ingredients
INGREDIENTS
- 2½ cups heavy cream
- 395 g (14 oz) sweetened condensed milk
- 1 cup chocolate syrup
INSTRUCTIONS
- In a large mixing bowl, combine the heavy whipping cream, sweetened condensed milk, and chocolate sauce.
- Adjust the amount of chocolate sauce based on your preference for chocolate intensity.
- Using a hand mixer or a stand mixer, whip the mixture until it increases in volume.
- Continue whipping until the mixture becomes thick and fluffy. This usually takes a few minutes.
- In a freezer-safe container, create layers of your ice cream.
- Start with a layer of the creamy mixture, then drizzle with additional chocolate sauce.
- Use a knife or skewer to create swirl patterns in the chocolate sauce.
- Repeat this process, adding layers and finishing off with a chocolate sauce layer.
- Seal the container with its lid and freeze the ice cream for at least 4-6 hours, or preferably overnight, for best results.
- When ready to serve, scoop out the Triple Chocolate Delight No-Churn Ice Cream.
- Enjoy the layers of creamy and chocolatey goodness in each bite.
- Feel free to add mini chocolate chips, chopped nuts, or marshmallows for extra flavor and texture.
- Mix and match these additions to create your personalized, indulgent treat.
NOTES
NUTRITION
Video Tutorials You Might Like
Soher melad says
Gooooood
Fay says
Thank you! I’m so glad you like it!