
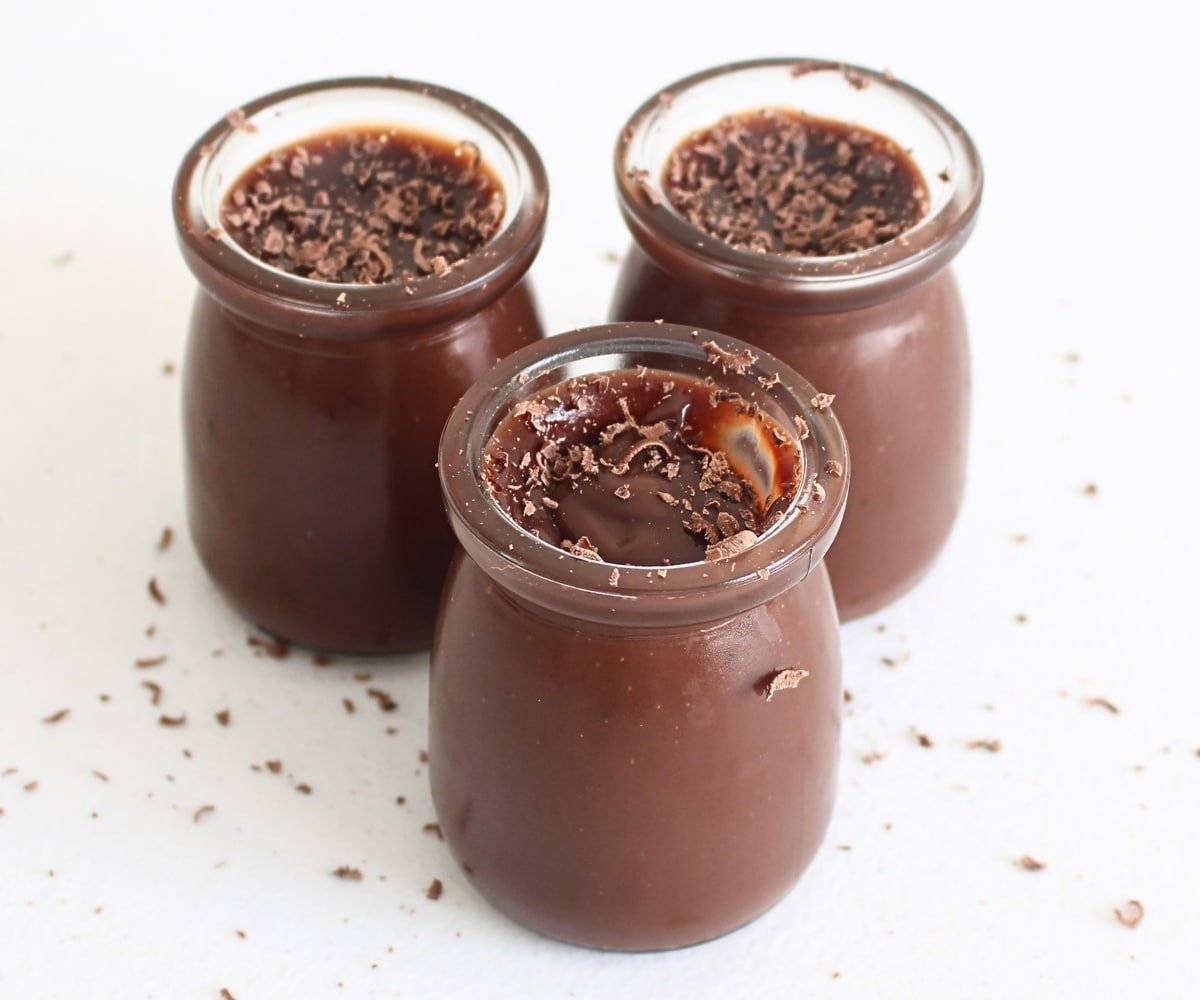
Enjoy a simple yet satisfying dessert with our Eggless Chocolate Pudding Pots recipe. Ideal for those looking for egg-free options or just a fan of chocolate, this recipe is straightforward and uses basic ingredients. It's a pudding that's full of flavour with silky cream texture.

SUMMARISE AND SAVE THIS RECIPE
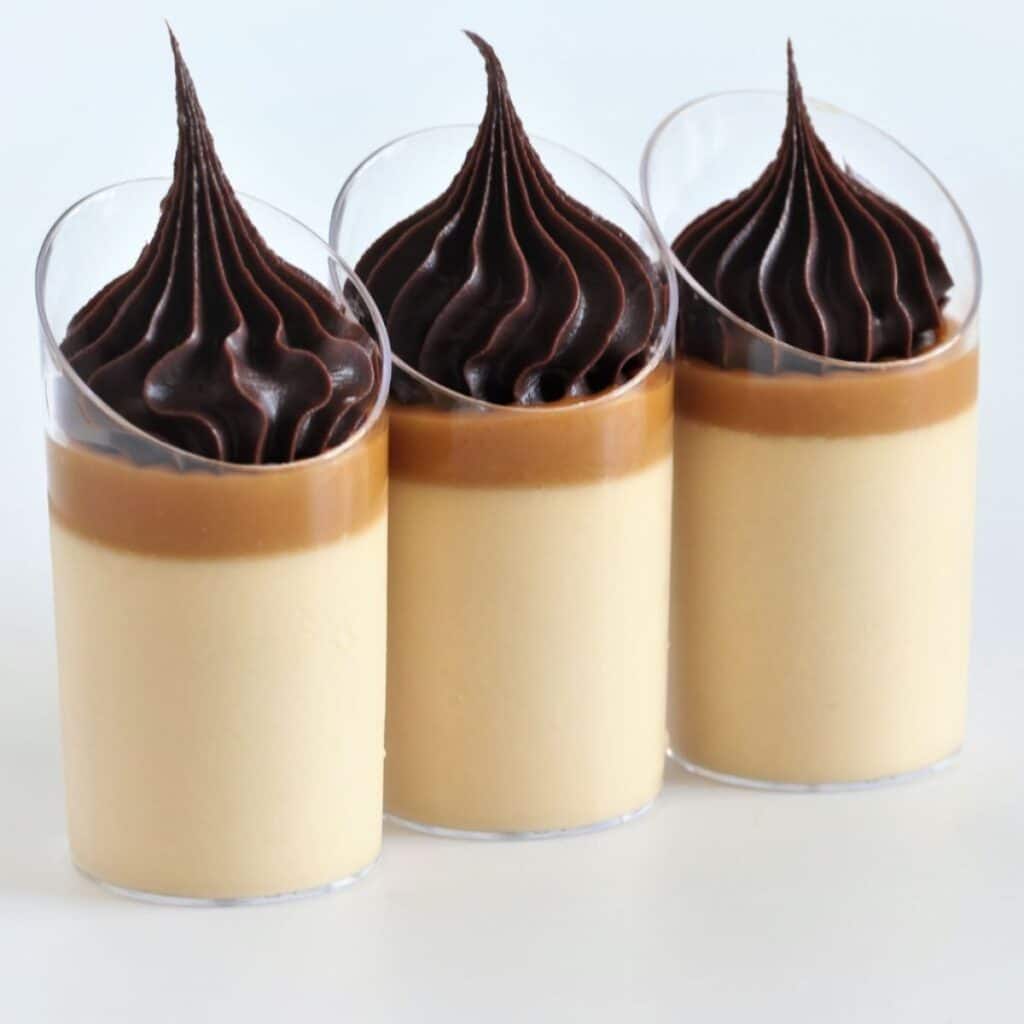
Combining luscious heavy cream with fine chocolate, and a hint of vanilla, it creates a final pudding that's not just flavorful but also impressively silky in texture. This Chocolate Pudding recipe promises a creamy, velvety dessert that's as enjoyable to make as it is to eat.
Why You'll Love My Eggless Chocolate Pudding
You'll love this Eggless Chocolate Pudding for its incredibly smooth and silky texture, which makes each spoonful a delicious experience. As someone who appreciates the rich, indulgent flavor of chocolate, you'll find that this pudding perfectly satisfies your cravings without being overly sweet.
The absence of eggs not only makes it a great choice if you're avoiding eggs for dietary reasons, but it also highlights the chocolate's pure flavor and the cream's lush texture. Plus, the recipe's simplicity means you can easily whip up this dessert with minimal fuss, making it perfect for busy days or a last minute visit from friends.
Ingredients In My Chocolate Pudding Recipe
- Chocolate is the primary flavor component. The quality and type of chocolate used greatly impact the final taste. For instance, dark chocolate will give a more intense, less sweet flavor, while milk chocolate will result in a sweeter, milder pudding. Using high-quality chocolate is key for the best flavor and texture.
- Heavy cream, also known as whipping cream, is essential for the pudding's creamy texture. It forms the base of the pudding, providing richness and a smooth mouthfeel. When heated and mixed with chocolate, it creates a luxurious ganache-like mixture that sets into the pudding.
- Sugar sweetens the pudding and balances the bitterness of the chocolate, especially if using dark chocolate. The amount can be adjusted depending on your preference and the type of chocolate used.
- Salt is a flavor enhancer. It doesn't make the pudding salty; rather, it intensifies the chocolate flavor and balances the sweetness, making the chocolate taste richer and more complex.
- Vanilla extract adds depth and aroma to the pudding. It complements the chocolate flavor, adding a subtle background note that rounds out the overall taste profile.
- Liqueur is an optional ingredient but can add a sophisticated flavor. Depending on the type used (like hazelnut, raspberry, or coffee), it can introduce a complementary note to the chocolate, making the pudding more complex and adult-focused.
- Grated Chocolate adds not only a decorative touch but also a textural contrast. It provides a slight crunch and an extra burst of chocolate flavor with each bite, enhancing the eating experience.
How To Make My Chocolate Pudding Recipe
Preparation of Ingredients:
If you are using a block of chocolate, start by breaking your chocolate into small, even pieces. This ensures that it melts smoothly and evenly when mixed with the hot cream. Place these pieces into a heatproof bowl.
Measure out your heavy cream, sugar, salt, and vanilla extract. If you're using liqueur for an added flavor dimension, have that ready as well.
Making the Cream Mixture:
In a saucepan, combine your heavy cream, sugar, salt, and vanilla extract. Heat this mixture over medium heat, stirring continuously. This is important to prevent the cream from burning and to ensure the sugar is fully dissolved into the cream.:

Heating Until Simmering:
Keep stirring the cream mixture until you see small bubbles start to form at the edges - this is a sign that it's about to simmer. Be cautious not to let it boil as this can alter the texture of your pudding.
Melting the Chocolate:
Pour the hot cream mixture over the chocolate pieces in your heatproof bowl. Let it sit for one minute without stirring. This waiting period allows the chocolate to begin melting from the heat of the cream.
Blending the Mixture:
After a minute, start stirring the mixture. You want to continue stirring until the chocolate is completely melted and the mixture is smooth and homogeneous. You can use a hand whisk, silicone spatula, or a stick blender - whichever tool you prefer.

If you decided to use liqueur, now is the time to add it. This will infuse the pudding with a subtle but distinct flavor, complementing the chocolate.
Dividing the Mixture:
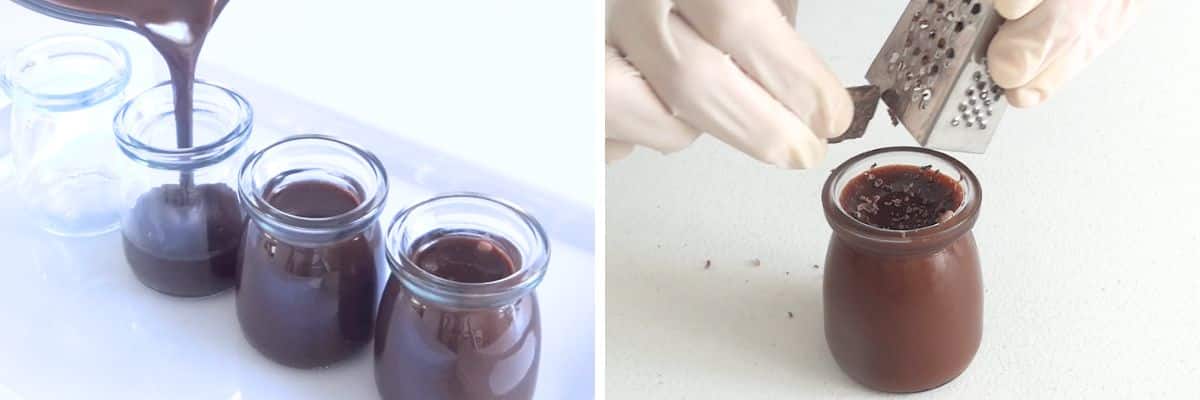
Pour or spoon the chocolate mixture into four pudding jars or cups, distributing it evenly. Allow the mixture to cool to room temperature. This gradual cooling is key to a smooth, lump-free texture.
Chilling the Pudding:
Once they've cooled down, place your pudding jars in the refrigerator. Chill them for at least 2 hours. This chilling time is vital for the pudding to set properly and achieve that silky, creamy texture that makes this dessert so delicious.
Garnishing and Serving:
Before you're ready to serve, garnish each pudding pot with grated chocolate. This not only makes them look more enticing but also adds a delightful crunch.
Following these steps carefully will help you create a luxurious, eggless chocolate pudding recipe with a perfectly silky texture and rich flavor. It's a straightforward process, and the result is a delicious dessert.

My Top Tip
The best tip I can offer for this Eggless Chocolate Pudding Pots recipe is to make sure the chocolate fully melts and blends seamlessly with the hot cream. This step is vital for several reasons:
Texture: Getting the chocolate completely melted into the cream is what gives the pudding its beautifully silky and creamy texture. If there are any lumps or chunks of chocolate left, the texture could turn out grainy or uneven, which I always try to avoid.
Flavor: Fully melted chocolate ensures that the rich, indulgent flavor is evenly mixed throughout the pudding. I find that this is key to achieving that consistent and deep chocolate taste in every bite.
Ease of Preparation: When the chocolate and cream are thoroughly mixed, the resulting mixture is much smoother and flows easily into the pudding jars or cups I use for serving. This makes the process neater and more straightforward.
To make sure this happens, I always let the hot cream and chocolate sit together for about a minute before I start stirring. Then, I stir well until the mixture is completely smooth. Sometimes, I even use a whisk or an immersion blender to help break down any stubborn chocolate pieces. Paying attention to this melting process really makes a difference, turning a good pudding into an exceptional one.

Variations And Serving Suggestions
Variations
- Flavor Infusions: You might want to infuse the cream with different flavors before mixing it with the chocolate. Options like orange zest, cinnamon, espresso powder, or a vanilla bean can add a unique touch. Simply heat your chosen flavor element with the cream and strain it out before pouring it over the chocolate.
- Experiment with Chocolate: Try using different types of chocolate - dark, milk, or white - to change the flavor profile. You can even blend different chocolates for a unique taste.
- Layered Pudding: For a more elaborate dessert, you can create layers in your pudding pots. Alternate the chocolate pudding with layers of fruit compote, caramel, or whipped cream.
- Vegan Option: If you're vegan or cooking for someone who is, use coconut cream instead of heavy cream and choose dairy-free chocolate.
- Add Crunch: Consider adding a layer of crushed nuts like almonds, hazelnuts, or pecans at the bottom of each jar for a textural contrast.
Serving Suggestions
Creative Toppings: Apart from grated chocolate, you could top your pudding with whipped cream, a sprinkle of cocoa powder, fresh berries, or a drizzle of caramel or fruit sauce.
Beverage Pairing: These chocolate pudding pots go well with coffee, a glass of milk, or even a dessert wine that complements the richness of chocolate.
Mini Dessert Buffet: Why not offer a variety of mini chocolate pudding pots at your next gathering? Different toppings and flavors will give your guests a delightful choice.
Elegant Presentation: For a more sophisticated look, serve the pudding in wine glasses or martini glasses, topped with a sprig of mint or a raspberry for that extra flair.
Seasonal Adaptations: Tailor the toppings and accompaniments to the season - like peppermint in winter, fresh berries in summer, or spiced poached pears in autumn.
More Pudding Recipes
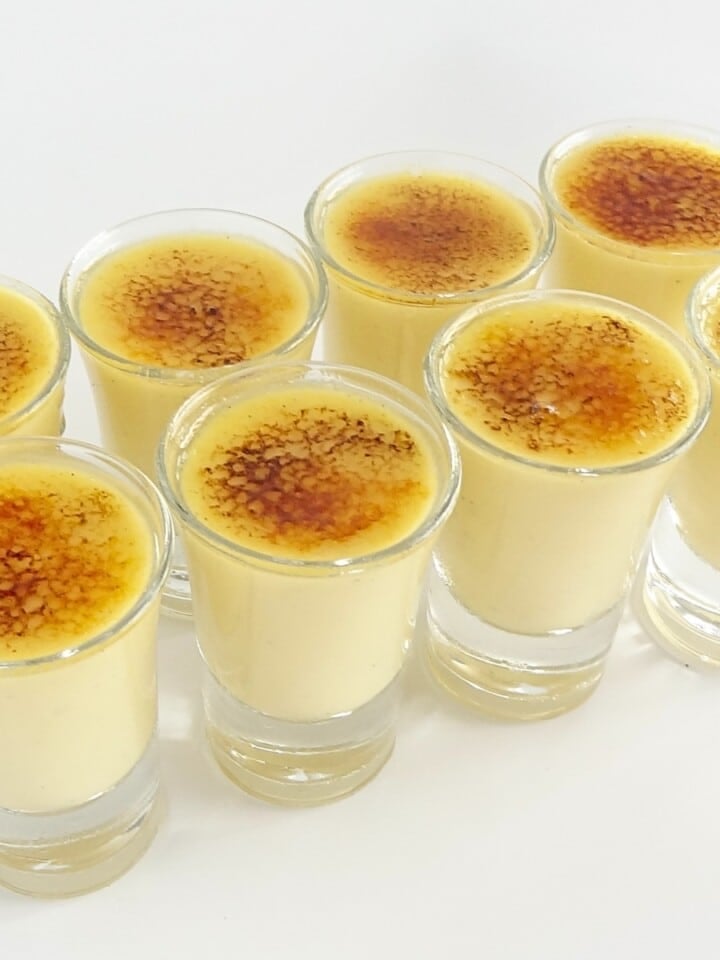
- Crème Brûlée Shots (No Bake Vanilla Custard Dessert)
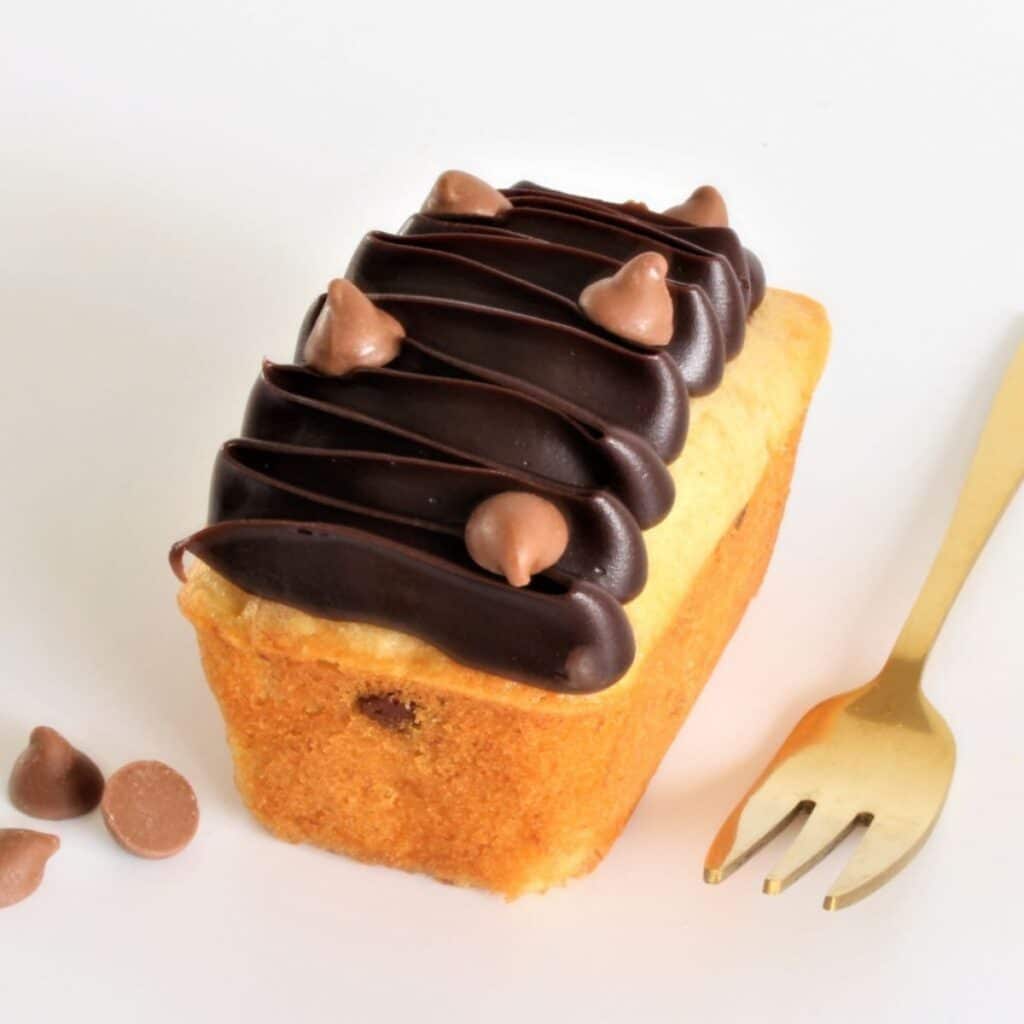
- Malt Chocolate Pudding Log Eggless
- Chocolate Coffee Pots De Crème Recipe
- No Bake Chocolate Flan (Gelatina) Recipe


Common Questions
Yes, you can use milk chocolate. Keep in mind that milk chocolate is sweeter than dark chocolate, so you may want to reduce the amount of sugar in the recipe accordingly.
The pudding should be chilled for at least 2 hours. For a firmer texture, chilling it overnight is recommended.
Yes, as long as the chocolate and other ingredients used are gluten-free, this recipe is naturally gluten-free.
Absolutely! Replace the heavy cream with a plant-based alternative like coconut cream and ensure the chocolate is dairy-free.
You can use any small dessert cups or even a single larger bowl. Just remember, a larger bowl may affect the chilling time.
Freezing is not recommended as it can alter the texture of the pudding. However, it can be stored in the refrigerator for up to 5 days.
Look for small bubbles forming around the edges of the pan, indicating it's about to simmer. Don't let it come to a full boil.
Yes, you can add a ½ tablespoon of your favorite liqueur to the mixture for an extra flavor. This is optional.
Yes, granulated sugar is actually what's recommended in this recipe.

Eggless Chocolate Pudding Pots Recipe
INGREDIENTS
- 150 g (5 2/7 oz) chocolate
- 300 ml (1 ¼ cups) heavy cream
- ¼ cup (¼ cup) sugar
- ¼ teaspoon (¼ teaspoon) salt
- 2 teaspoon (2 teaspoon) vanilla extract
- ½ tablespoon (½ tablespoon) liqueur optional
- 1 tablespoon (1 tablespoon) chocolate grated
INSTRUCTIONS
- Break the chocolate into small pieces and place them in a heatproof bowl. This ensures it melts evenly when combined with the hot cream.
- In a saucepan, add the heavy cream, vanilla extract, sugar, and a pinch of salt. Stir the mixture continuously over medium heat.
- Keep stirring the cream mixture until it's about to simmer. You'll notice small bubbles at the edges - that's your cue to remove it from the heat. Do not let it boil.
- Pour the hot cream mixture over the chocolate pieces in the bowl. Let it sit undisturbed for about one minute. This process allows the chocolate to gently begin melting.
- After a minute, stir the mixture well. You can use a hand whisk, silicone spatula, or a stick blender for a smooth consistency. If desired, this is the time to add ½ tablespoon of your favorite liqueur or a few drops of essence/flavor for an extra kick.
- Divide the mixture evenly between four pudding jars. Allow them to cool to room temperature.
- Once cooled, place the pudding jars in the refrigerator and chill for at least 2 hours or longer. This step is crucial for the pudding to set properly.
- Just before serving, garnish each pudding pot with grated chocolate for an aesthetically pleasing and delicious finish.
NOTES
NUTRITION
Video Tutorials You Might Like

Leave a Reply