
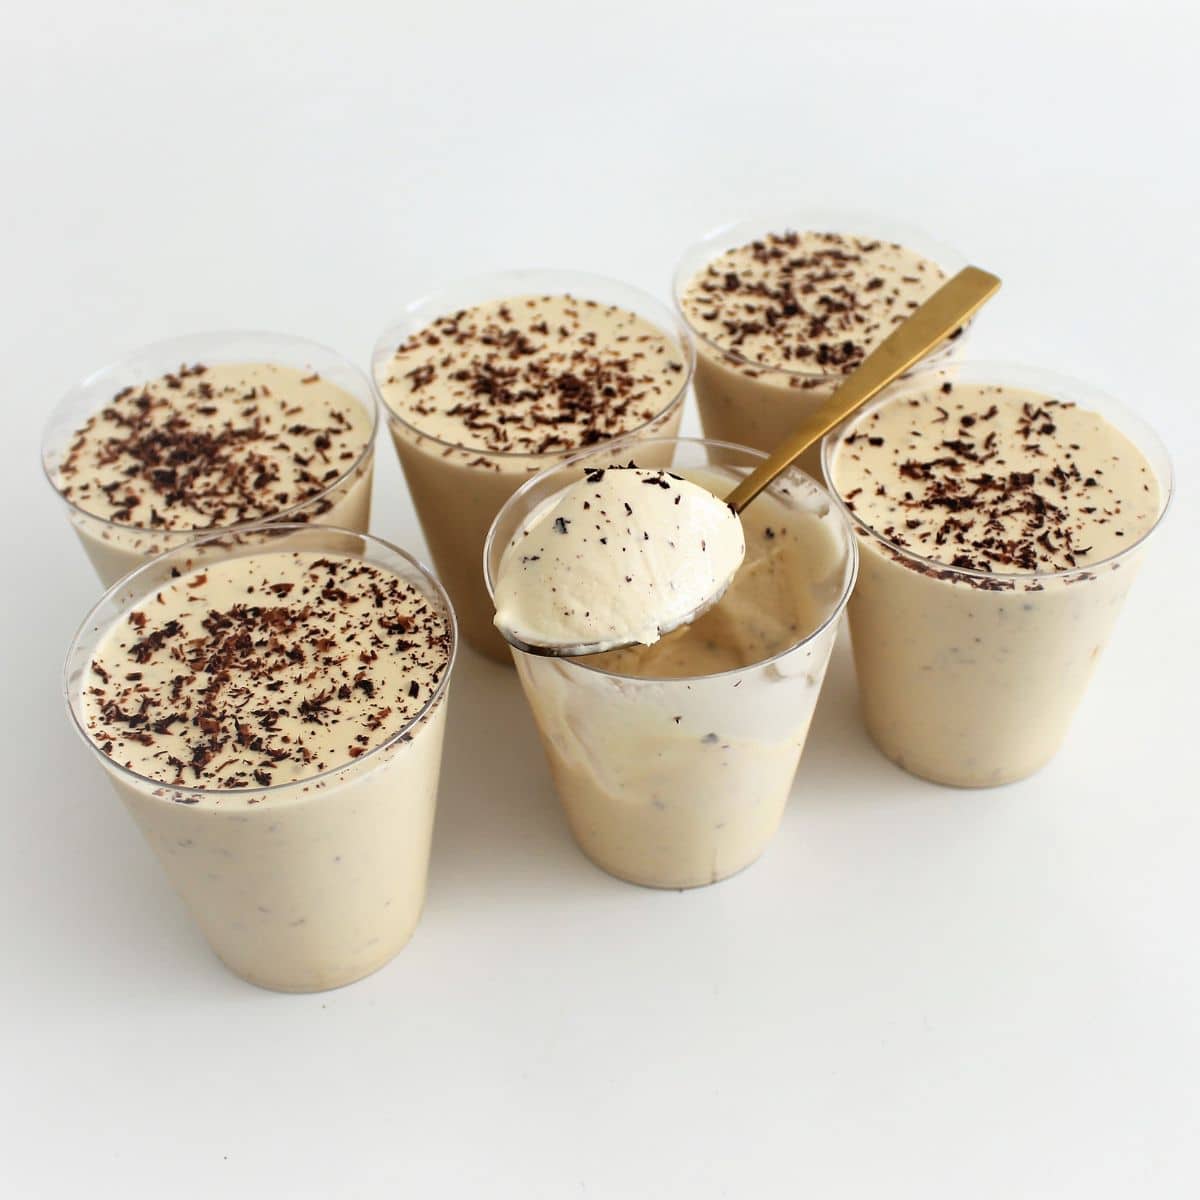
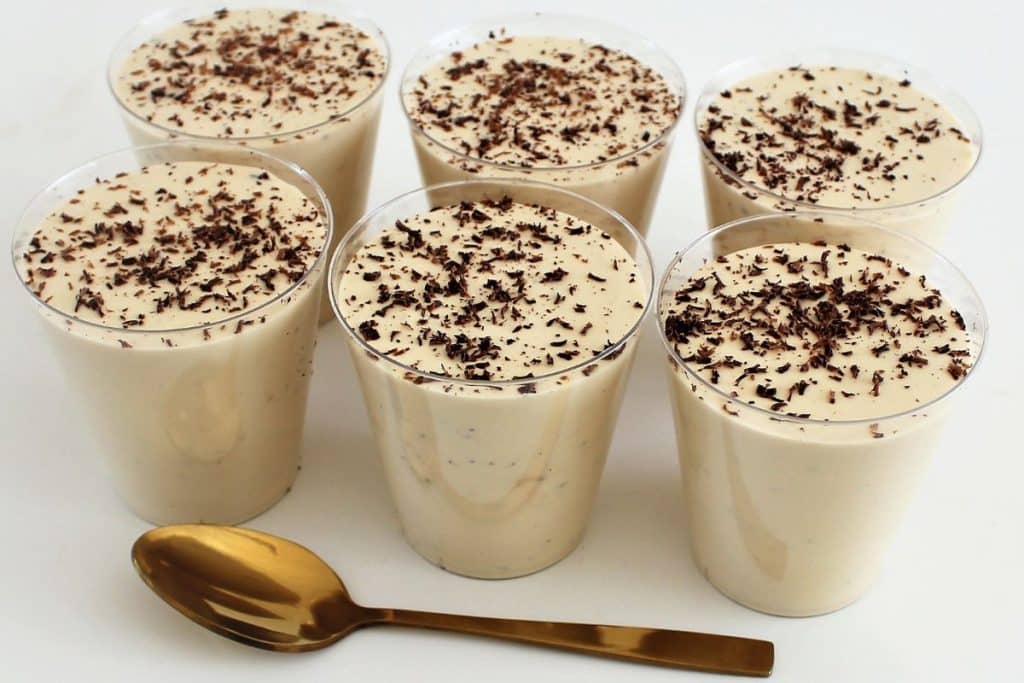
Homemade coffee ice cream like you have never tasted before! It’s not just about the delicious flavors, it’s about making dessert a convenient, personalized, and enjoyable part of your day and I think the individual portions help do that! Savor and enjoy these delightful coffee-infused treats, one individual cup at a time. Keep them all for yourself or share...it's totally up to you!
Why You Will Love My Coffee Ice Cream
Let's talk convenience – say goodbye to those complicated dessert recipes that make you break a sweat! With just a handful of ingredients and some simple steps, you can whip up these coffee cream cups in a jiffy. Perfect for those moments when you need a little sweet pick-me-up without all the fuss.
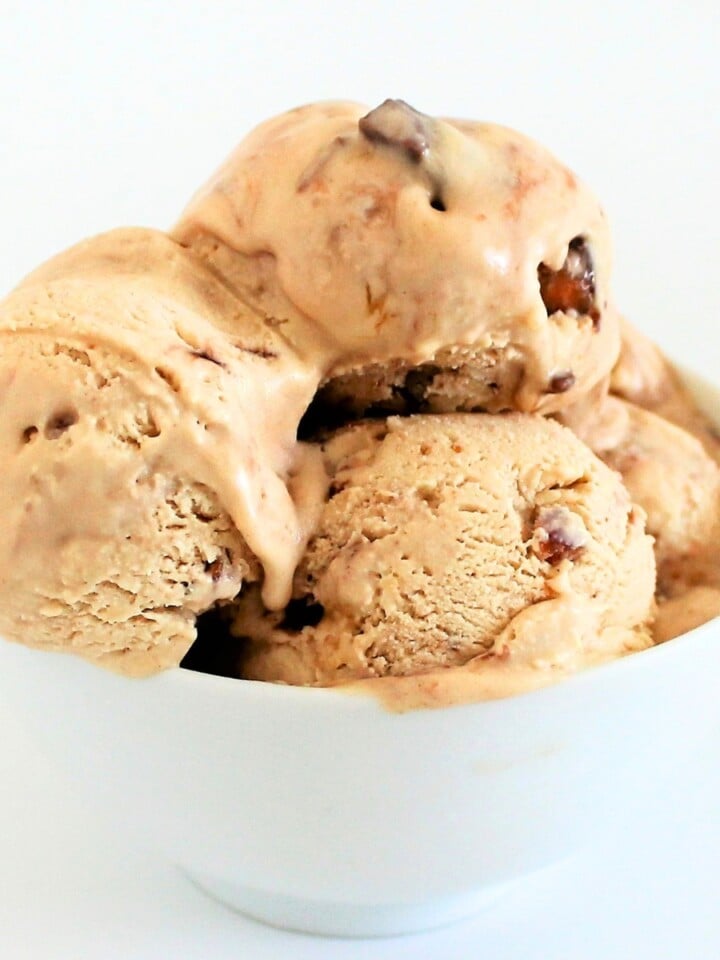
Now let's talk flavor – who can resist the deliciousness of coffee-infused goodness? Creamy heavy cream, sweetened condensed milk, and a touch of instant coffee come together to create a flavor that's rich, indulgent, and oh-so-satisfying. And let's not forget about the grated chocolate – it adds that extra crunch that'll keep you coming back for more.
Ingredient Used For Coffee Ice Cream
Heavy Cream: This ingredient provides the rich and creamy base for the coffee ice cream. Whipping the cream adds a velvety texture, contributing to the luxurious mouthfeel of the coffee cream cups.
Sweetened Condensed Milk: Sweetened condensed milk adds sweetness and a creamy consistency to the mixture. Its condensed nature also aids in achieving a smooth and dense frozen texture without the need for churning.
Instant Coffee: Instant coffee infuses the dessert with a robust coffee flavor, adding depth and a delightful caffeine kick. The amount can be adjusted according to personal taste preferences.
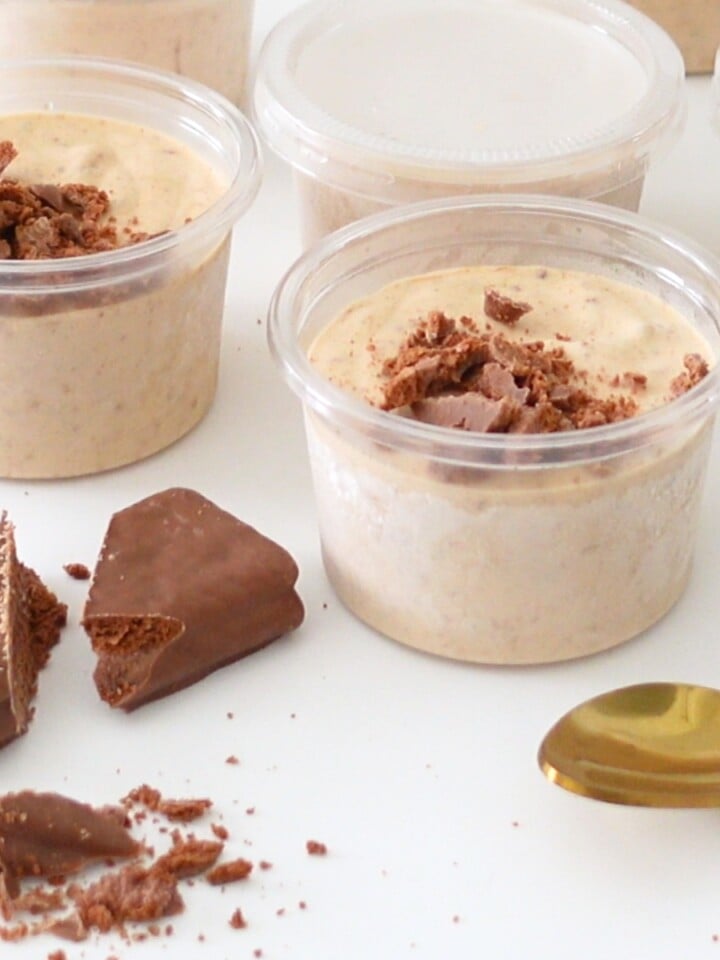
Grated Chocolate: The grated chocolate introduces a layer of richness and enhances the overall chocolatey notes in the coffee ice cream. Choose a chocolate variety that you enjoy eating to personalize the flavor. You can also finely chop your favorite candy and use that in place of the grated chocolate.
How To Make Coffee Ice Cream
The steps are designed to be straightforward. No ice cream machine necessary, all you need is a hand mixer and you are good to go. It doesn't get any easier than this!
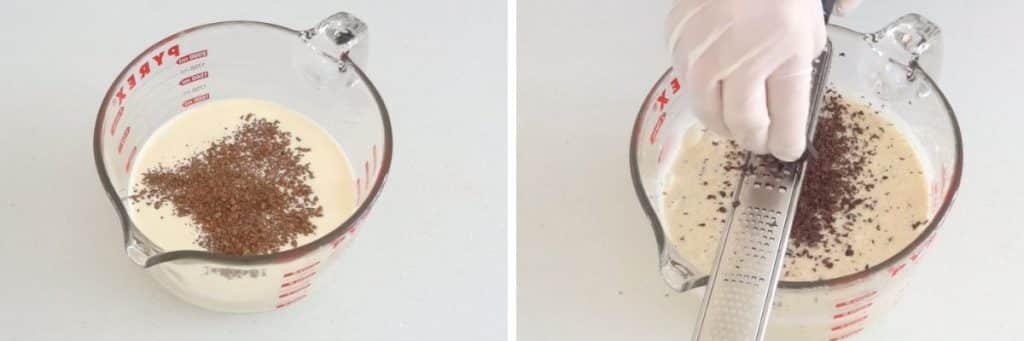
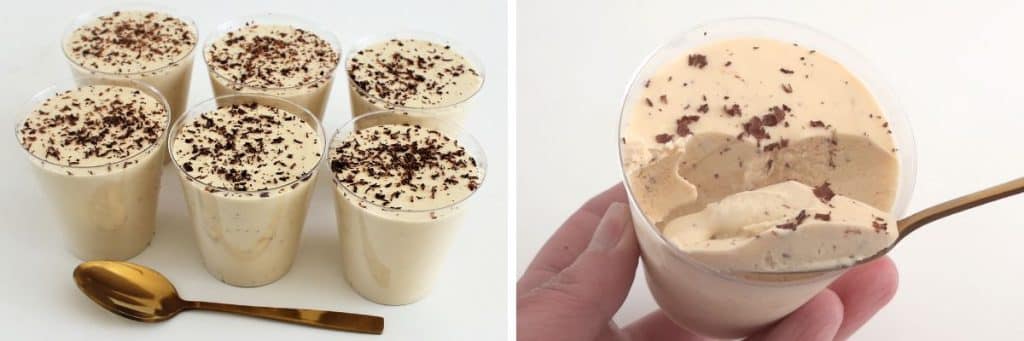
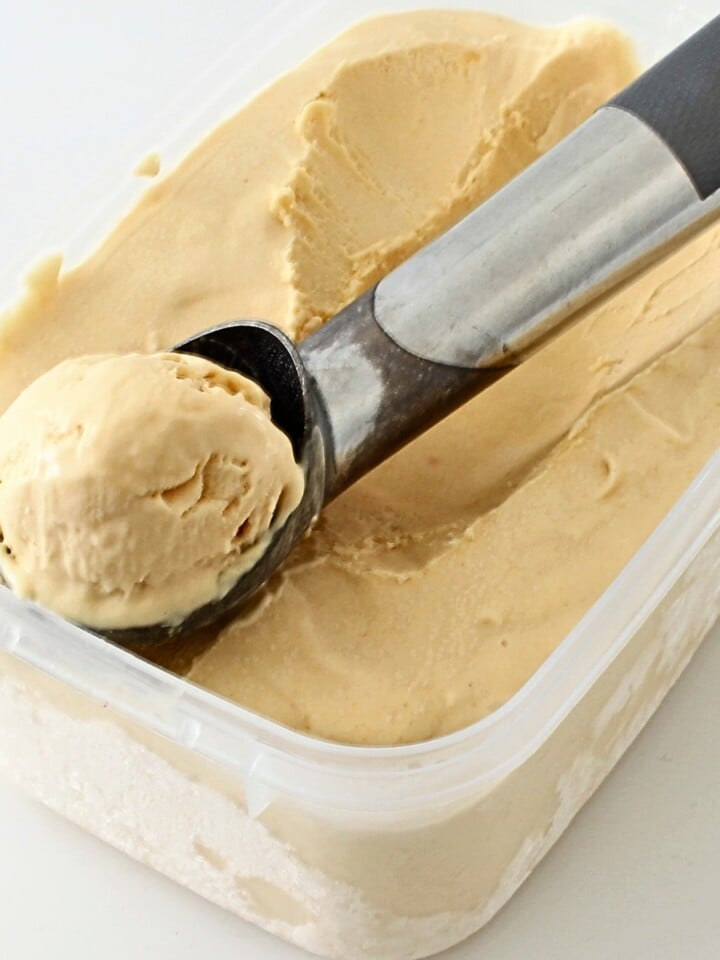
Mixing: In a large bowl, combine the chilled cream, sweetened condensed milk, instant coffee granules. Use an electric mixer to beat the mixture on medium-high speed until it increases in volume and thickens (3-5 minutes). Add some finely grate chocolate and mix again.
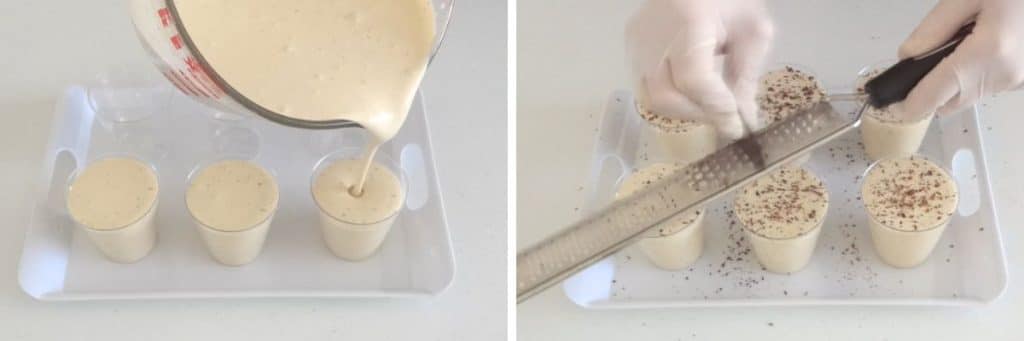
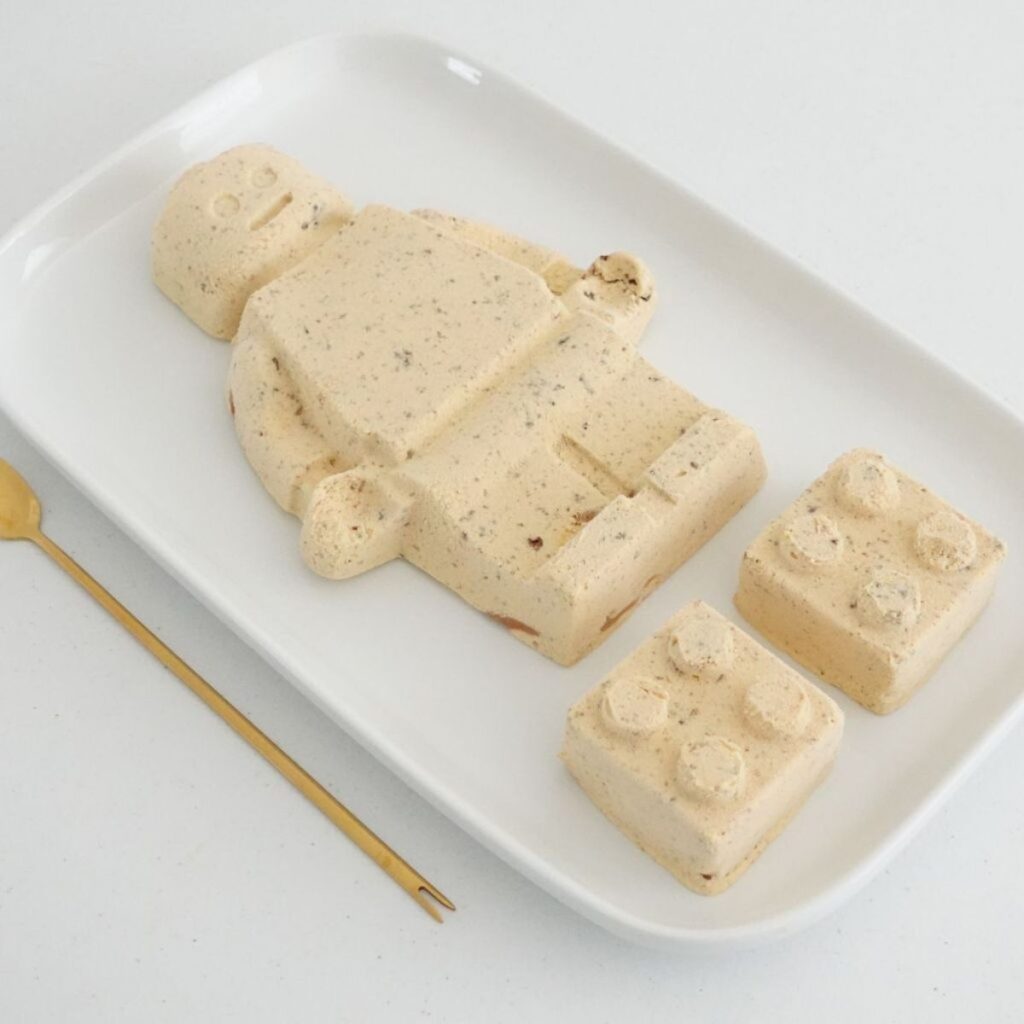
Filling Individual Cups: Spoon or pour the coffee ice cream into individual cups, ensuring they are freezer-safe and have a capacity of around 200 mL or 7 oz. If you prefer, you can pour into one large ice cream container.
Freezing: Place the filled cups in the freezer and let them set for at least 4 hours. Times will vary for different freezers.
Serve and Enjoy: Once frozen, remove the coffee ice cream cups from the freezer a few minutes before serving to allow them to soften slightly. Garnish with additional grated chocolate or toppings of choice.
My Top Tip For Making Coffee Ice Cream
One top tip for this recipe is to ensure that your heavy cream is well chilled before whipping. Cold whipping cream whips up faster and achieves a better volume, resulting in a creamier texture for your coffee cream cups. So, remember to chill your heavy cream in the refrigerator for at least a few hours before starting the recipe for the best results!
Ice Cream Flavor Variations
Mocha Magic: Add ¼ cup of cocoa powder for a rich mocha flavor.
Vanilla Bliss: Include 1-2 teaspoons of pure vanilla extract for a classic vanilla twist.
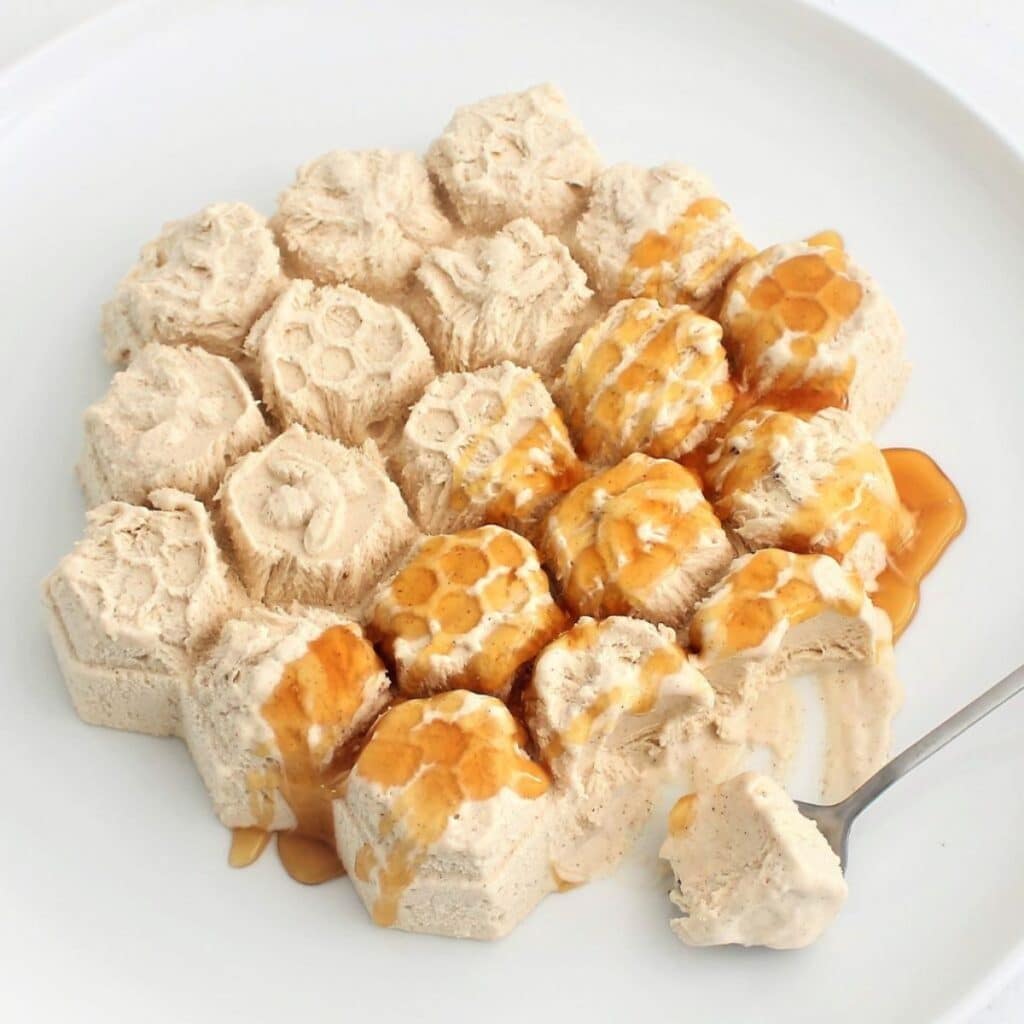
Caramel Dream: Swirl in caramel sauce before freezing for a delightful caramel undertone.
Experiment with different chocolates to customize the flavor. Dark chocolate, milk chocolate, or even white chocolate can add unique profiles.
Do you have a favorite Candy? Use can even add your favorite candy bar by finely dicing it up and folding it through the ice cream before filling the cups.
Serving Suggestions
Spice: For an extra kick, sprinkle a pinch of ground cinnamon on top before serving.
Toppings: Feel free to get creative with toppings like chopped nuts, a drizzle of caramel, or a dollop of whipped cream.
DIY: A fun idea would be to combine the first two suggestions and place a mixture of toppings like dessert sauces, nuts and spices in the middle of the table and let your guests customize their own ice cream cups. I'm pretty sure there will be some culinary competitions happening! lol
Side Serve: And if you ask me, the ultimate suggestion is to serve it alongside my Skillet Brownies or Nutella Brownies! These decadent treats perfectly complement the creamy goodness of the coffee cream cups, creating an irresistible dessert duo that's bound to impress your taste buds. So, whip up a batch of brownies to go with your coffee-infused delight, and prepare for a culinary match made in heaven!
More Ice Cream Recipes To Try
Common Questions
While traditional whipping cream provides the best texture and flavor, you can experiment with non-dairy alternatives. However, keep in mind that the results may vary in terms of creaminess and texture.
These coffee cream cups can be stored in the freezer for up to 2-3 weeks. Just make sure to keep them in an airtight container to prevent freezer burn.
Absolutely! Feel free to customize the recipe to your liking. You can skip the grated chocolate or substitute it with chocolate chips for added convenience.

Quick Coffee Ice Cream Cups How To
INGREDIENTS
Coffee Ice Cream
- 600 ml (20.29 floz) heavy cream
- 395 g (1.29 cups) sweetened condensed milk
- 2 teaspoon (2 teaspoon) instant coffee granules
- 20 g (0.71 oz) dark chocolate grated
Garnish
- 10 g (0.35 oz) dark chocolate grated
INSTRUCTIONS
- In a large mixing jug, combine the heavy cream, sweetened condensed milk, and instant coffee granules.
- Using an electric mixer, beat the mixture on medium-high speed until it increases in volume and thickens. This may take a few minutes.
- Using a micro-grater, grate two tablespoons of chocolate over the ice cream and briefly mix again until evenly incorporated.
- Spoon or pour the creamy mixture into individual cups, ensuring they are freezer-safe and have a capacity of around 200 mL or 7 oz.
- Place the filled cups in the freezer and let them set for at least 4 hours. For best results, leave them overnight.
- Once the coffee cream cups are thoroughly frozen, remove them from the freezer a few minutes before serving to allow them to soften slightly. Garnish with additional grated chocolate or a sprinkle of cocoa powder if desired.
NOTES
NUTRITION
Video Tutorials For More Ice Cream Recipes

Sandra says
What is the best instant coffee ro use
Fay says
Hi Sandra, they work great with any kind of coffee. Choose a coffee you enjoy drinking.
Verona H. mcCord says
Very Delish and Creamy taste light coffee for sure my favourite!
Fay says
How fabulous!