
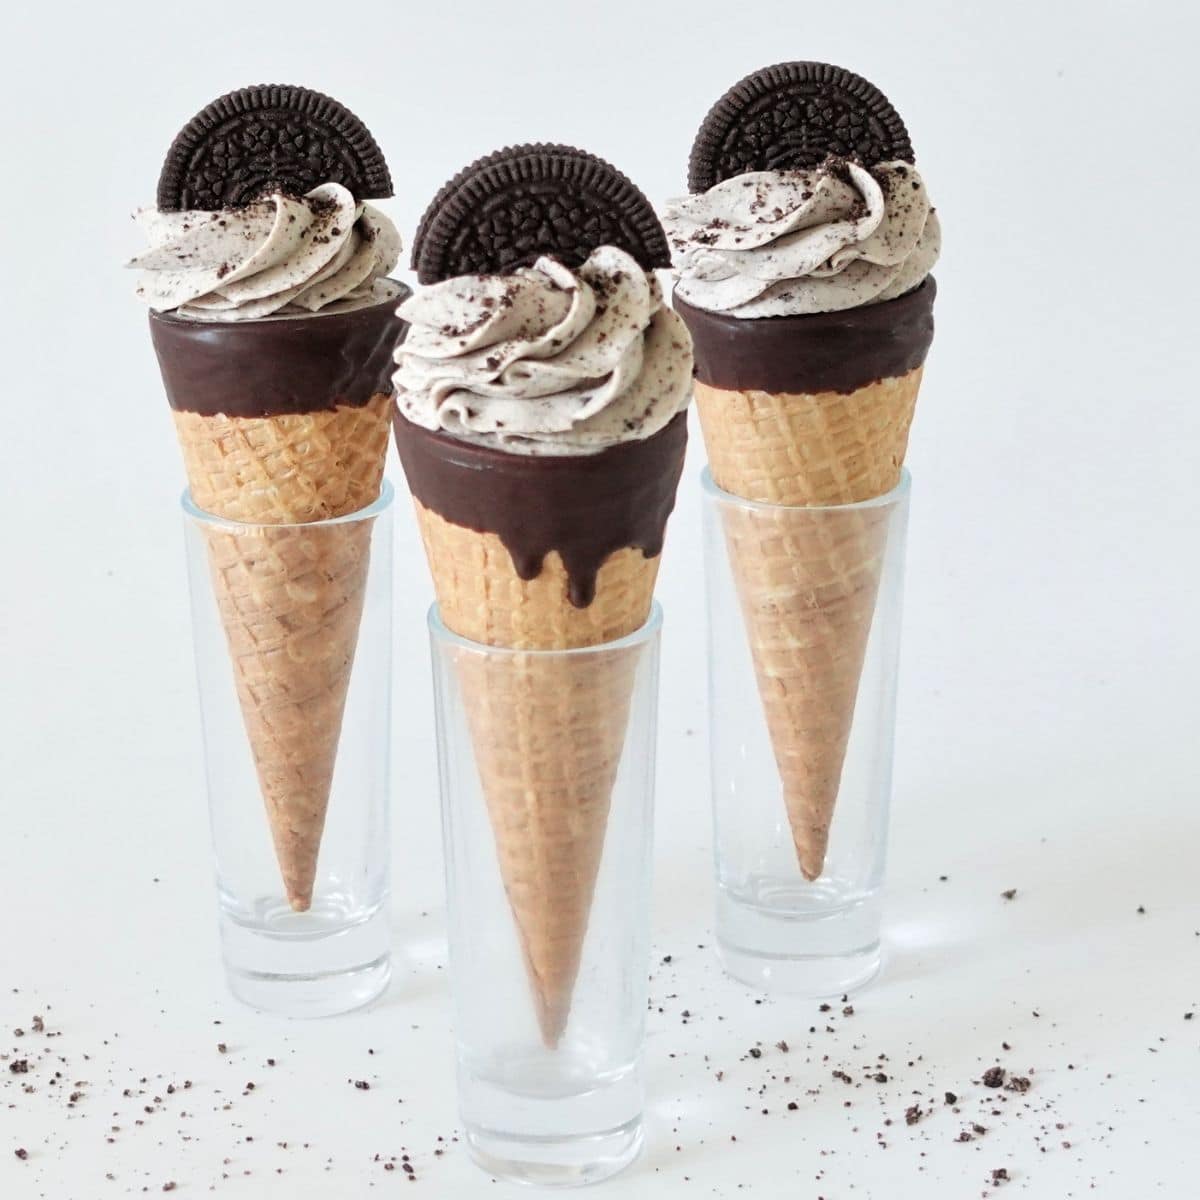
Forget the heavy, traditional cheesecake! Cheesecake Waffle Cones are here! A creamy cheesecake meets the delicious crunch of waffle cones, each bite bursting with unexpected flavors and textures.
SUMMARISE AND SAVE THIS RECIPE
My Thoughts About Cheesecake Waffle Cones
In the world of desserts, some classics stand the test of time. Traditionally, cheesecake involves a careful balance of cream cheese, sugar, and eggs. However, our Cheesecake Waffle Cones take a playful turn by incorporating a whipped mixture of cream cheese, sugar, vanilla, and cream. This results in a light and airy filling that challenges the denser texture of classic cheesecake.
The best thing about Cheesecake Waffle Cones is its portability. No need for forks or plates - simply grab a cone, and you're ready to savor this non-traditional cheesecake experience wherever your sweet tooth takes you.
Ingredients Used To Make Cheesecake Waffle Cones
- Waffle Cones: These provide a crispy contrast to the creamy cheesecake filling. I like to use waffle cones that are on the smaller side of medium.
- Chocolate: Dark, white, or milk chocolate is melted and used to line the waffle cones. From a practical point of view, the chocolate helps keep the cones crisp by forming a barrier between the cone and the cheesecake filling. The results is nice crispy cheesecake waffle cones.
- Vegetable/Coconut Oil: Combined with melted chocolate, the oil helps create a smooth thinned-out chocolate that helps give a thin crisp coating of chocolate.
- Cream Cheese: The main component of the cheesecake filling, cream cheese contributes richness and a tangy flavor.
- Icing Sugar: Sweetens and adds a smooth texture to the cheesecake filling.
- Cream: Whipped cream is incorporated into the cheesecake mixture, lending a light and airy texture to the filling.
- Vanilla: A splash of vanilla enhances the overall flavor profile of the cheesecake, adding a sweet and aromatic note. You know me, I love me some vanilla!
- Cookies: Plain or cream-filled cookies are crushed and folded into the cheesecake mixture, giving the popular cookies and cream theme to the cheesecake waffle cones..
How To Make Waffle Cheesecake Cones
1. Chocolate Dip: Melt chocolate, mix with oil, and dip waffle cone rims. Let it set.

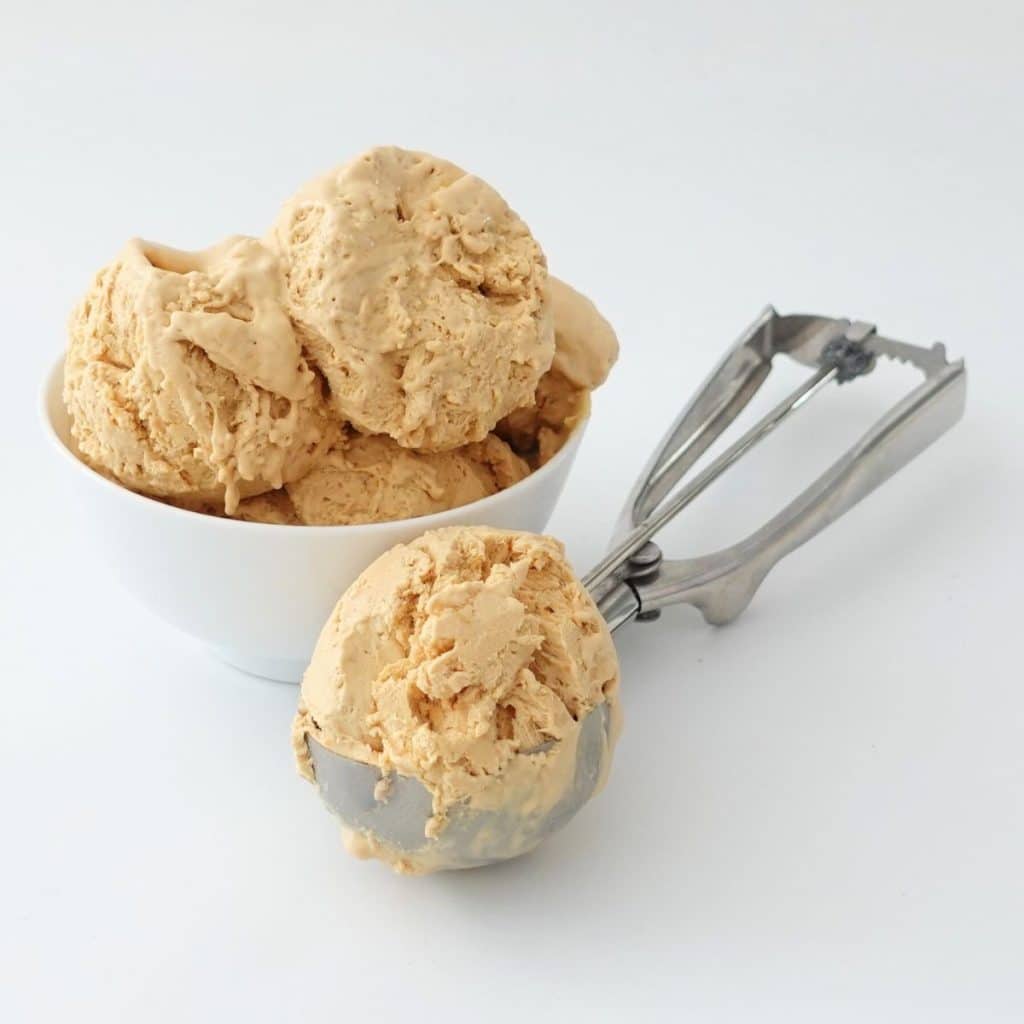
2. Cheesecake Filling: Whip together cream cheese, icing sugar, vanilla, and cream until smooth and fluffy.
3. Cookie Crunch: Crush cookies and mix into the whipped cheesecake mixture for the popular cookies and cream flavor.

4. Fill Cones: Spoon cheesecake mixture into chocolate-dipped waffle cones, levelling the tops.
5. Swirl on Top: Use a piping bag to add an extra swirl of cheesecake mixture on top for a finishing touch.

6. Chill: Refrigerate filled cones for at least 2 hours to allow the cheesecake to set.
7. Top and Serve: Before serving, sprinkle additional crushed cookies on top for added flavor. Enjoy your unique Cheesecake Waffle Cones!

My Top Tip
A top tip for this recipe is to make sure the waffle cones are properly sealed with chocolate on the inside to prevent them from becoming soggy when filled with the cheesecake mixture. This not only adds a layer of flavor but also helps maintain the crispiness of the cones, giving a delicious texture with every bite. So, take your time to thoroughly coat the inside of the cones with melted chocolate before filling them with the cheesecake mixture for the best results.
Flavor Variations
- Nutty Crunch: Fold in crushed nuts like almonds, pecans, or pistachios for a delightful crunch.
- Chocolate Lovers' Dream: Mix in chocolate chips or chunks for a double chocolate experience in the cheesecake filling.
- Caramel Swirl Delight: Drizzle caramel sauce into the cheesecake mixture for a sweet and gooey surprise.
Presentation Variations
- Cheesecake Waffle Bowl: Instead of cones, fill waffle bowls with the cheesecake mixture for a sit-down dessert experience.
- Frozen Cheesecake Pops: Freeze the filled cones for a chilly treat on hot days - cheesecake popsicles!
- Drizzle with Chocolate Ganache: Elevate the presentation by drizzling chocolate ganache over the filled cones before chilling.
- Dip in Crushed Nuts or Shredded Coconut: Roll the chocolate-dipped rims of the waffle cones in crushed nuts or shredded coconut for added texture.
More Unique Cheesecake Ideas
- Peppermint Cookies and Cream Cheesecake Popsicles
- Caramel Cheesecake Bowls
- Shiny Mirror Glaze Cookies and Cream Cheesecake
More Desserts You Might Like

Frequently Asked Questions
Yes, feel free to customize! You can experiment with different flavors of chocolate, add nuts or fruit to the filling, or even swap out the waffle cones for another type of edible vessel like pastry shells.
If you happen to have any leftovers (which is rare!), store them in an airtight container in the refrigerator. Consume within 2-3 days for the best taste and texture. Keep in mind the the waffle cones will begin to soften after the first day.
Yes, you can! These can be prepared in advance and stored in the refrigerator for up to 24 hours before serving. Any longer and the cones will begin to soften. Just be sure to cover them to prevent any odors from transferring.

Cheesecake Waffle Cones
INGREDIENTS
Choc Dipped Cones
- 12 (12) waffle cones medium size
- 1 cup (1 cup) dark chocolate
- 1 tablespoon (1 tablespoon) vegetable oil
Cheesecake Filling
- 250 g (1.1 cups) cream cheese
- ¾ cup (0.75 cup) powdered sugar
- 300 ml (10.14 floz) heavy cream
- 1 teaspoon (1 teaspoon) vanilla
- 6 (6) chocolate cookies
Garnish
- 6 (6) chocolate cookies halved
- 1 tablespoon (1 tablespoon) cookie crumbs
INSTRUCTIONS
Choc Dipped Cones
- In a heatproof jug, melt the chocolate. Once melted, stir in the vegetable or coconut oil until well combined. Fill the the cones with chocolate then pour out the excess. Dip the rim of each waffle cone into the chocolate. Shake off excess chocolate and place the cone in a tall shot glass while the chocolate sets.
Cheesecake Filling
- Beat the cream cheese, sugar, vanilla, and cream together until smooth and well combined.
- Add cream to the mixture and whip until firm.
- Crush the plain or cream-filled cookies and mix them into the whipped cheesecake mixture for an extra layer of flavor and texture.
- Carefully spoon or pipe the cheesecake mixture into the waffle cones, levelling the tops with a spatula. Place a 1M Piping Tip into a piping bag and use it to swirl an additional layer of the cheesecake mixture on top for an elegant finish.
Garnish
- Sprinkle cookie crumbs on top and add half a cookie for a finishing touch.
- Place the filled cones in the refrigerator for at least 2 hours to allow the cheesecake to set.
NOTES
NUTRITION
Video Tutorials You Might Like


YOLANDA GONZALEZ says
I LOVE YOUR RECIPES,THANKS FOR SHARING
Fay says
You are very welcome! I am so pleased you like them! Thank you for posting.
Carolyn says
How many days ahead can you make the cream cheese filling?
Fay says
Hi Carolyn! You can make the filling a couple of days in advance but It won't pipe as smoothly. You can do the chocolate dipping of the cones a couple of days in advance. Just be sure to store in an air tight container to keep the cones crisp.
Virginie says
Bonjour j'aimerais la recette svp
Fay says
Bonjour ! Vous trouverez la fiche recette complète en bas de l'article. Faites défiler vers le bas ou cliquez sur « Accéder à la recette » en haut de la page.