
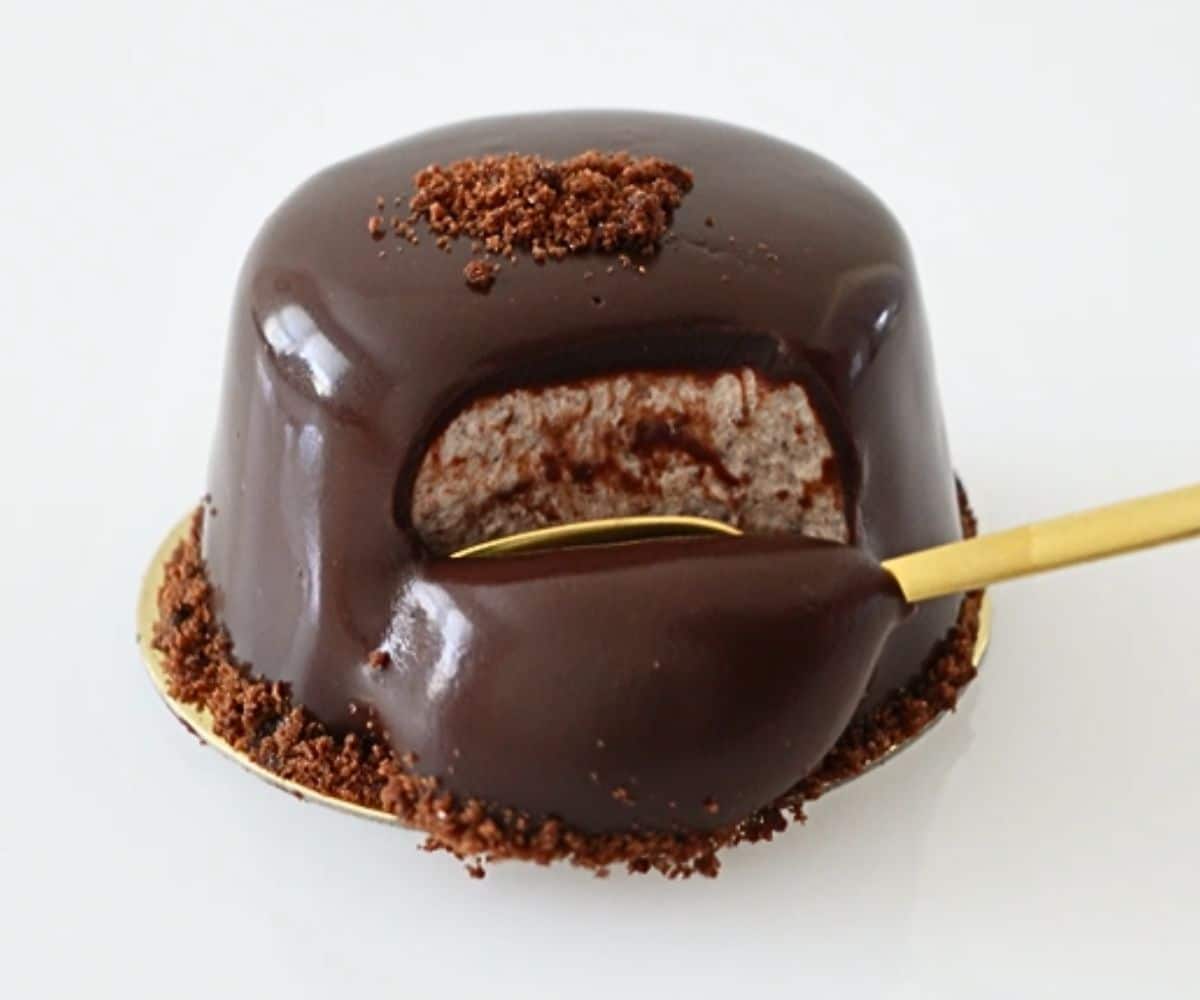
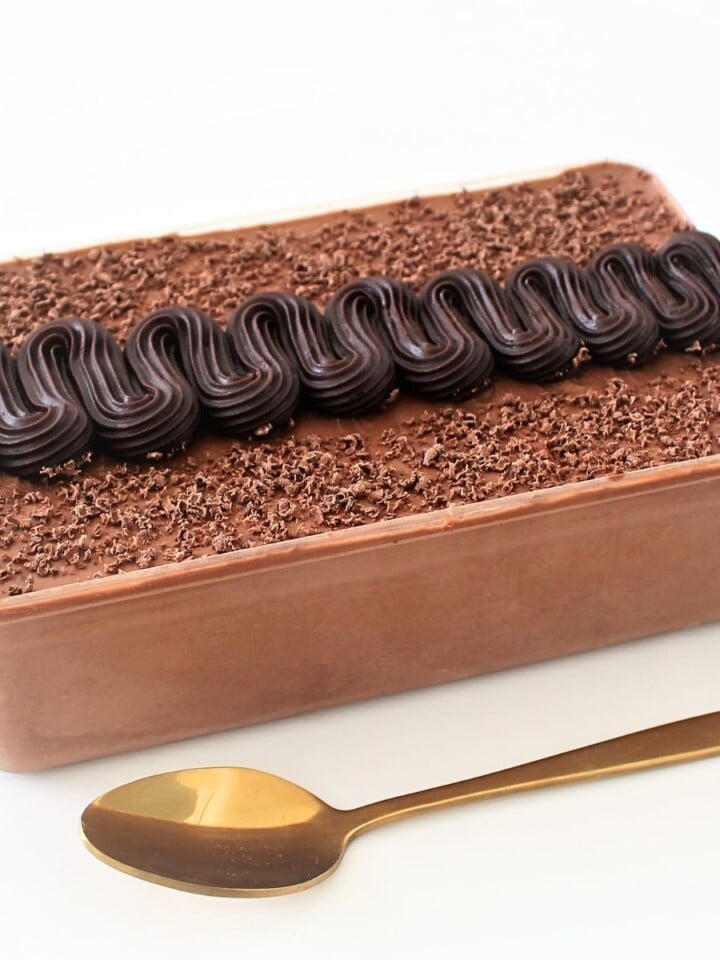
Mini Chocolate Ricotta Mousse Cakes. These little treats are all about bringing together creamy ricotta and deep, dark chocolate. They are topped off with a shiny chocolate ganache glaze. Perfect for any special moment or whenever you want to wow your friends with something fancy but easy to make.
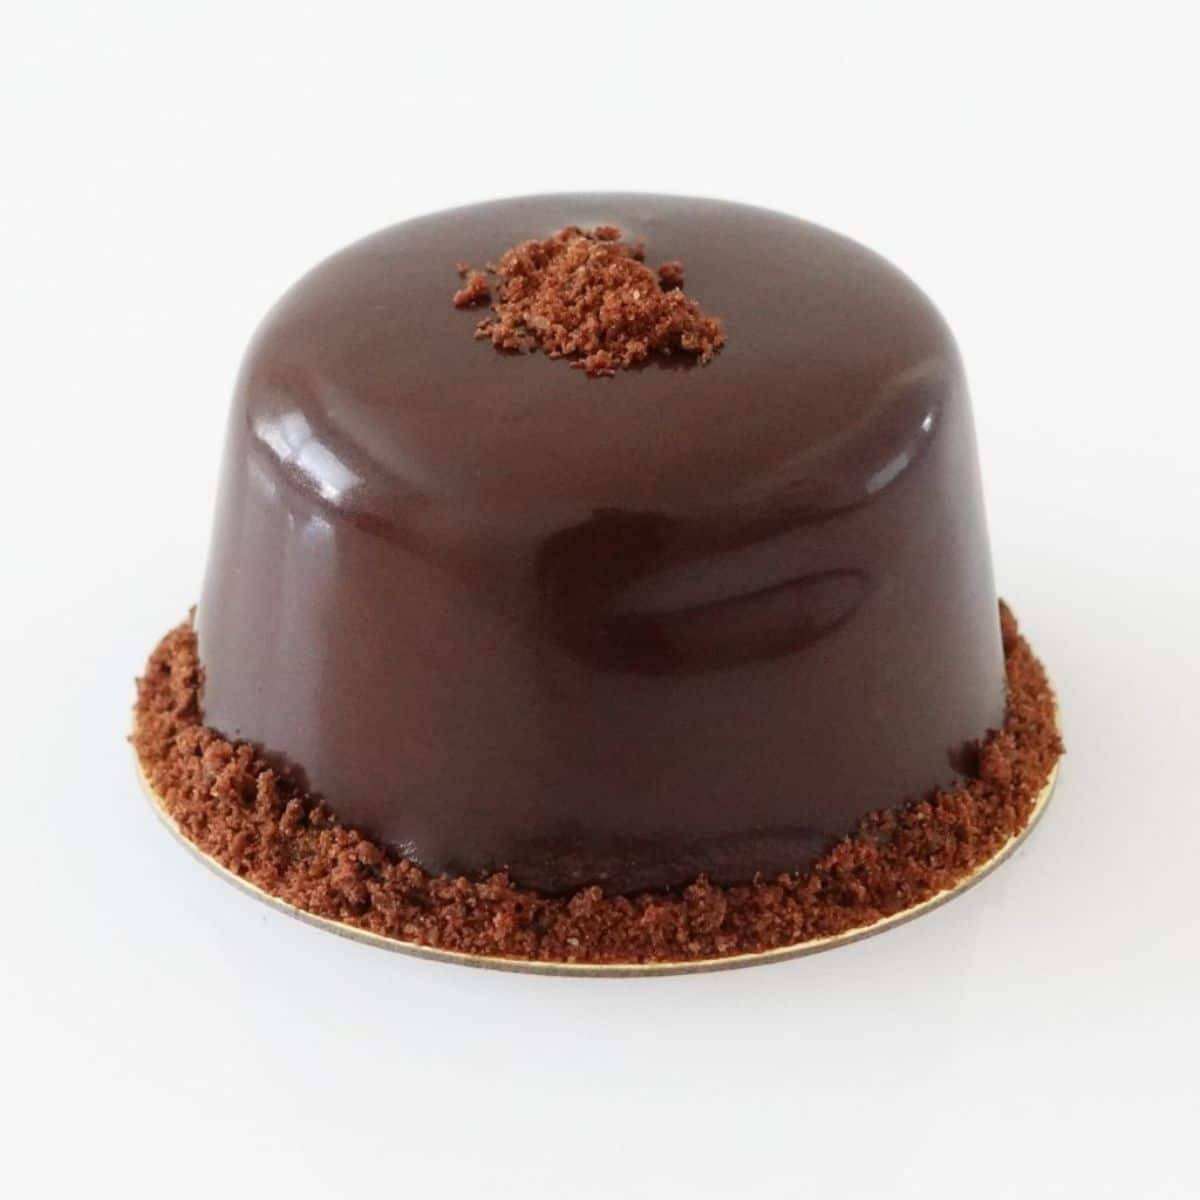
We're keeping things simple here, so you can whip up an amazing dessert that looks awesome and tastes even better. With a base made from crunchy chocolate cookies and a sprinkle of cookie crumbs on top, these mini cakes are a treat for your taste buds and a feast for your eyes.
Why You Will Love Mini Chocolate Ricotta Mousse Cakes
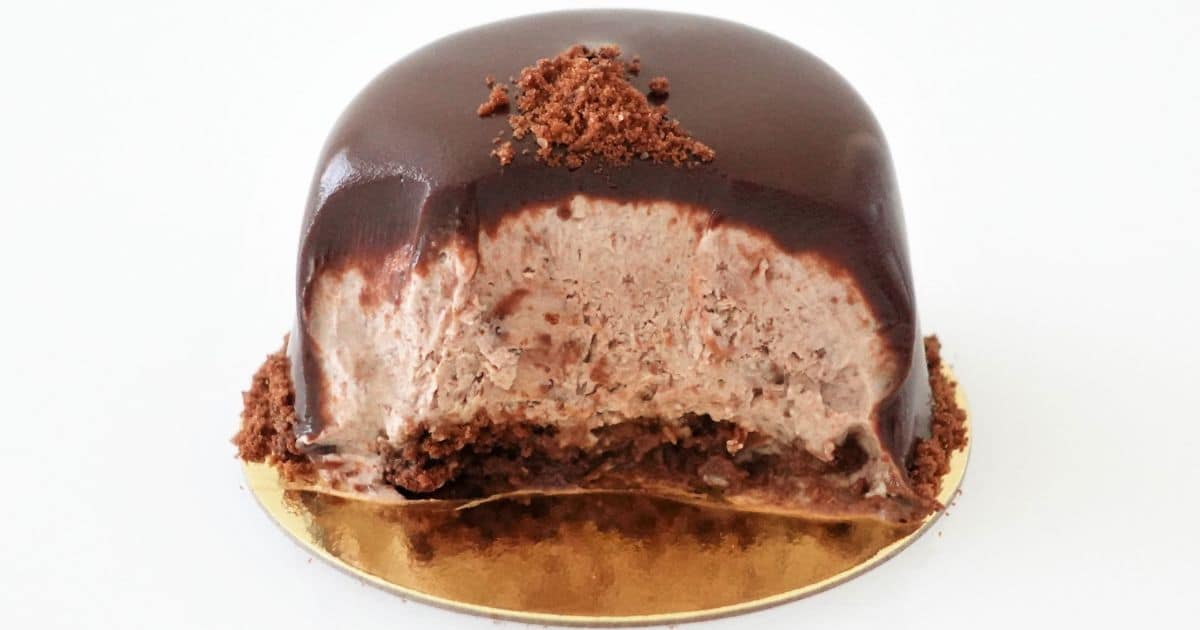
You're going to appreciate the simplicity and elegance of these Mini Chocolate Ricotta Mousse Cakes. They're surprisingly easy to make, blending rich chocolate with creamy ricotta for a match made in dessert heaven. The transformation of the chocolate cookie base into a soft, cake-like texture beneath the silky mousse layer is a delicious surprise.
Moreover, the addition of a smooth ganache topping not only enriches the flavor but also gives these mini cakes a sophisticated appearance. This makes them look as though they came straight from a high-end bakery. It's this combination of taste and presentation that will have everyone asking for the recipe!
Ingredients In Chocolate Ricotta Mousse Cakes
Chocolate Ricotta Mixture
Dark Chocolate: The star ingredient that infuses our mousse with a deep, luxurious chocolate flavor. It's melted and blended with ricotta for a rich taste.
Smooth Ricotta: This cheese adds a creamy, smooth texture to our mousse. It's key for achieving that perfectly soft and indulgent consistency.
Powdered Sugar: Fine and sweet, this sugar dissolves easily, ensuring the mousse is sweetened evenly without any gritty texture.
Heavy Cream: This is whipped up into soft peaks before being folded into the chocolate and ricotta mix.
Ganache Glaze
Dark or Milk Chocolate: Chocolate combines with cream to create a shiny, luscious glaze that coats each mousse cake.
Cream: The cream is heated and mixed with chocolate to form the ganache. Ganache gives a smooth, glossy topping that adds a rich finish to the cakes.
Garnish
Cookie Crumbs: Sprinkled on top and around the base of each cake. Crumbs add a subtle texture contrast and enhance the chocolate flavor.
Extras For Assembly
Chocolate Biscuits: These form the base of each mousse cake. They absorb milk to transform from crisp to a tender, cake-like texture.
Milk: This is drizzled over the biscuits to moisten them. They soften up nicely to complement the creamy mousse above.
How To Make Chocolate Ricotta Mousse Cakes
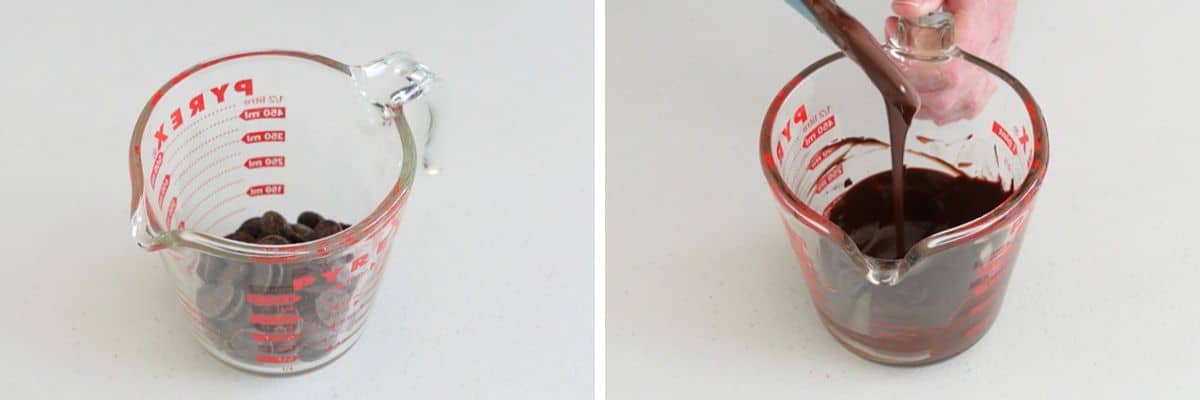
Melting the Chocolate
Start by breaking your dark chocolate into small pieces and warming it up until it's completely melted and smooth. You'll use this melted chocolate to mix into the ricotta cheese to start making your mousse.
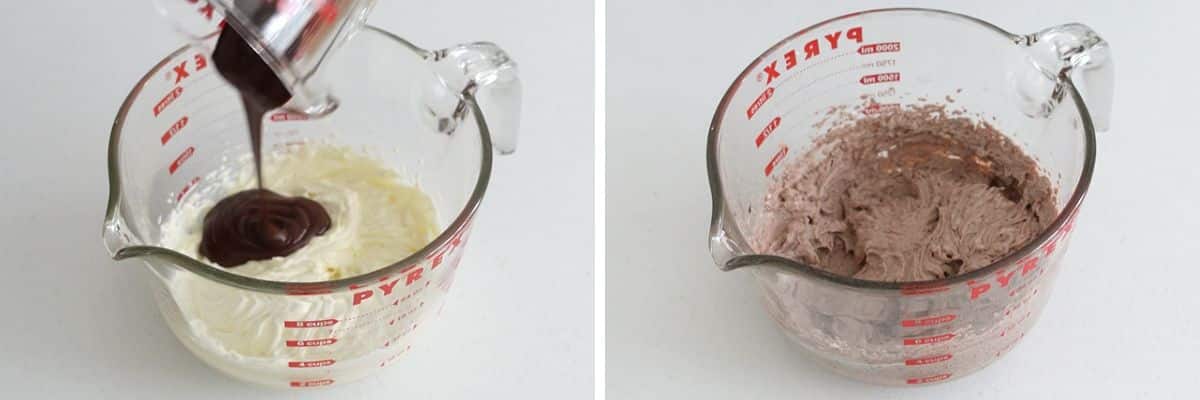
Mixing the Chocolate Ricotta Mousse Base
Take your smooth ricotta cheese and mix it with some powdered sugar until it's all nice and blended. Then, pour in the melted chocolate you just prepared. Mix everything together until it's uniform and smooth. This mixture will be the base of your mousse cakes.
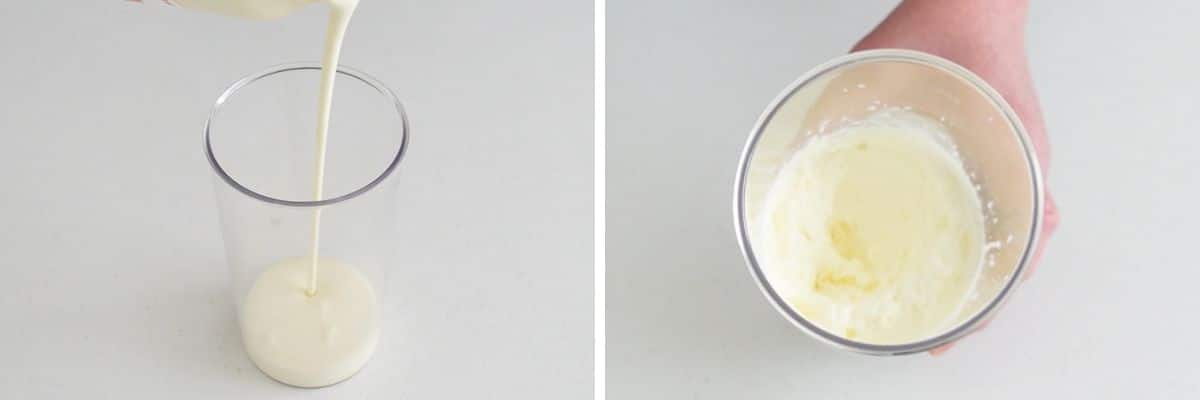
Whipping the Cream
Next, you need to whip some heavy cream until it's thick and has stiff peaks. This whipped cream will make your mousse light and fluffy.
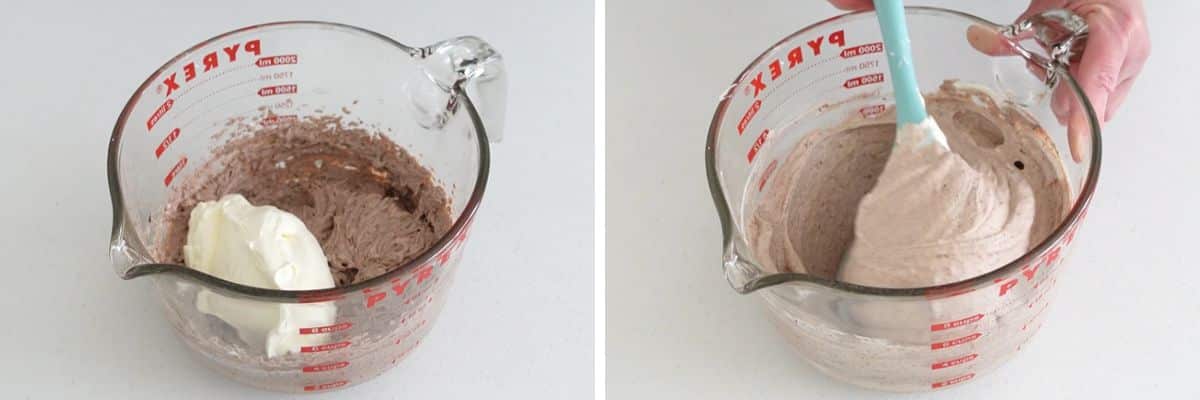
Combining Everything
Gently fold the whipped cream into your chocolate ricotta mixture. Be careful to mix it in a way that keeps the air in the whipped cream so your mousse stays light and airy.
Preparing the Molds
Now, grab a silicone cupcake tray and pipe or spoon the mousse mixture into each cavity, but only fill them halfway. This is where your cakes will take shape.
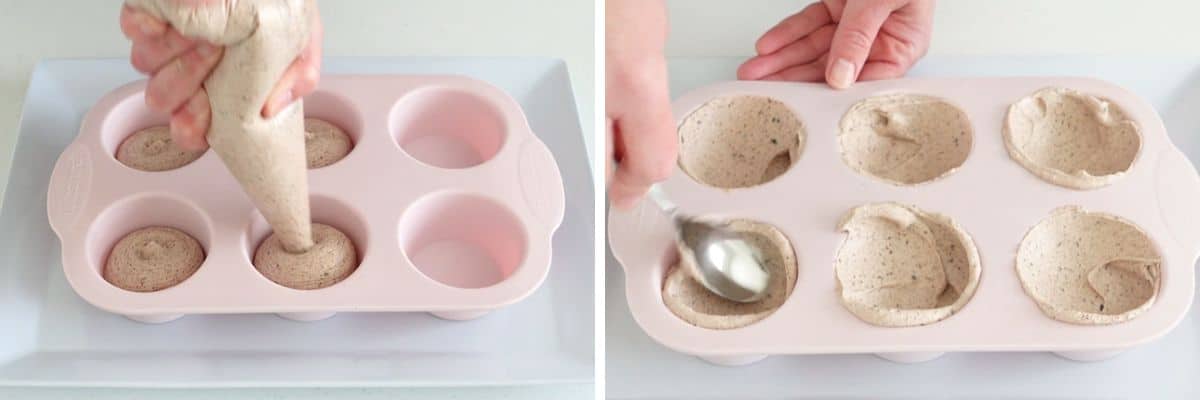
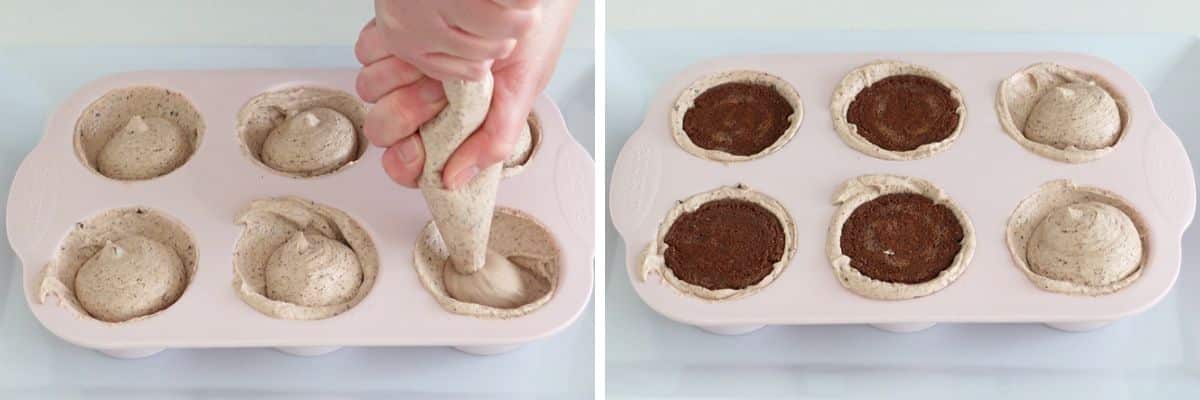
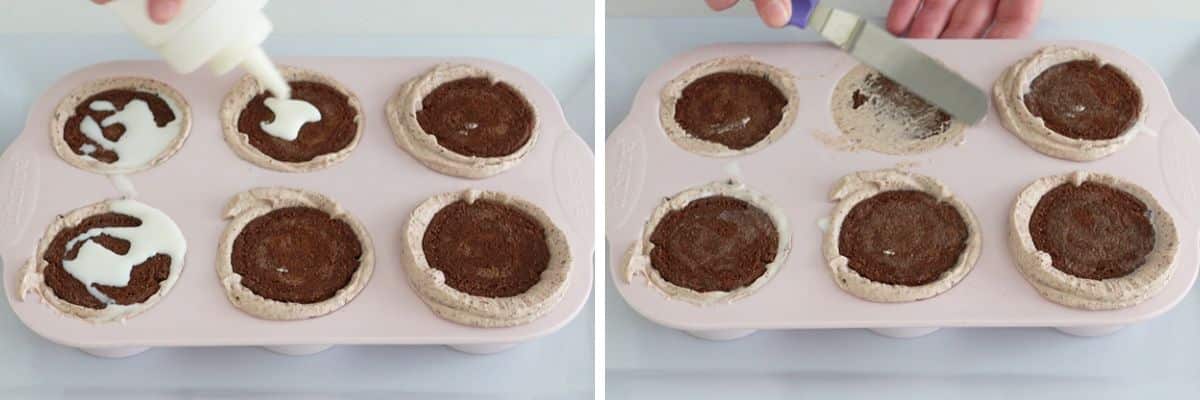
Adding the Cookie Base
Place a chocolate biscuit on top of the mousse in each cavity. Gently press down so the biscuit sits nicely on the mousse. Then, drizzle a little bit of milk over each biscuit. This milk will help soften the biscuit into a cake-like texture.
Use the back of a spoon to push the mixture again the mould to remove air bubbles and achieve a neat finish. Pipe remaining mixture into cavities.
Freezing
Once you've got all your biscuits in place and drizzled with milk, clean up any mousse that's spilled over. Then, put the tray in the freezer and leave it there overnight. This will set your mousse cakes and make them ready for the next steps.
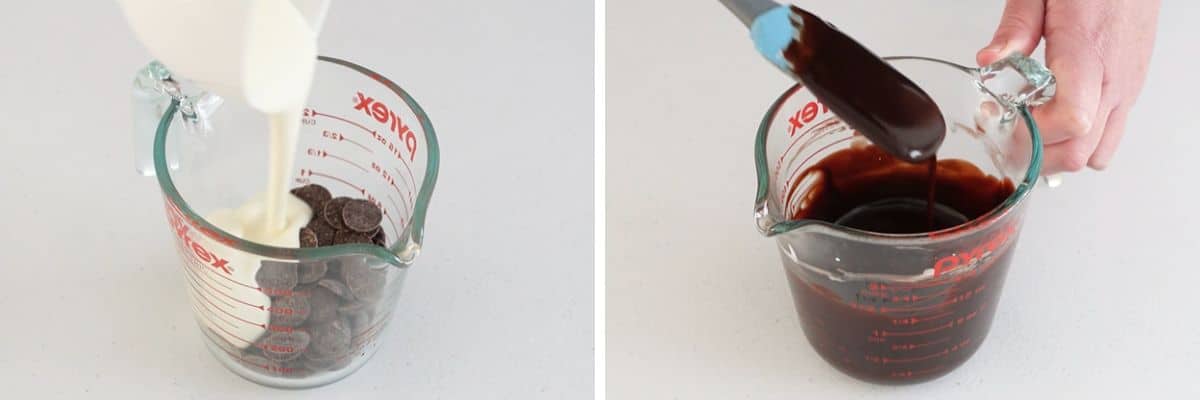
Making the Ganache
For the ganache glaze, you'll melt some more chocolate and mix it with cream until it's smooth and shiny. This will be poured over your frozen mousse cakes for that extra delicious chocolate layer.
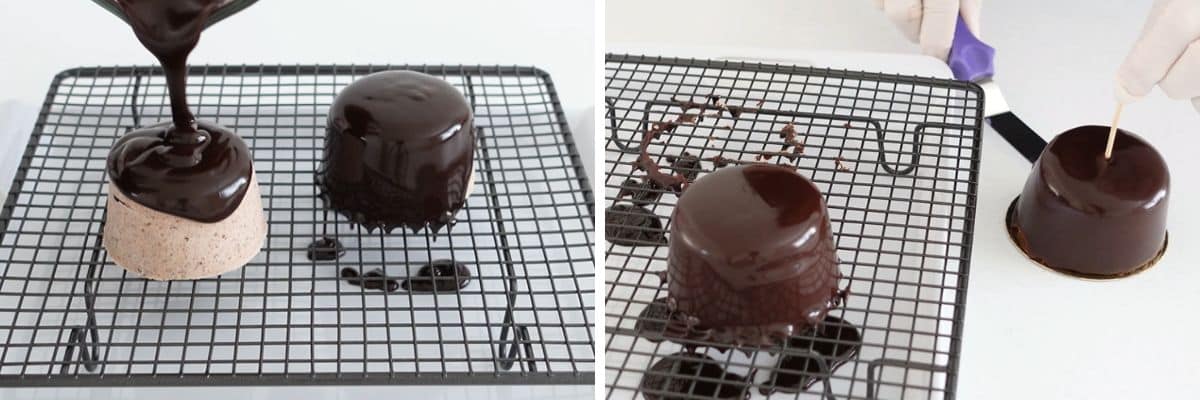
Glazing and Garnishing Chocolate Ricotta Mousse
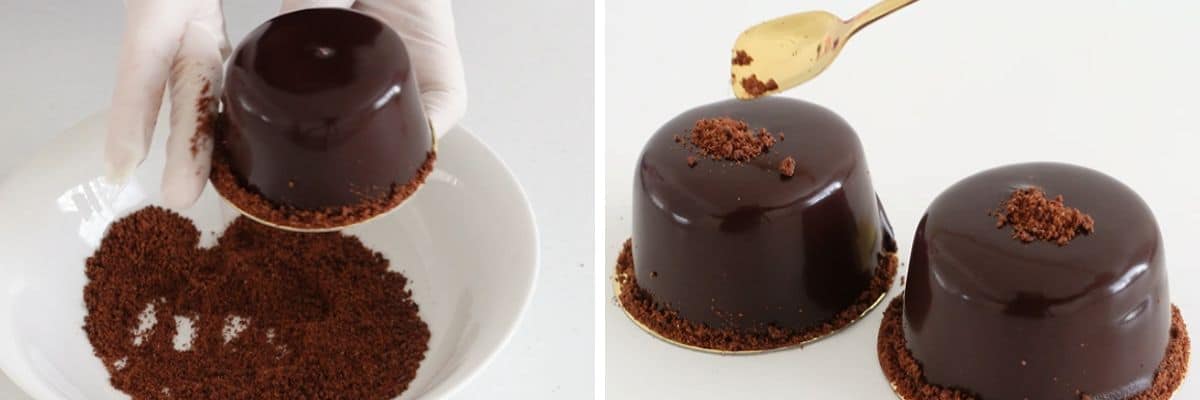
Once your chocolate ricotta cakes are frozen and firm, take them out of the molds. Pour the ganache over each one, letting the excess drip off. Then, sprinkle some cookie crumbs over the top and around the bottom edge for a bit of crunch and decoration.
Finishing Up
After glazing and garnishing, let your chocolate ricotta cakes thaw in the fridge for a couple of hours. This makes them perfect for eating: the mousse will be soft and creamy, and the biscuit base will have that lovely cake-like texture.
And that's it! You've made Mini Chocolate Ricotta Mousse Cakes. Enjoy the process and the delicious results!

My Top Tip For Chocolate Ricotta Mousse Cakes
The most important tip for making these Mini Chocolate Ricotta Mousse Cakes is to be patient and allow enough time for the mousse to freeze solid overnight. This step is important because it makes sure that your cakes will hold their shape when you demold them and apply the ganache glaze.
If the mousse isn't fully set, you might end up with a messy finish that won't do your efforts justice. So, give them all the time they need in the freezer. Your patience will be rewarded with perfectly shaped, deliciously indulgent mousse cakes that look as good as they taste!
Serving Suggestions
When you're ready to serve your Mini Chocolate Ricotta Mousse Cakes, here are a few ideas to make them even more irresistible:
- Pair with Fresh Berries: Serve each mousse cake with a side of fresh berries like strawberries, raspberries, or blueberries. The freshness and slight acidity of the berries complement the richness of the chocolate perfectly.
- Add a Dollop of Whipped Cream: A small spoonful of whipped cream on top of or beside each cake can add a lovely creaminess and make the dessert even more decadent.
- Drizzle with Caramel or Raspberry Sauce: For a little extra flavor and a pop of color, drizzle some caramel or raspberry sauce over the cakes before serving. This not only adds to the taste but also makes for an impressive presentation.
- Garnish with Edible Flowers: For special occasions, garnishing each cake with an edible flower can add a touch of elegance and make your dessert spread look even more inviting.
More Mousse Recipes
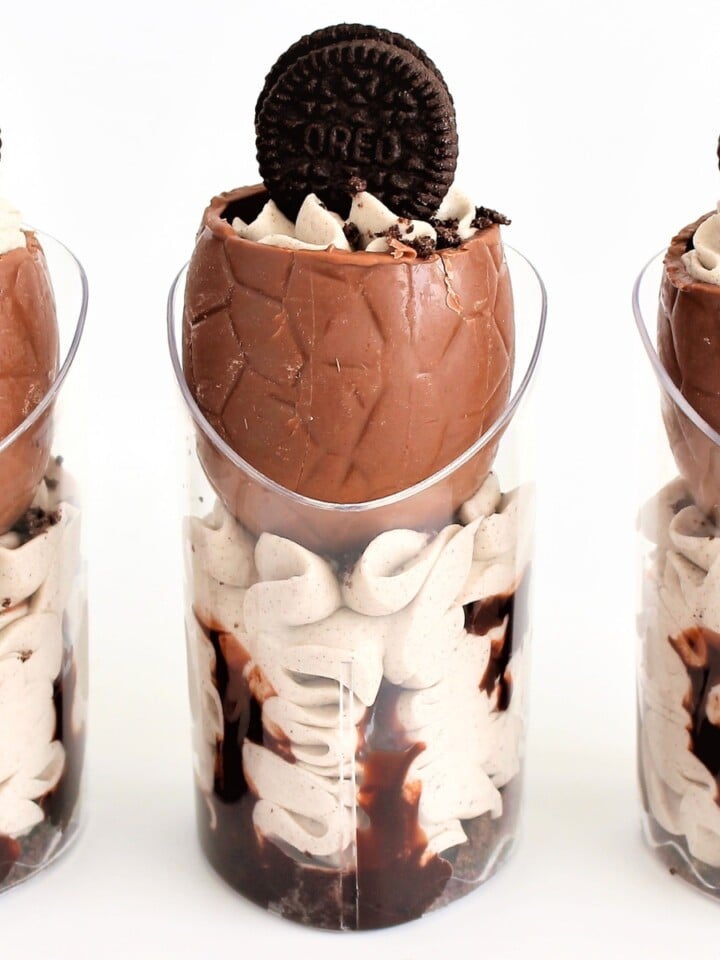
- Oreo Mousse Easter Eggs
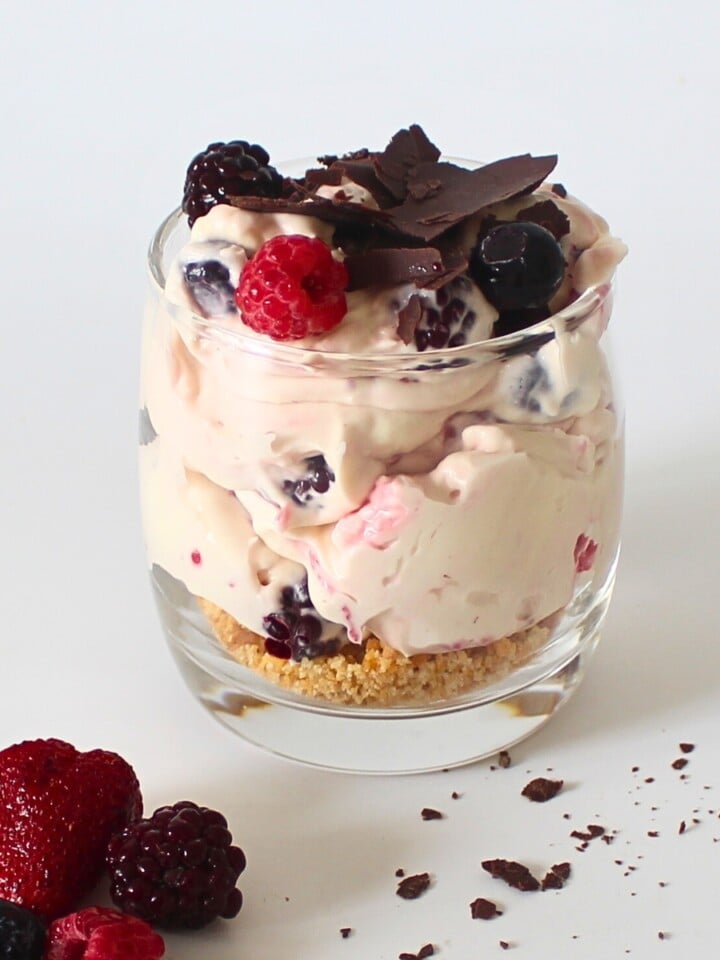
- Mixed Berry Parfaits
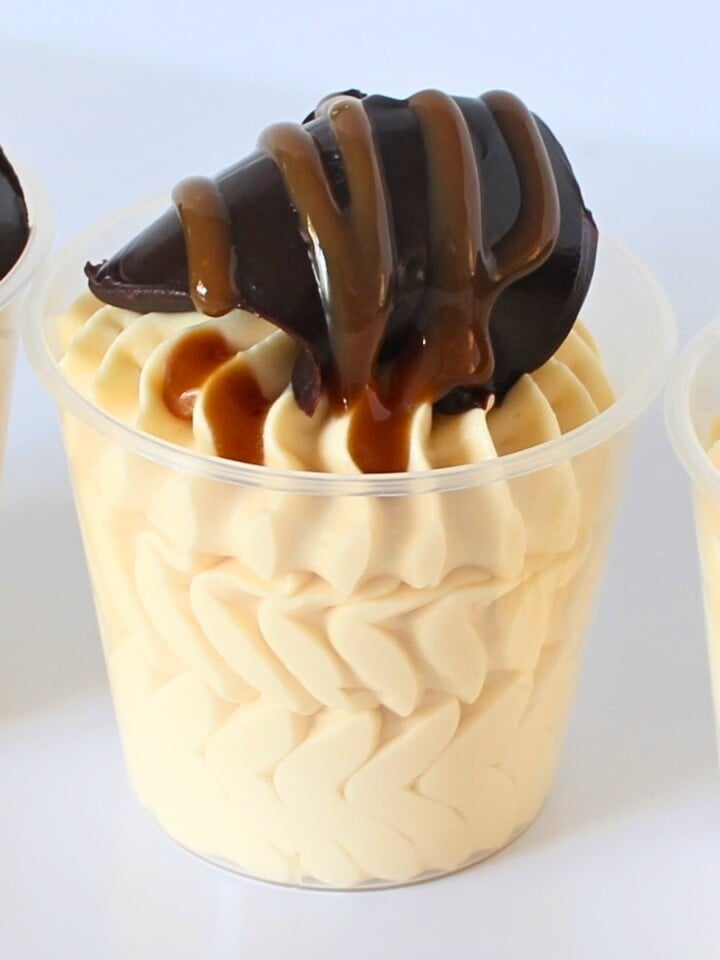
- Caramel Chocolate Mousse (Eggless)
- Pumpkin Spice Mousse Dessert
Common Questions
Absolutely! Milk chocolate can be used for a sweeter, milder flavor. Just keep in mind that it might make the mousse and ganache sweeter than when using dark chocolate.
No worries! You can use any small mold or cupcake tray you have. If it's not silicone, consider lining it with plastic wrap or cupcake liners for easier removal.
Yes, these are perfect for making ahead. Once frozen and glazed, they can be kept in the freezer for up to a month. Just add the garnish before serving.
Definitely! Feel free to experiment with different cookie bases. Graham crackers, digestive biscuits, or even a thin layer of sponge cake could work well.
The mousse cakes should be very firm to the touch, and the edges should pull away from the mould cleanly. If in doubt, leave them in the freezer a little longer to ensure they're fully set.

Mini Chocolate Ricotta Mousse Cakes
INGREDIENTS
Chocolate Ricotta
- 100 g (3 ½ oz) dark chocolate
- 375 g (13 ¼ oz) ricotta
- 2 tablespoon (2 tablespoon) powdered sugar
- 120 g (½ cups) heavy cream
Ganache Glaze
- 175 g (6 ⅙ oz) dark chocolate
- 180 g (¾ cups) heavy cream
Garnish
- 2 tablespoon (2 tablespoon) cookie crumbs
Extras
- 6 (6) chocolate cookies
- ⅓ cup (⅓ cup) milk
INSTRUCTIONS
- Prepare the Chocolate: Place the dark chocolate in a microwave-safe jug. Microwave in 20-second intervals, stirring in between, until completely smooth.
- Mix Ricotta Base: In a mixing bowl, combine chilled ricotta and powdered sugar. Mix on medium speed until fully combined and smooth.
- Incorporate Chocolate: Add the melted chocolate to the ricotta mixture. Use a hand mixer to blend well until the mixture is uniform.
- Whip Cream: Whip the heavy cream to stiff peaks using a stick blender or hand mixer.
- Fold in Whipped Cream: Gently fold the whipped cream into the chocolate ricotta mixture using a silicone spatula, ensuring no streaks remain.
- Mould the Mousse: Pipe the mixture into a six-cavity silicone cupcake tray, filling halfway. Work the mixture to remove air bubbles and achieve a neat finish. Pipe remaining mixture into cavities.
- Add Cookie Base: Place a chocolate cookie on top of each filled cavity and gently press down. Drizzle each cookie with milk to soften.
- Freeze: Clean the excess filling from the mould using an angled spatula. Freeze overnight.
- Make Ganache Glaze: Microwave chocolate and cream in 20-second bursts, stirring until smooth. Cool 5 minutes.
- Glaze and Garnish: De-mould the frozen mousse, pour ganache over each, and garnish with cookie crumbs.
- Thaw and Serve: Let the mousse cakes thaw in the fridge for at least two hours before serving.

Leave a Reply