
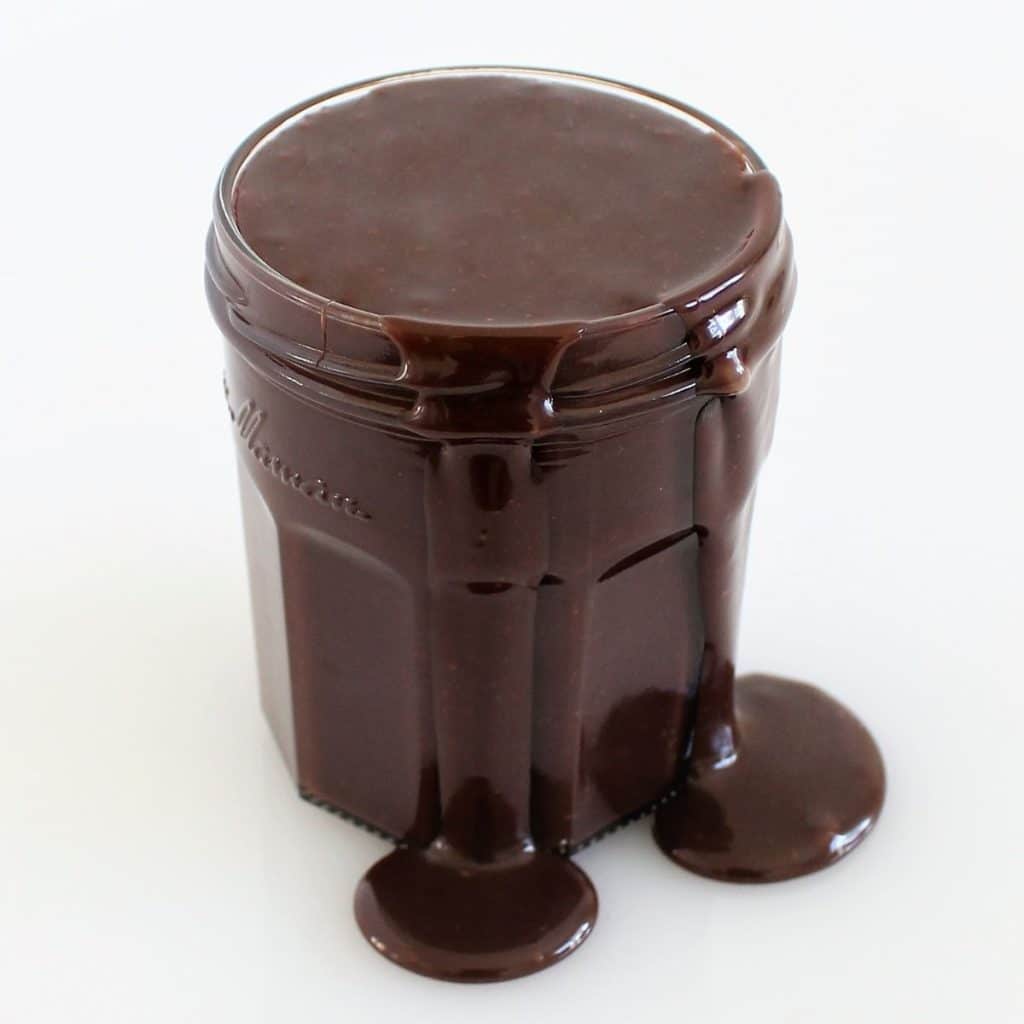
When it comes to dessert, the combination of simplicity and decadence is a rare gem. Enter the 2-Ingredient Quick Chocolate Mousse recipe. I like to call it my Whipped Chocolate Truffle Mousse. A recipe that proves you can create a beautiful looking dessert with just a handful of elements.

This two-ingredient chocolate mousse recipe, made with a generous amount of dark chocolate and a combination of hot and cold cream, creates a luxurious and velvety dessert that’s perfect for any occasion. The overnight chill allows the flavors to meld, making it even more decadent. Just be sure not to overwhip the mousse when serving, and you’ll have a delightful treat to savor.
Ingredients For My Chocolate Mousse Recipe
Dark Cooking or Eating Chocolate: The star of the show, dark chocolate with at least 70% cocoa content brings depth and richness to the mousse. Its intense flavour provides the foundation for a decadent and satisfying dessert. A lot of people don't like the bitterness of dark chocolate so feel free to substitute with milk or white chocolate
Hot Boiled Cream: The hot cream serves a dual purpose. First, it help with the melting of the chocolate, ensuring a smooth and velvety consistency. Second, it enhances the chocolate's flavour by infusing it with the warmth of the cream.
Cold Cream: The cold cream helps to bring the temperature of the chocolate-cream mixture down quickly. I don't like cream sitting out of the refrigerator for too long while cooling down so this technique is a good fix for that.
How To Make My Chocolate Mousse Recipe
1. Chocolate and Hot Cream Mixture: Place chocolate in a heatproof bowl. Pour the hot boiled cream over chocolate. Melt chocolate mixture: Use double boiler or microwave in 20-second intervals. Stir until smooth and combined.
2. Incorporate Cold Cream: Add the cold cream to melted chocolate. Stir well or mix with a stick blender for even distribution.

3. Chilling: Cover bowl with plastic wrap. Refrigerate overnight. Allow mousse to set and develop flavors.
4. Whipping: Remove bowl from refrigerator. Whip mousse to stiff peaks. Be careful not to over-whip.

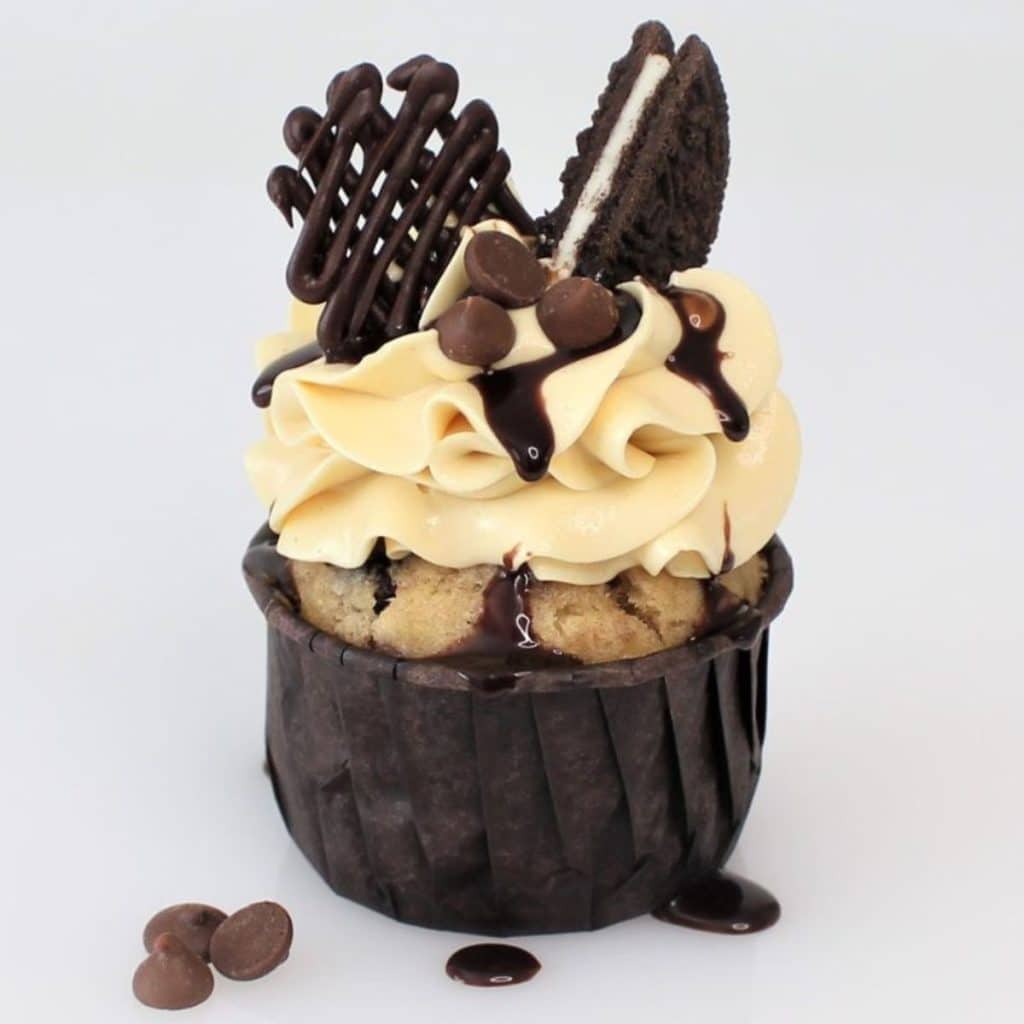
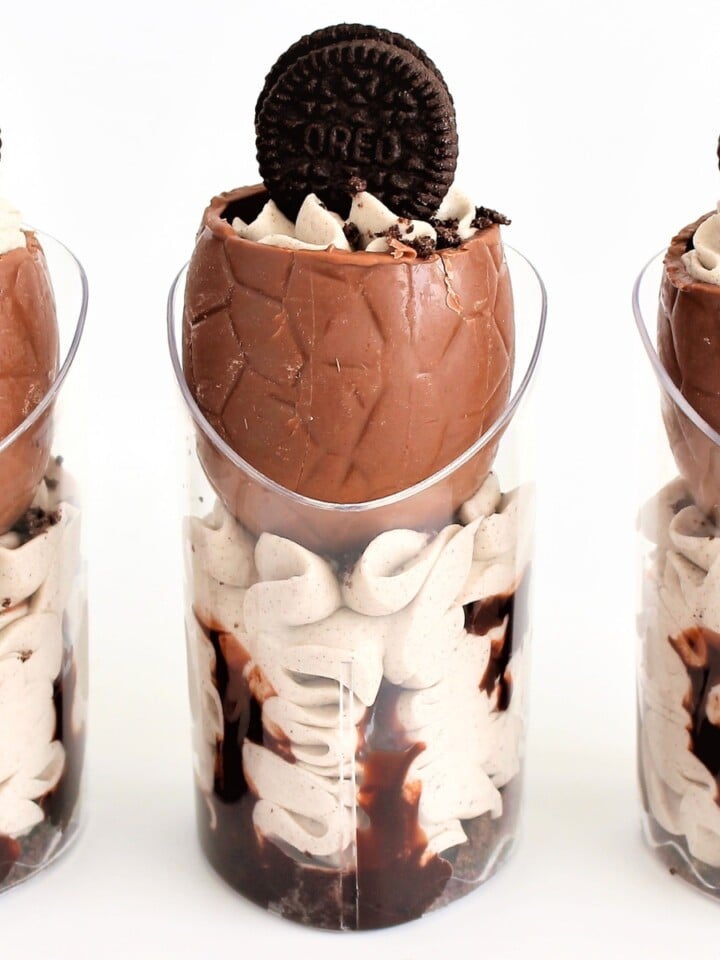
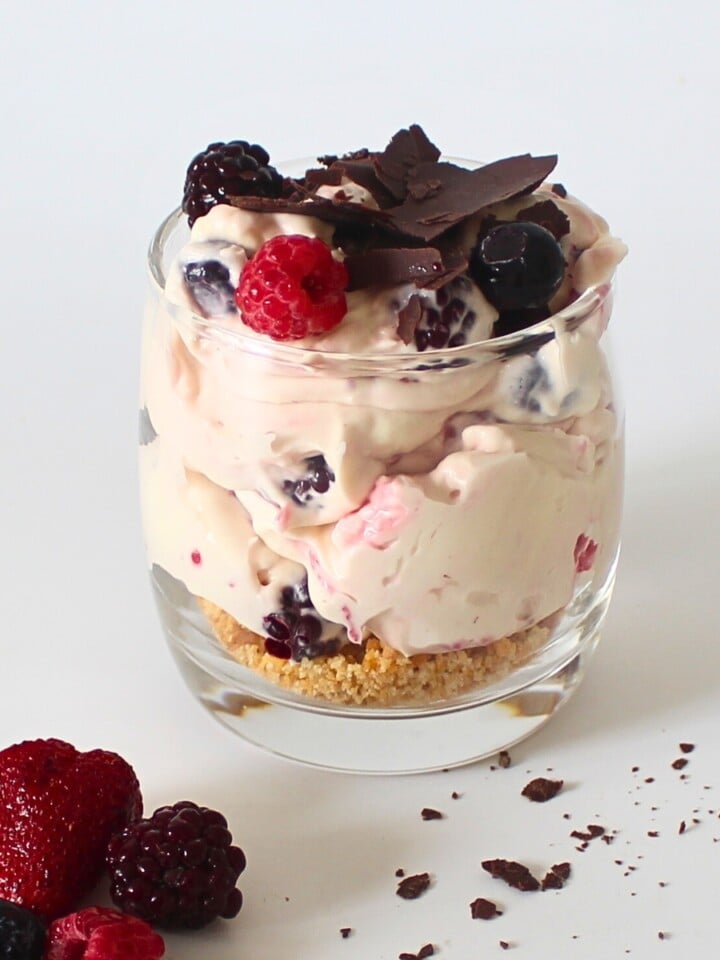
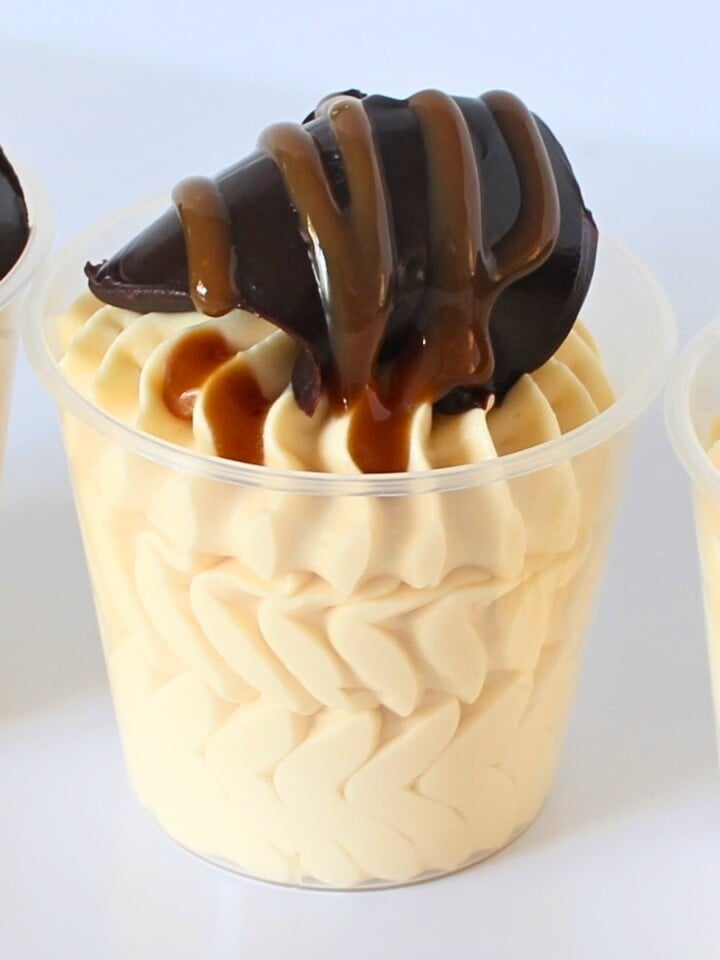
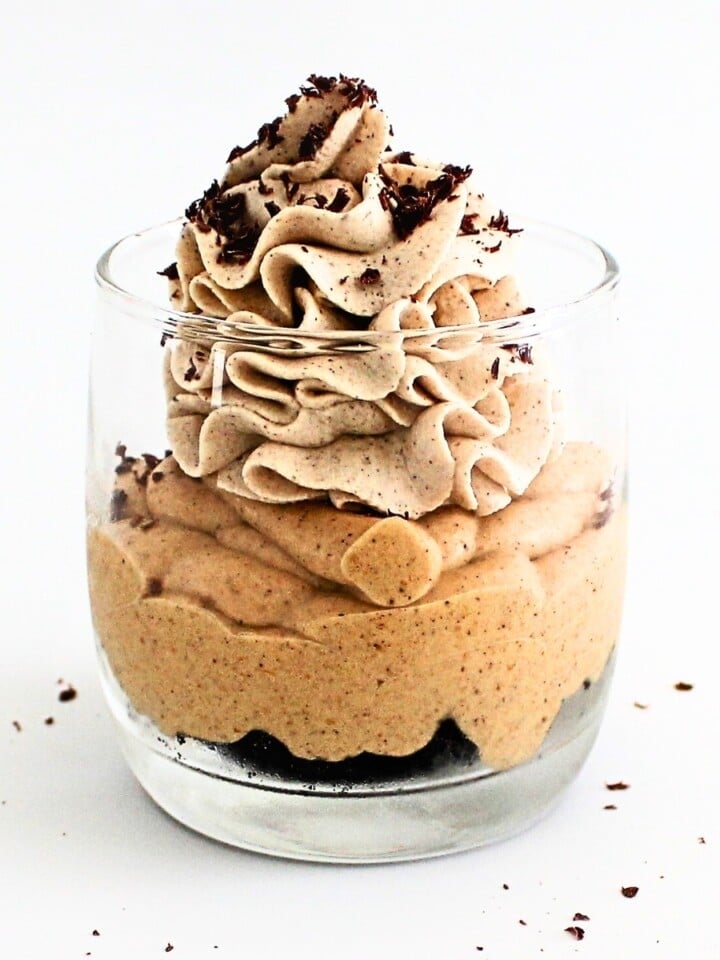
5. Serving: Portion mousse into desired dishes. Garnish as preferred (e.g., grated chocolate, whipped cream, berries). I have served it in mini glasses piped over some delicious brownie chunks. Use your favorite brownie recipe or try my Nutella Brownies or Biscoff Brownies.

My Top Tip
Here's a helpful tip for making this recipe: Be careful not to overwhip the mousse, as it can cause it to split and curdle. It might be tempting to keep whipping, especially if you're using an electric mixer, in hopes of achieving a firmer texture. However, it's important to proceed with caution.
Overwhipping introduces too much air into the mixture, leading to a loss of its smooth and creamy consistency. To avoid this, simply stop whipping as soon as the mousse reaches stiff peaks. You'll notice that it becomes thick and holds its shape well. That's your cue that it's perfectly whipped and ready to be served.
Remember, when it comes to whipping mousse, less is more. It's better to have a slightly softer texture than to risk ruining the mousse by overdoing it. Enjoy your perfectly whipped Two-Ingredient Whipped Chocolate Truffle Mousse!
Alternate Serving Suggestions
Let’s dive into some simple yet delightful serving suggestions for this delicious chocolate mousse recipe that will turn your mousse into a star on any table. The list of ideas is endless!
- Classic Elegance: Serve the whipped chocolate truffle mousse in delicate dessert glasses for a touch of classic elegance. Garnish with a dusting of cocoa powder and a single chocolate shaver for a simple yet sophisticated presentation.
- Layered Indulgence: Layer the mousse in mini glasses with bite-sized chocolate brownie pieces. Alternate layers of mousse and brownies for a delicious contrast in textures. Top it off with a dollop of freshly whipped cream and a sprinkle of chocolate shavings. THIS is my choice!
- Chocolate Board: Create a chocolate lovers’ board featuring the whipped chocolate truffle mousse alongside an assortment of chocolate-covered fruits, nuts, and cookies. Add a selection of berries for a burst of freshness that complements the rich chocolate flavors.
- Mini Chocolate Tarts: Use the mousse as a filling for individual chocolate tarts. Arrange fresh berries on top for a vibrant contrast, and dust the tarts with powdered sugar for a touch of sweetness.
- Chocolate Brownie Trifle: Layer the whipped chocolate truffle mousse with crumbled chocolate brownies and a drizzle of chocolate ganache in a trifle dish. Repeat the layers and finish with a generous dollop of whipped cream and a scattering of chocolate curls.
More Desserts You Might Like

Common Question for this Chocolate Mousse Recipe
While dark chocolate is recommended for its intense flavor, you can use milk chocolate if you prefer a sweeter taste. Just be aware that the mousse might be slightly less rich and intense in flavor.
The mousse can be stored in an airtight container in the refrigerator for up to 3-4 days. However, it's best enjoyed fresh within the first day or two for optimal flavor and texture.
Absolutely! Feel free to experiment with different flavorings or extracts, such as vanilla, coffee, or orange zest, to customize the mousse to your liking. Just be mindful of the additional liquid content and adjust accordingly.

Quick Chocolate Mousse Dessert
INGREDIENTS
2-Ingredient Chocolate Mousse
- 250 g (1 3/7 cups) dark chocolate
- 200 g (7 oz) heavy cream (A) needs to be hot
- 250 g (1 cups) heavy cream (B) needs to be chilled
INSTRUCTIONS
2-Ingredient Chocolate Mousse
- Break or chop the chocolate into smaller pieces and place in a microwave safe mixing jug. Melt the chocolate in the microwave using short bursts or over simmering water. Once melted, take it off the heat.
- Add the hot-boiled heavy cream (A) to the melted chocolate. Mix well until you achieve a smooth, glossy consistency.
- If chcocolate chunks remain, microwave in 10 second bursts stirring each time.
- Incorporate the remaining cold heavy cream(B) into the chocolate mixture. Stir well to create a perfect balance of temperature and texture. Blending briefly with a stick blender helps!
- Cover the bowl with plastic wrap, ensuring the plastic wrap touches the surface of the mousse to prevent a skin from forming. Refrigerate the mixture overnight. This time allows the flavors to meld, and the mousse to set into a velvety, truffle-like consistency.
- After 8 hours or the following day, remove the bowl from the fridge and whip the mousse to stiff peaks. Be cautious not to overwhip; the goal is to maintain a light, airy, and irresistibly creamy texture.
Serving Suggestion
- I like to place some brownie chunks (use egg-free brownies for eggless dessert) in mini pudding jars and pipe mousse on top using a Wilton 1M Tip. Garnish with piped chocolate decorations to serve! Be as creative as you like with your presentation.
NOTES
NUTRITION
Video Tutorials You Might Like


Gloria says
Could you please convert grams into cups. Thank you
Fay says
Done! If you click on the Imperial tab at the beginning of the ingredient list the cup conversion will show.
Gina says
If I’m making individual serving cups fir a party, can I make them the night before for the next evening as long as they’re kept in the refrigerator? Or will the mousse start to break down if it’s in individual cups?
Fay says
As long as it’s kept refrigerated and covered it’s a very stable mousse and it’s fine to make it the night before. It’s who I love this mousse so much. I hope you like it too!
Beverly Klinzing Klinzing says
Does this work good for filling in chocolate cake?
Fay says
Yes it does. You will need to dam it with buttercream.