
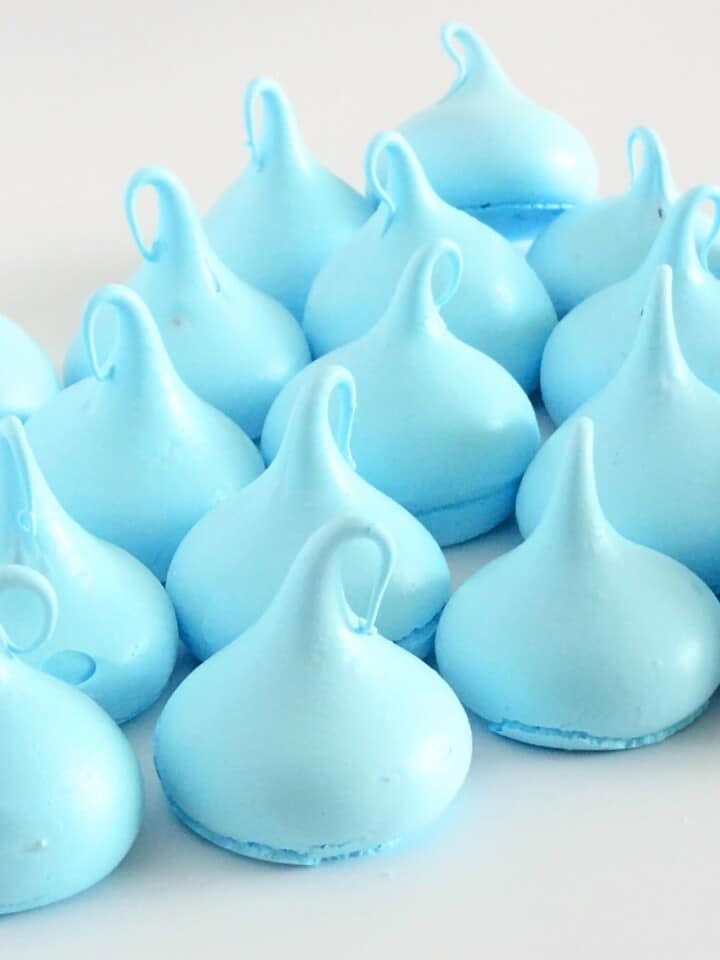
These Mini Meringue Kisses are quick to prep and need just a few simple ingredients. I use pasteurized egg whites to skip the heating step—easy and safe. They bake low and slow for that crisp, melt-in-your-mouth texture. Use them as a light snack or a cute topper for cakes and desserts. They stay fresh for up to two weeks in an airtight container.

What are Packaged Pasteurized Egg Whites
Packaged pasteurized egg whites come in cartons, already separated and heat-treated for safety. You can use them straight from the fridge—no egg separating needed.
They’re great for mini meringue kisses, smoothies, and quick high-protein recipes. Using them saves time and keeps cleanup simple.
Ingredients in Mini Meringue Kisses
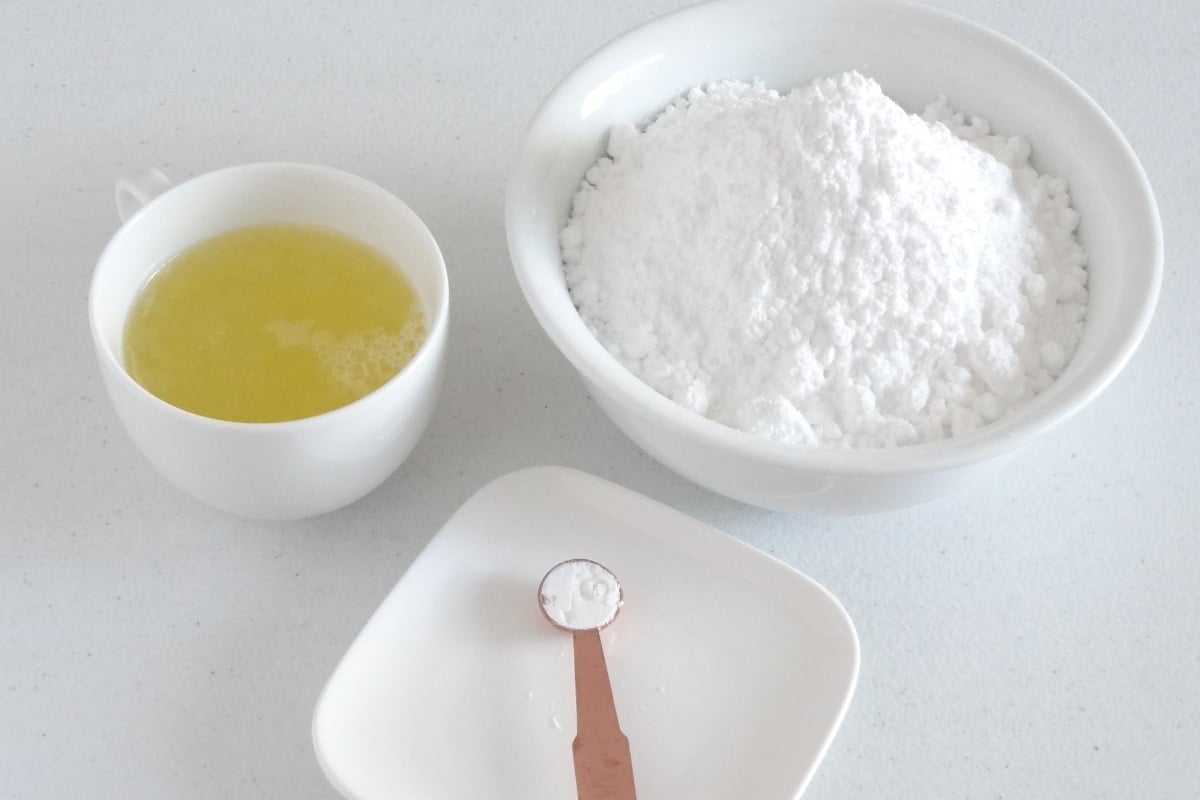
- Liquid Egg Whites: These come in a carton, already separated and pasteurized. They’re safe to use straight away—no heating or egg separating needed. Perfect for saving time and keeping things simple.
- Powdered Sugar: Also called confectioners’ sugar, this dissolves quickly into the egg whites. It helps create a smooth, glossy, stable meringue with a light texture.
- Cream of Tartar: This keeps the egg whites stable while whipping. It also helps prevent the sugar from crystallizing. Essential for achieving the delicate structure of mini meringue kisses.
- Gel Food Color: Gel coloring adds bold color without thinning the meringue. Use just a little to match your theme or mood.

How To Make Mini Meringue Kisses
- Preheat your oven to 212°F (100°C). This low temperature helps the kisses dry out without browning.
- Add the liquid egg whites to your stand mixer bowl. A hand mixer works too if that’s what you’ve got.
- Start mixing on medium-low speed. This gently builds volume and creates bubbles in the egg whites.
- Once bubbles start forming, add the cream of tartar. It helps stabilize the meringue and keeps it from collapsing. Keep mixing on medium speed to build structure.


- When the egg whites reach soft peaks, start adding powdered sugar one tablespoon at a time. Let each spoonful mix in fully before adding the next. Slow addition keeps the meringue stable and helps it build volume.
- Once all the sugar is in, turn the mixer to high. Whip until stiff peaks form and stand upright without folding. Your meringue is ready when it's thick, glossy, and holds its shape, ideal for creating mini meringue kisses.
- Add your gel food color of choice to the meringue. Mix on low speed for a couple of minutes until fully blended. The color should look even and smooth throughout.


- Line a baking tray with parchment paper or a silicone mat. This keeps the meringues from sticking.
- Fit a piping bag with a round or star tip. Fill it with the meringue mixture.
- Hold the tip close to the tray and pipe small blobs. Stop squeezing and lift to form the kiss shape. Leave space between each one for even baking.
- Bake at 212°F (100°C) for 90 minutes. This dries them out without browning.
- Let them cool completely on the tray. Don’t move them while warm—they’ll break.


Storage Tips for Mini Meringue Kisses
After the mini meringue kisses have cooled completely, transfer them to an airtight container. Store them at room temperature. They will stay fresh and crisp for up to two weeks.
Fay's Top Tip
Whip the egg whites until stiff peaks form. This helps the meringue kisses keep their shape and texture.
Add the powdered sugar slowly, one spoon at a time. Slow mixing keeps the meringue stable and prevents it from collapsing.
Serving Suggestions for Mini Meringue Kisses
- Dessert Topping: Top cakes, cupcakes, or pies with mini meringue kisses for a light crunch.
- Ice Cream Garnish: Sprinkle over ice cream or frozen yogurt for texture and sweetness.
- Party Favors: Pack them into small boxes or bags as edible party favors or gifts.
- Parfaits: Layer them in parfaits with cream, fruit, and chocolate for an easy layered dessert.
- Hot Drinks: Serve with hot drinks like coffee, tea, or hot chocolate as a sweet bite on the side.

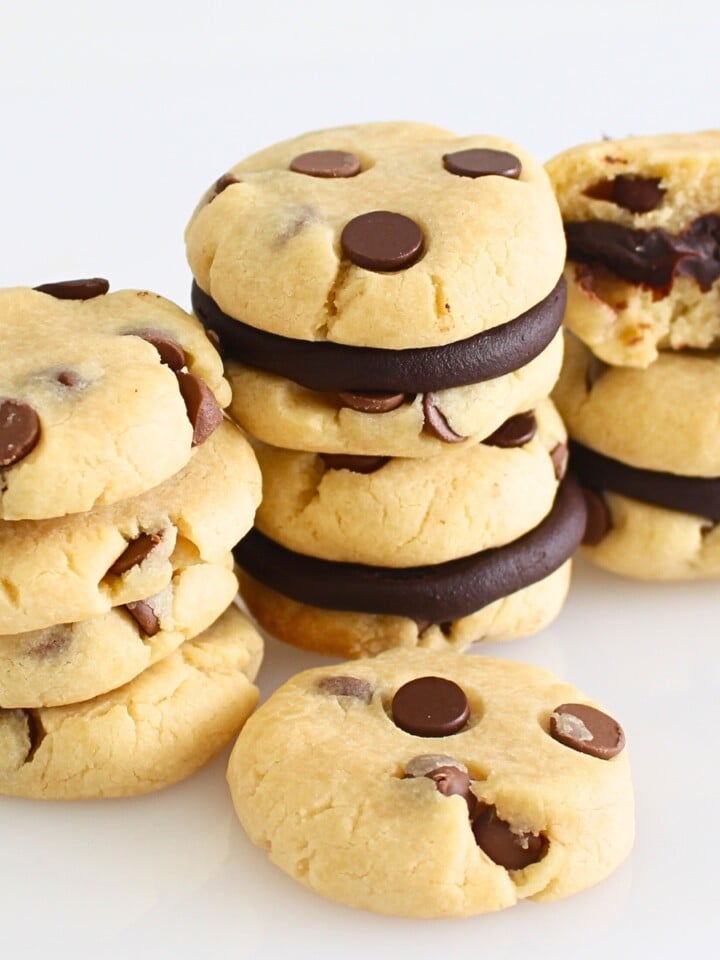
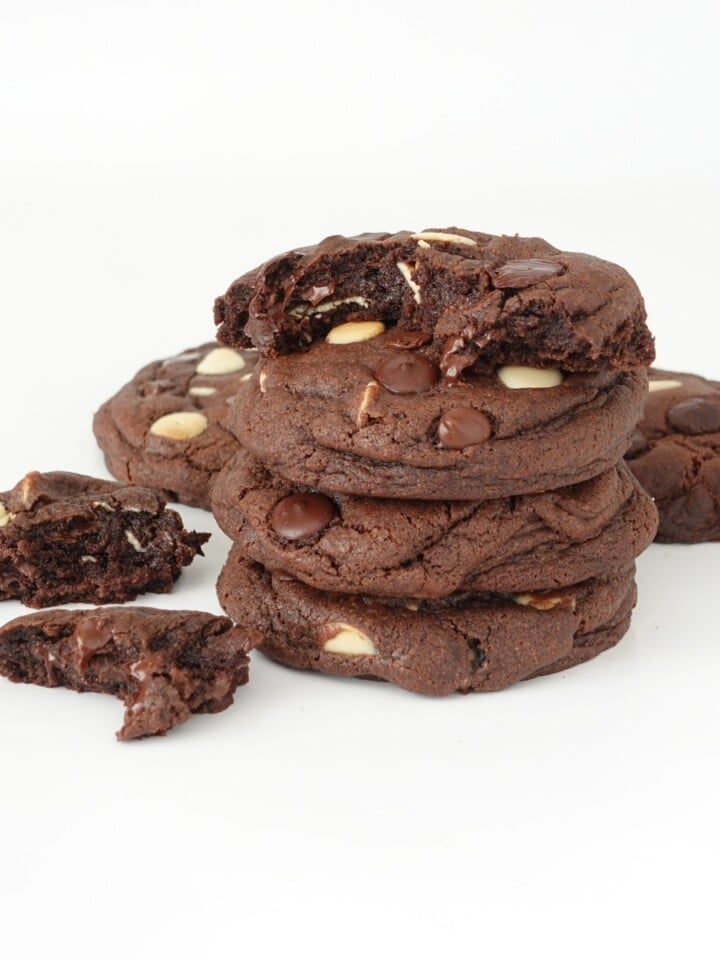
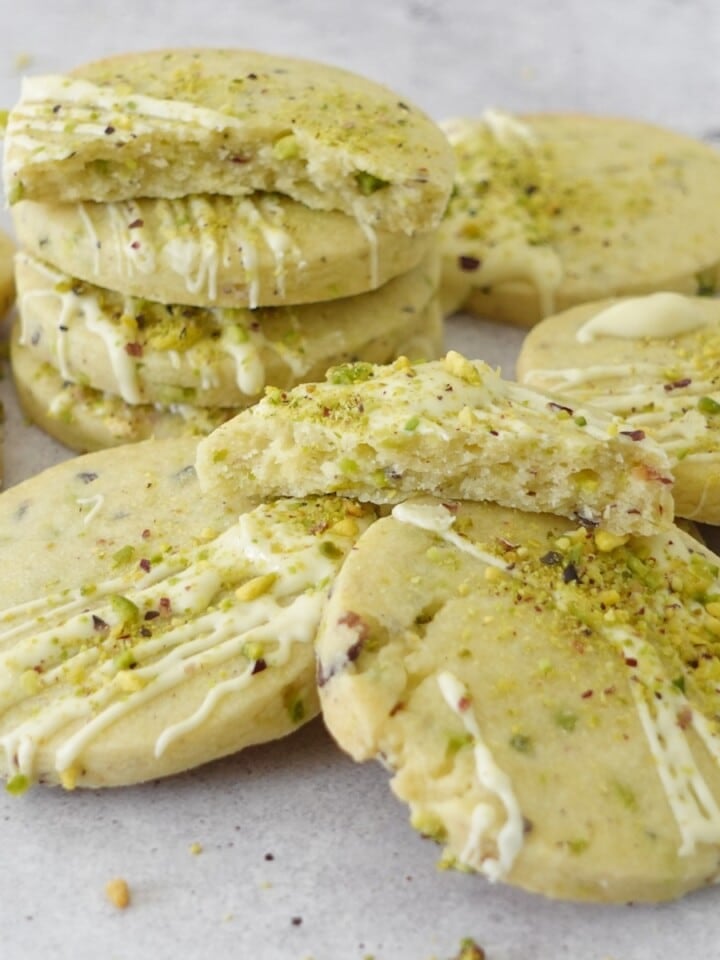
More Deserts Featuring Meringue
Frequently Asked Questions
Stiff peaks are achieved when the meringue stands straight up and holds its shape when you lift the whisk out of the bowl.
Store them in an airtight container at room temperature. They will stay fresh and crisp for up to two weeks.
Yes, you can add a small amount of flavor extract, such as vanilla, almond, or peppermint, to the meringue mixture before whipping to stiff peaks. Be cautious with the amount to avoid affecting the consistency.
Yes, you can bake multiple trays at once. Just make sure to rotate the trays halfway through the baking time for even baking.
Make It ✨ Snap It 📸 Share It! 🍨
If you whip up one of my desserts, I’d love to see it! 😍 Tag me on Instagram or Facebook so I can check out your creation. I’ll be reposting my favorites and giving shout-outs in my stories! 🎉 It’s always fun to see your unique twists on my recipes, so don’t be shy—snap a pic and share it! 📢🍰 #CupcakeSavvysKitchen

Mini Meringue Kisses Recipe
INGREDIENTS
- 100 ml (3.4 floz) egg whites packaged pasteurized also called liquid egg whites
- 200 g (7.1 oz) powdered sugar
- ⅛ teaspoon (⅛ teaspoon) cream of tartar
- gel food color
INSTRUCTIONS
- Preheat the Oven: Preheat your oven to 100°C (212°F).
- Prep the Egg Whites: Add the liquid egg whites to the bowl of a stand mixer. Mix on medium-low speed until bubbles form. You can also use an electric hand mixer.
- Add Cream of Tartar: Add the cream of tartar and continue mixing.
- Incorporate Powdered Sugar: Once soft peaks form, add the powdered sugar one tablespoon at a time, mixing briefly between each addition.
- Whip to Stiff Peaks: Increase the speed to high and whip until stiff peaks form.
- Add Color: Add gel food color of choice and mix for a couple of minutes to fully incorporate. Start with a couple of drops and add more if needed.
- Prepare Baking Sheet: Line a baking sheet with parchment paper or a silicone baking mat.
- Pipe the Meringues: Using a small piping tip (Wilton 2A or 4B), pipe small “kisses” onto the baking sheet, leaving about a ½ inch (1.25 cm) gap between each.
- Piping Technique: Place the tip close to the baking mat, about ½ inch away, pipe a blob, and once it touches the baking mat, stop squeezing and lift the tip up to extend the kiss and form the peak.
- Bake: Bake in the preheated oven for 90 minutes.
- Cool Completely: Remove from the oven and place the tray on a wire cooling rack to cool completely before removing.
- Store: Store in an airtight container at room temperature for up to two weeks.
NOTES
- Avoid Humidity: Make these on a dry day for best results.
- Piping Technique: Stop squeezing and lift the tip up to create the perfect kiss shape.
- Uniform Size: Pipe kisses uniformly to ensure even baking.
- Testing Peaks: Stiff peaks stand straight when you lift the whisk.
- Color Variations: Divide the mixture and use different colors for a variety.
Ivona Marona says
You have amazing recipes but not giving all ingredients at the beginning is a big No No !!
I was looking for ingredients all system of various ads started to go around and it was no way to follow to get my answer. Please improve your system so we can use your lovely recipes.
Regards Ivona
Fay says
Hello Ivona, at the top on the left there is a “Jump to Recipe” option that will take you directly to the recipe card with all the ingredients and instructions. You are very welcome to use that option every time you visit the website. Did you also notice the hundreds of recipes and detailed videos are also offered to you 24/7 totally free? Those Ads that you complain about are how I make my living and earn money to feed my two children. They are how I can offer you everything for free everyday. There is an option for a paid membership I can offer you that will remove all of those Ads. I would be happy to offer that to you if you like but I suspect you might not be too happy about that either. So unfortunately it looks like there is no solution for your dilemma which is a shame. I am so sorry your experience on my free recipe blog was so upsetting for you.