
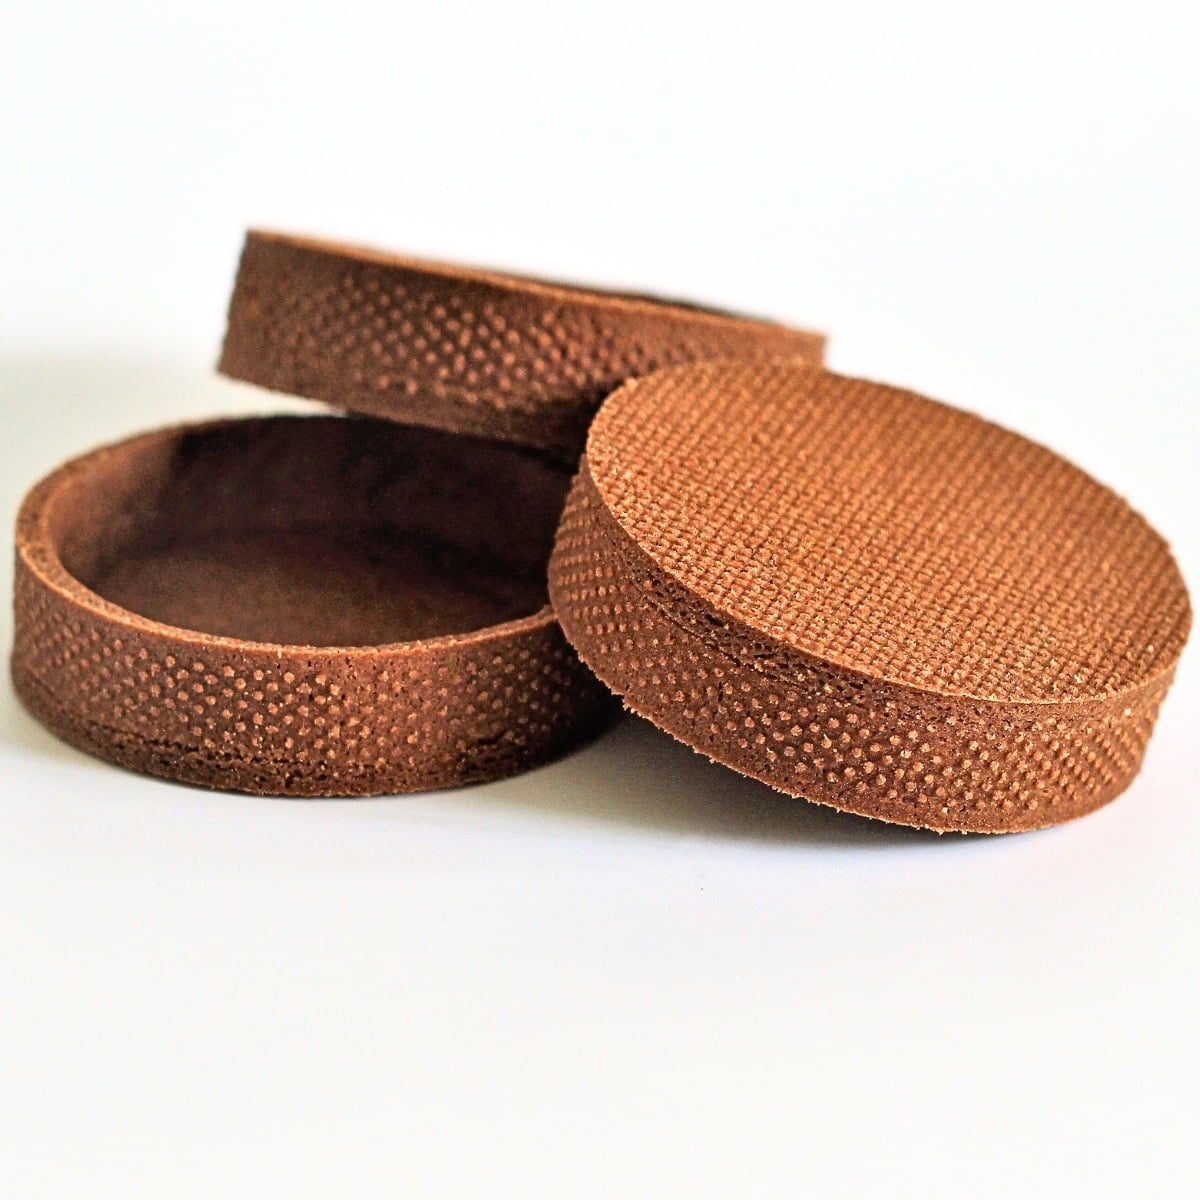
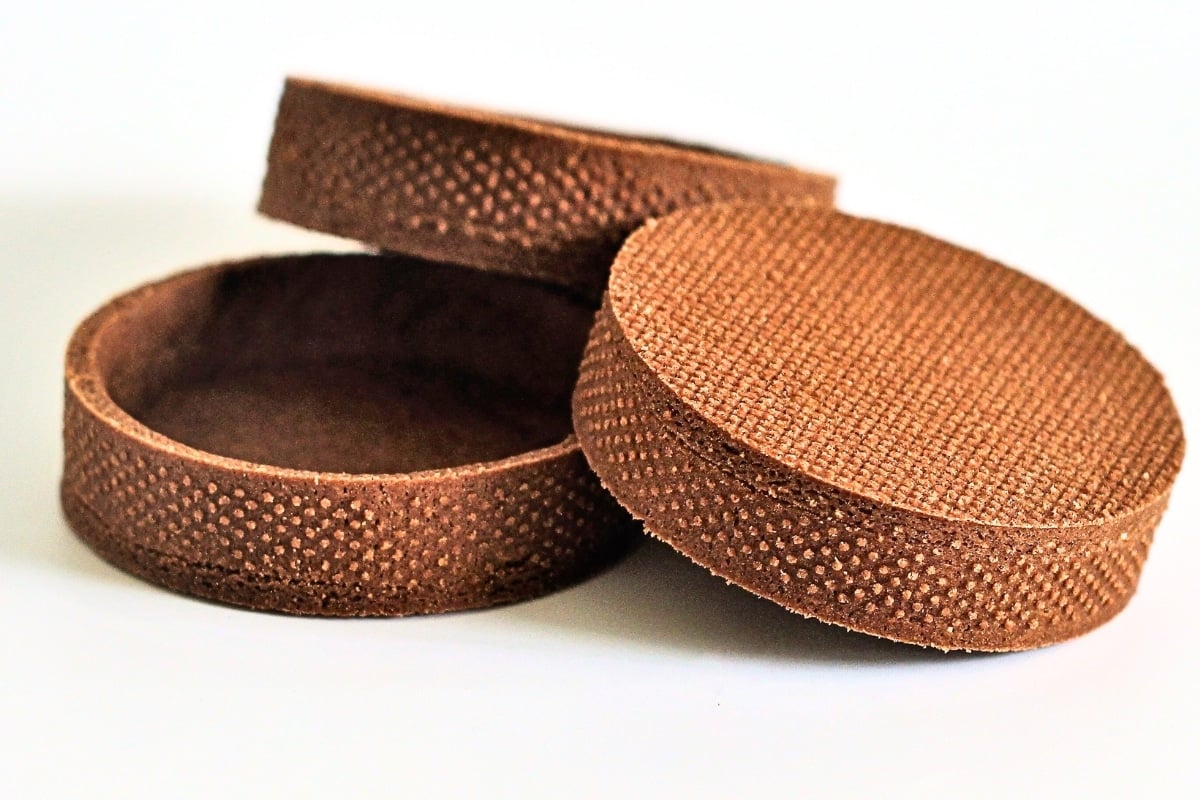
These Chocolate Tart Shells, also known as Pâte Sablée, are a perfect base for your favorite sweet fillings. The rich cocoa flavor combined with the nutty almond flour creates a delectable crust that pairs beautifully with any ganache or fruit filling. This recipe makes 8-10 tart shells, ideal for personal-sized desserts.
SUMMARISE AND SAVE THIS RECIPE
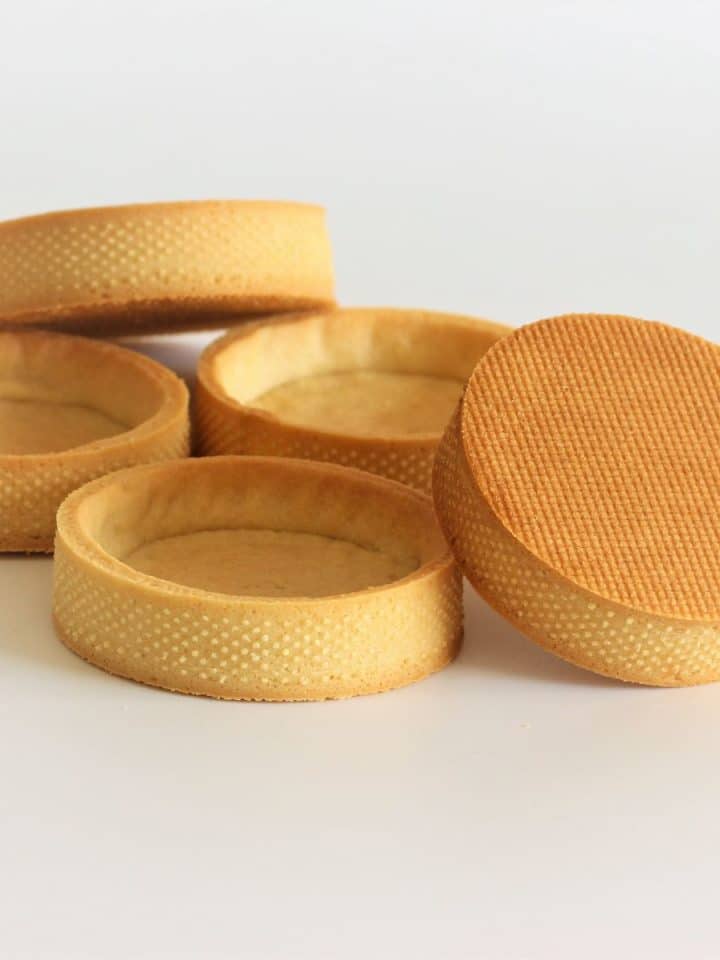
I also have a recipe for perfectly crispy plain vanilla Almond Sweet Shortcrust Pastry Cases that you'll love. They are perfect for making my delicious Lemon Meringue Tarts.
Which Cocoa Powder Works Best?
For the chocolate tart shell recipe, use unsweetened cocoa powder. You can use either natural or Dutch-process cocoa powder, but Dutch-process gives a richer, smoother taste. Remember to sift the cocoa powder to keep the dough smooth.
What are Perforated Tart Rings?
Perforated tart rings are baking tools made from metal with small holes throughout the surface. These rings are used to shape and bake tart shells. Here are some key features and benefits:
- Even Baking: The small holes allow heat to circulate more evenly around the dough, promoting uniform baking and a crispier crust.
- Release Steam: The perforations help release steam during baking, preventing the dough from puffing up and ensuring it stays flat and well-shaped.
- Consistent Shape: Perforated tart rings help maintain the shape of the tart shells, resulting in professional-looking edges and sides.
Using perforated tart rings can improve the quality of your baked tarts, making them crispier and more evenly baked.
Ingredients in Chocolate Tart Shells
- All-Purpose Flour (225g / 8 oz): This forms the base of your dough, giving it structure and stability. It's the main ingredient that holds everything together.
- Fine Sugar (or Powdered Sugar) (95g / 3.4 oz): Adds sweetness to the tart shells. Fine sugar dissolves easily, ensuring a smooth texture, while powdered sugar provides an even finer result.
- Almond Flour/Meal (35g / 1.2 oz): Adds a delicate, nutty flavor and a tender texture to the tart shells. It also helps to keep the dough soft.
- Cocoa Powder (15g / 0.5 oz): Adds a rich chocolate flavor. Use unsweetened cocoa powder. Dutch-process cocoa powder is preferred for a smoother, richer taste, but natural cocoa powder also works well.
- Salt (¼ Teaspoon): Enhances the overall flavor of the tart shells, balancing the sweetness and deepening the chocolate taste.
- Cold Cubed Unsalted Butter (120g / 4.2 oz): Adds flakiness and richness to the dough. The cold butter creates pockets of air in the dough, resulting in a crisp, tender texture.
- Large Egg: Acts as a binder, helping to hold the dough together. It also adds richness and improves the texture of the tart shells.
How To Make Chocolate Tart Shells
Making The Dough
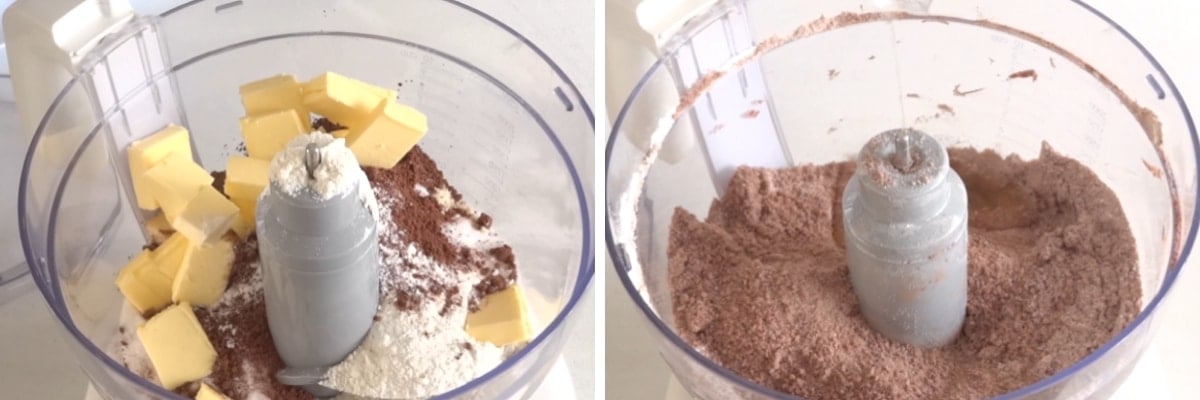
Prepare the Mixture: In a food processor, combine the flour, sugar, almond flour, cocoa powder, salt, and cold butter cubes. Process until the mixture resembles fine crumbs, which should take less than a minute. This ensures all ingredients are evenly mixed and the butter is cut into the dry ingredients, creating a crumbly texture.
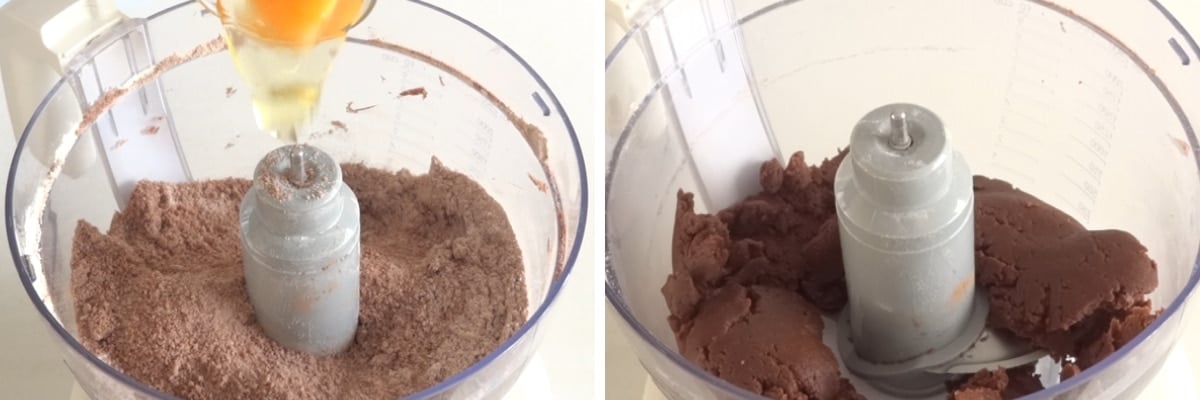
Add the Egg: Add the egg to the processor and blend again until the dough starts to come together into a ball. The egg acts as a binder, bringing the mixture together into a cohesive dough, which is essential for forming the tart shells.
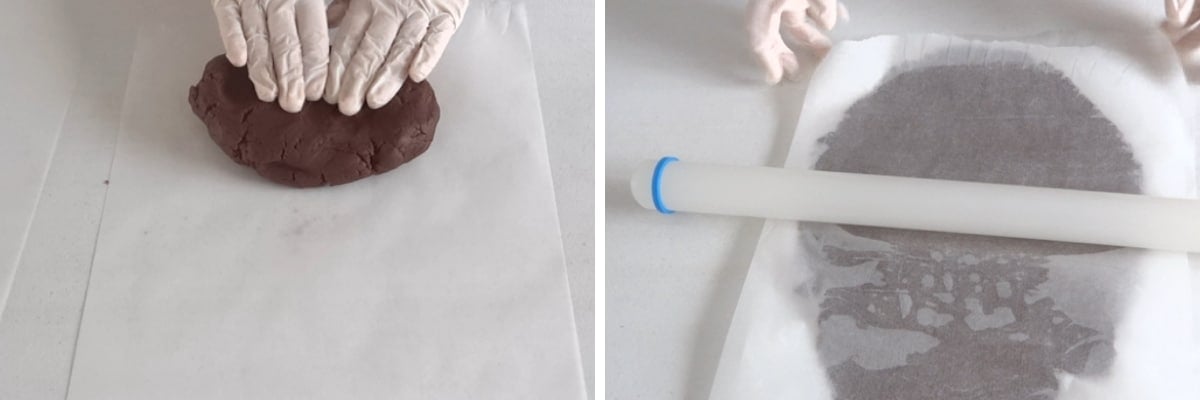
Roll the Dough: Place the dough on one end of a piece of parchment paper and pat it down to about 1 inch thick. Lay another piece of parchment paper on top and roll the dough to a thickness of around 3mm (0.1 inches). Using spacers on your rolling pin can help achieve an even thickness. Rolling the dough between parchment paper prevents sticking and makes it easier to handle.
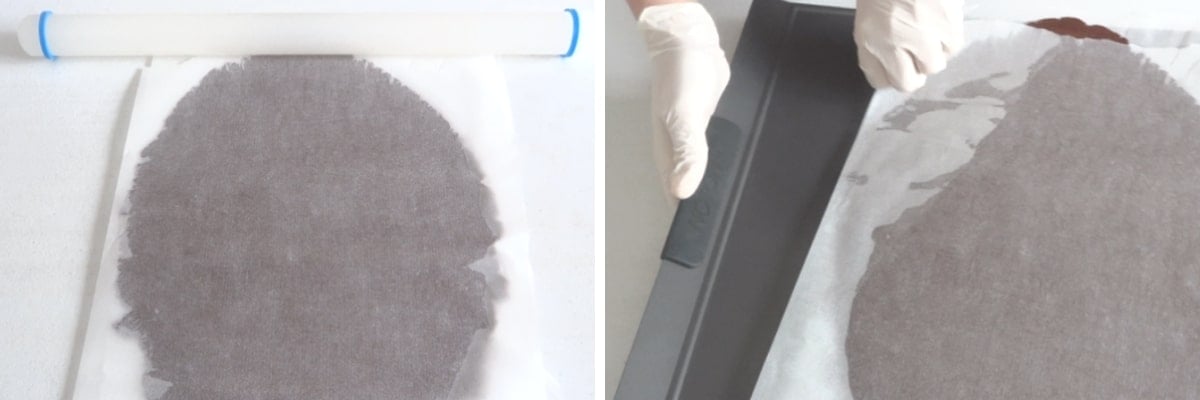
Refrigerate: Place the dough on a cookie sheet and refrigerate for at least 10 minutes, preferably 20 minutes. Chilling the dough firms it up, making it easier to cut and shape without tearing, which is crucial for maintaining the integrity of the tart shells.
Shaping and Baking the Dough
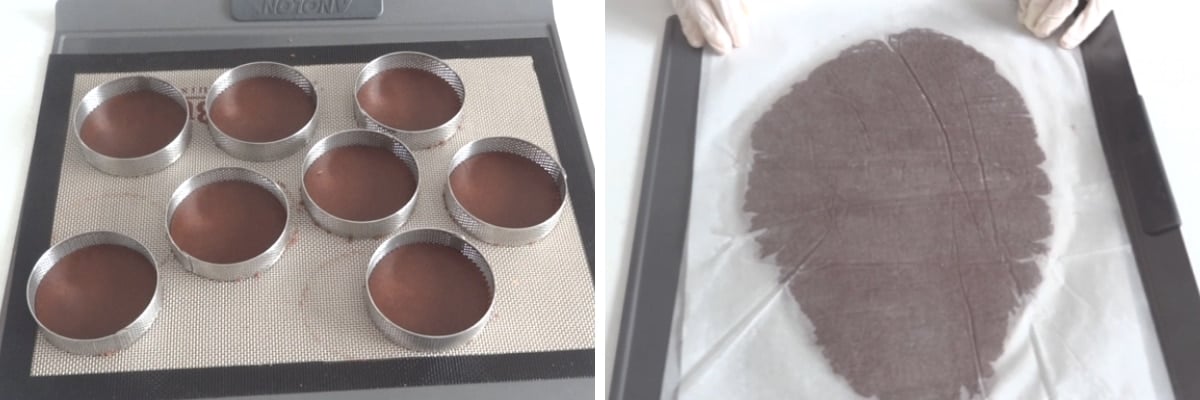
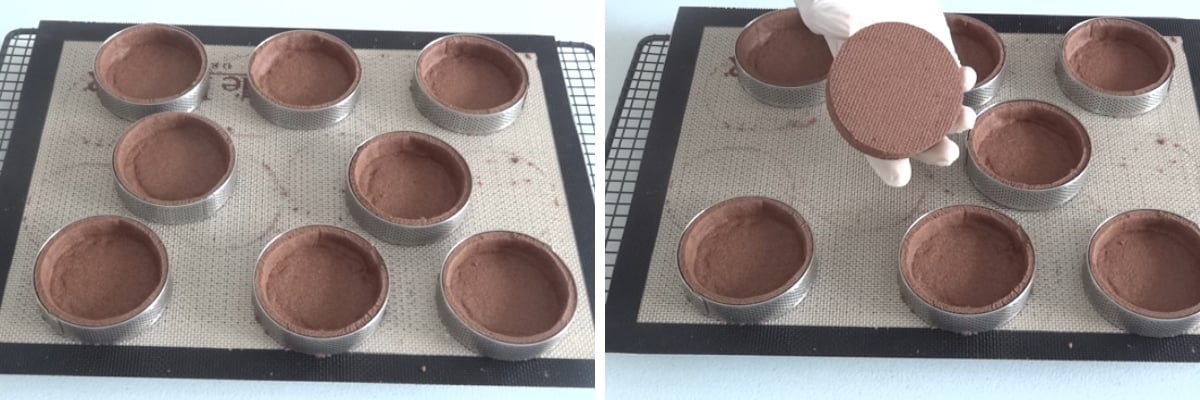
Cut the Bases: When ready to cut, peel off the top piece of parchment paper, then place it back onto the dough, tapping down lightly. Flip the dough, remove the second piece of parchment paper, and turn the dough onto a silicone baking mat. Use tart rings to cut the base of the tart cases. Using tart rings ensures uniform size and shape for each tart shell.

Shape the Shells: Remove the excess dough from around the tart rings and refrigerate the tray of cut tart bases while you re-roll the excess dough. Keeping the dough cold makes it easier to handle and shape, preventing it from becoming too soft.
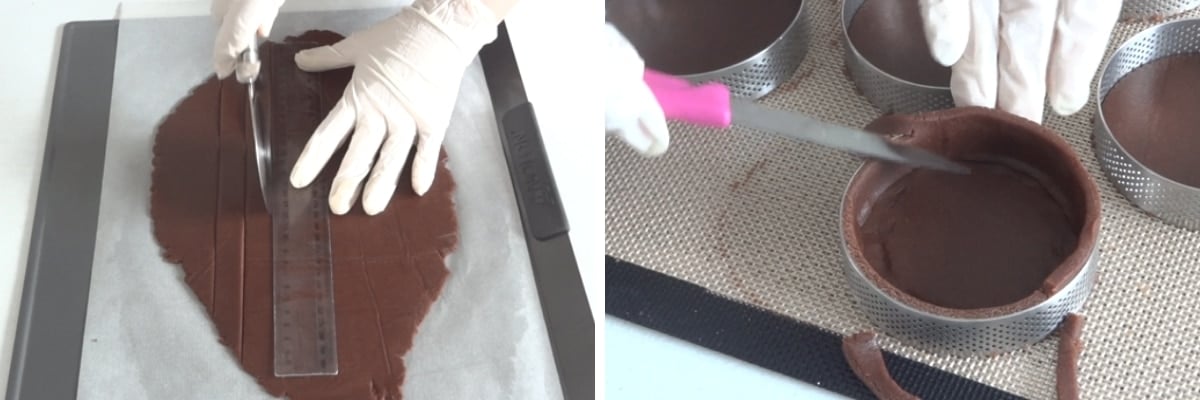
Line the Sides: Re-roll the excess dough to 3mm (0.1 inches) and refrigerate again. Cut strips of dough using a ruler as a guide, making sure the strips are at least the height of the tart rings. Line the sides of the tart rings with the dough strips and trim any excess. Lining the sides ensures that the tart shells have uniform, even edges and can hold fillings without leaking.
Bake: Preheat your oven to 350°F (175°C). Bake the tart shells for 15-17 minutes. Baking solidifies the structure of the tart shells and cooks them through, creating a crisp, stable base for fillings.
Cool: Place the tray of chocolate tart shells on a cooling rack and let them cool completely before removing the tart rings. Allowing the tart shells to cool completely ensures they set properly and are easier to handle without breaking.
Fay's Top Tips
Chilling the Dough: One of the most important steps in making these chocolate tart shells is chilling the dough. Refrigerate the dough for at least 10 minutes, ideally 20 minutes. This makes the dough firmer and much easier to cut and line the tart rings without tearing or stretching. Cold dough is easier to handle and helps your tart shells keep their shape during baking.
Using Spacers on the Rolling Pin: Using spacers on your rolling pin is also very helpful. Spacers ensure that the dough is rolled out to an even thickness of about 3mm (0.1 inches). This helps the tart shells bake evenly, making them uniformly crisp and perfectly cooked. Spacers make it easier to get consistent results without much effort.
How To Use Chocolate Tart Shells
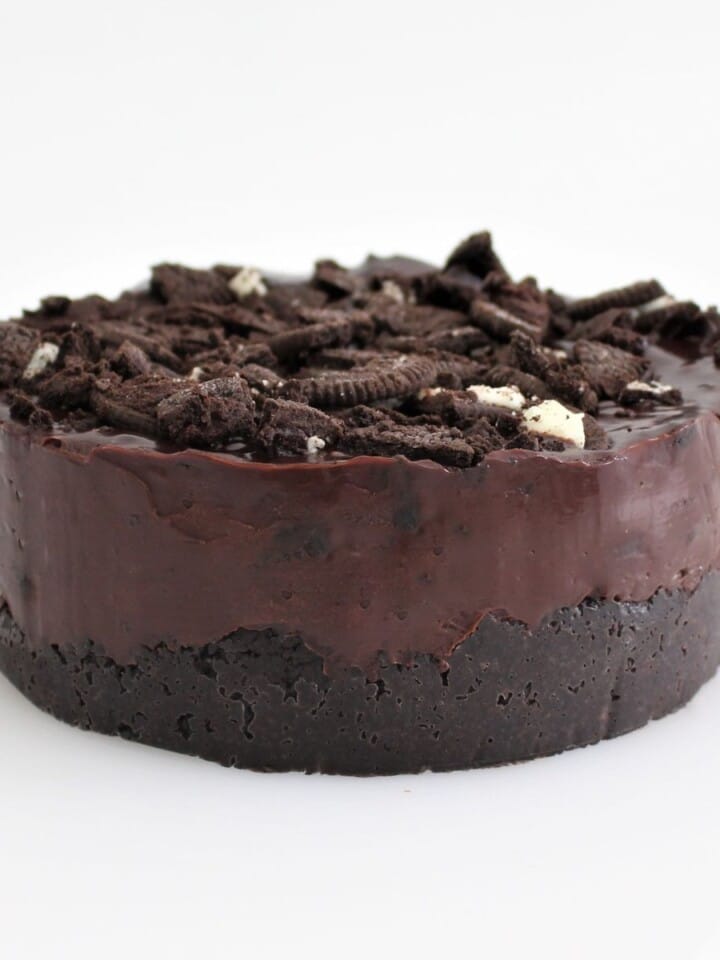
- Chocolate Ganache Tart: Fill chocolate the tart shells with a rich, creamy chocolate ganache. Top with fresh berries or a sprinkle of sea salt for added flavor.
- Fruit Tarts: Fill the tart shells with a vanilla pastry cream and top with a variety of fresh fruits like strawberries, blueberries, and kiwi. Brush with a light apricot glaze to give them a shiny finish.
- Peanut Butter and Chocolate: Spread a layer of creamy peanut butter inside the chocolate tart shells and top with chocolate ganache. Garnish with crushed peanuts for a crunchy texture.
- Cheesecake Filling: Use a no-bake cheesecake filling to create mini cheesecake tarts. Top with a fruit compote or chocolate shavings.
- Ice Cream Tarts: Fill the tart shells with your favorite ice cream or gelato. Freeze until firm, then drizzle with chocolate sauce or caramel.
- Mousse Tarts: Fill with a light and airy chocolate or coffee mousse. Add a dollop of whipped cream and a sprinkle of cocoa powder or coffee grounds.
- S'mores Tarts: Fill with a layer of melted chocolate and top with marshmallow fluff. Use a kitchen torch to toast the marshmallow for an authentic s'mores taste.
- Nutella Tarts: Spread a generous layer of Nutella in the chocolate tart shells. Top with chopped hazelnuts for extra crunch.
- Mint Chocolate: Fill with a chocolate mint ganache and top with whipped cream and crushed peppermint candies.
- Salted Caramel: Fill the tart shells with a thick layer of salted caramel. Top with chocolate ganache and a sprinkle of sea salt.
Common Questions
Yes, you can make the dough ahead of time. Wrap it tightly in plastic wrap and refrigerate for up to 2 days or freeze for up to 1 month. Thaw in the fridge before using.
Yes, you can use natural cocoa powder. However, Dutch-process cocoa powder will give a richer, smoother flavor.
Ensure the dough is well-chilled before baking, and avoid stretching the dough when lining the tart rings. Prick the base of the chocolate tart shells with a fork before baking to allow steam to escape if you don't have access to perforated tart rings or a perforated baking mat.
Yes, you can freeze the baked chocolate tart shells. Place them in a single layer in an airtight container lined with parchment paper and freeze for up to 2 months.
Chocolate Tart Cases (Pâte Sablée)
INGREDIENTS
- 225 g (8 oz) all purpose flour
- 95 g (3.4 oz) superfine sugar or powdered sugar
- 35 g (1.2 oz) almond flour or almond meal
- 15 g (0.5 oz) cocoa powder
- ¼ teaspoon (¼ teaspoon) salt
- 120 g (4.2 oz) butter cold and cubed
- 1 (1) egg large
EQUIPMENT
INSTRUCTIONS
- Pre-heat the Oven: Preheat your oven to 350°F (175°C).
- Prepare the Mixture: In a food processor, combine the flour, sugar, almond flour, cocoa powder, salt, and cold butter cubes. Process until the mixture resembles fine crumbs, which should take less than a minute.
- Add the Egg: Add the egg to the processor and blend again until the dough starts to come together into a ball.
- Roll the Dough: Place the dough on one end of a piece of parchment paper and pat it down to about 1 inch thick. Lay another piece of parchment paper on top and roll the dough to a thickness of around 3mm (0.1 inches). Using spacers on your rolling pin can help achieve an even thickness.
- Refrigerate: Place the dough on a cookie sheet and refrigerate for at least 10 minutes, preferably 20 minutes.
- Cut the Bases: When ready to cut, peel off the top piece of parchment paper, then place it back onto the dough, tapping down lightly. Flip the dough, remove the second piece of parchment paper, and turn the dough onto a silicone baking mat. This process can be seen on the recipe video.
- Cut and Shape: Use tart rings to cut the base of the tart cases. Remove the excess dough from around the tart rings and refrigerate the tray of cut tart bases while you re-roll the excess dough.
- Line the Sides: Re-roll the excess dough to 3mm (0.1 inches) and refrigerate again. Cut strips of dough using a ruler as a guide, making sure the strips are at least the height of the tart rings. Line the sides of the tart rings with the dough strips and trim any excess.
- Bake: Bake the tart shells for 15-17 minutes.
- Cool: Place the tray of tart shells on a cooling rack and let them cool completely before removing the tart rings.
NOTES
Storage
- Store cooled tart shells in an airtight container at room temperature for up to 2 days.
- Refrigerate for an additional 2 days.
- Freeze in a single layer in an airtight container lined with parchment paper for up to 2 months.
Tips
- Use spacers on your rolling pin for even dough thickness.
- Refrigerate the dough between steps to make it easier to handle.
- Ensure the tart shells are fully cooled before removing the rings to prevent breaking.
- For a crispier texture, bake an additional 2-3 minutes if desired.


Leave a Reply